How to Document Duct Conditions Before a Home Insurance Claim
A ceiling stain, torn duct, or pile of debris near a vent can change quickly once cleanup begins. If you may file a home insurance claim, record what you can see before it changes , as long as it's safe to wait.
Good duct condition documentation connects clear, dated images to the exact location and time you observed a problem. It can't establish the cause or guarantee coverage, but it gives your insurer and contractors a more useful starting point. Begin with safety, then build a record that follows the affected part of the system.
Start with a safe inspection and a clear timeline
Write down when you first noticed the problem
Record the date and approximate time you first saw the condition, plus any earlier signs you remember. Those might include water near the air handler, a new odor when the cooling starts, or weaker airflow in one room. Keep those observations separate from your ideas about the cause.
Note recent work that may help a technician understand the timing, such as a roof repair, plumbing visit, attic insulation project, or HVAC service. Save related invoices and messages. A problem appearing after a visit doesn't, by itself, show that the work caused it.
Look only where you can reach safely
You can inspect visible registers, the area around the air handler, and exposed ductwork from a stable, dry place. Use a flashlight and leave fragile surfaces alone. Don't climb across attic joists, enter a cramped crawl space, or approach exposed wiring, standing water, or unstable materials for a better photo.
If you suspect an electrical hazard, keep away and contact an appropriate professional. Likewise, leave suspected mold-like growth, pest debris, and questionable old insulation undisturbed. Tell the insurer or inspector which areas you couldn't safely access.
What to photograph for duct condition documentation
Start wide so every close-up has a location
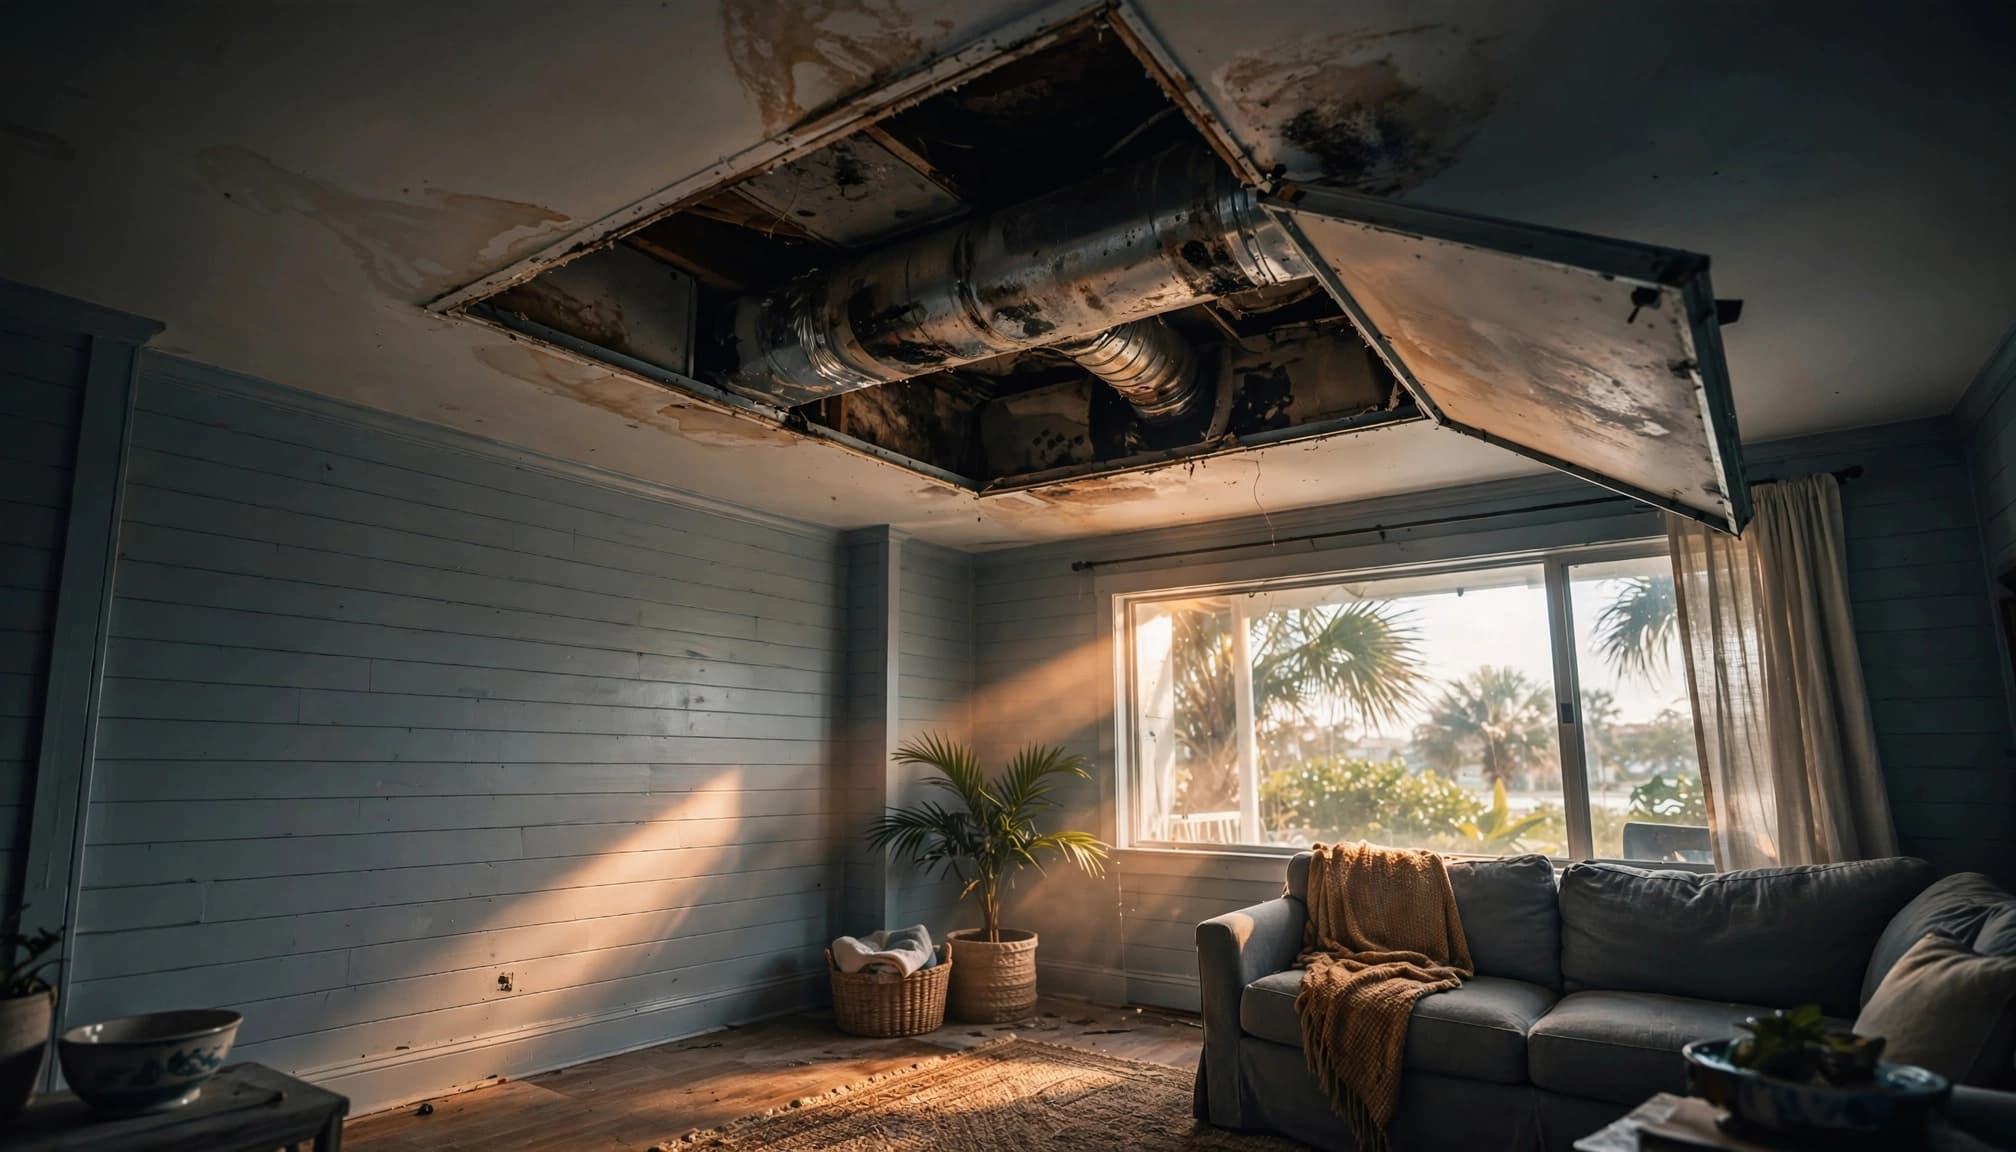
Take a wide photo of the room or accessible attic area first. Include a recognizable feature, such as the air handler, doorway, ceiling register, or nearby framing. Then take a medium view that shows how the affected duct, connection, or vent sits within that space.
This sequence matters when several branches look alike. A tight photo of a torn jacket may show the tear clearly, yet leave a reviewer unable to tell which duct it belongs to. Photograph the same area from another safe angle if surrounding insulation blocks the view.
Capture the condition without changing it
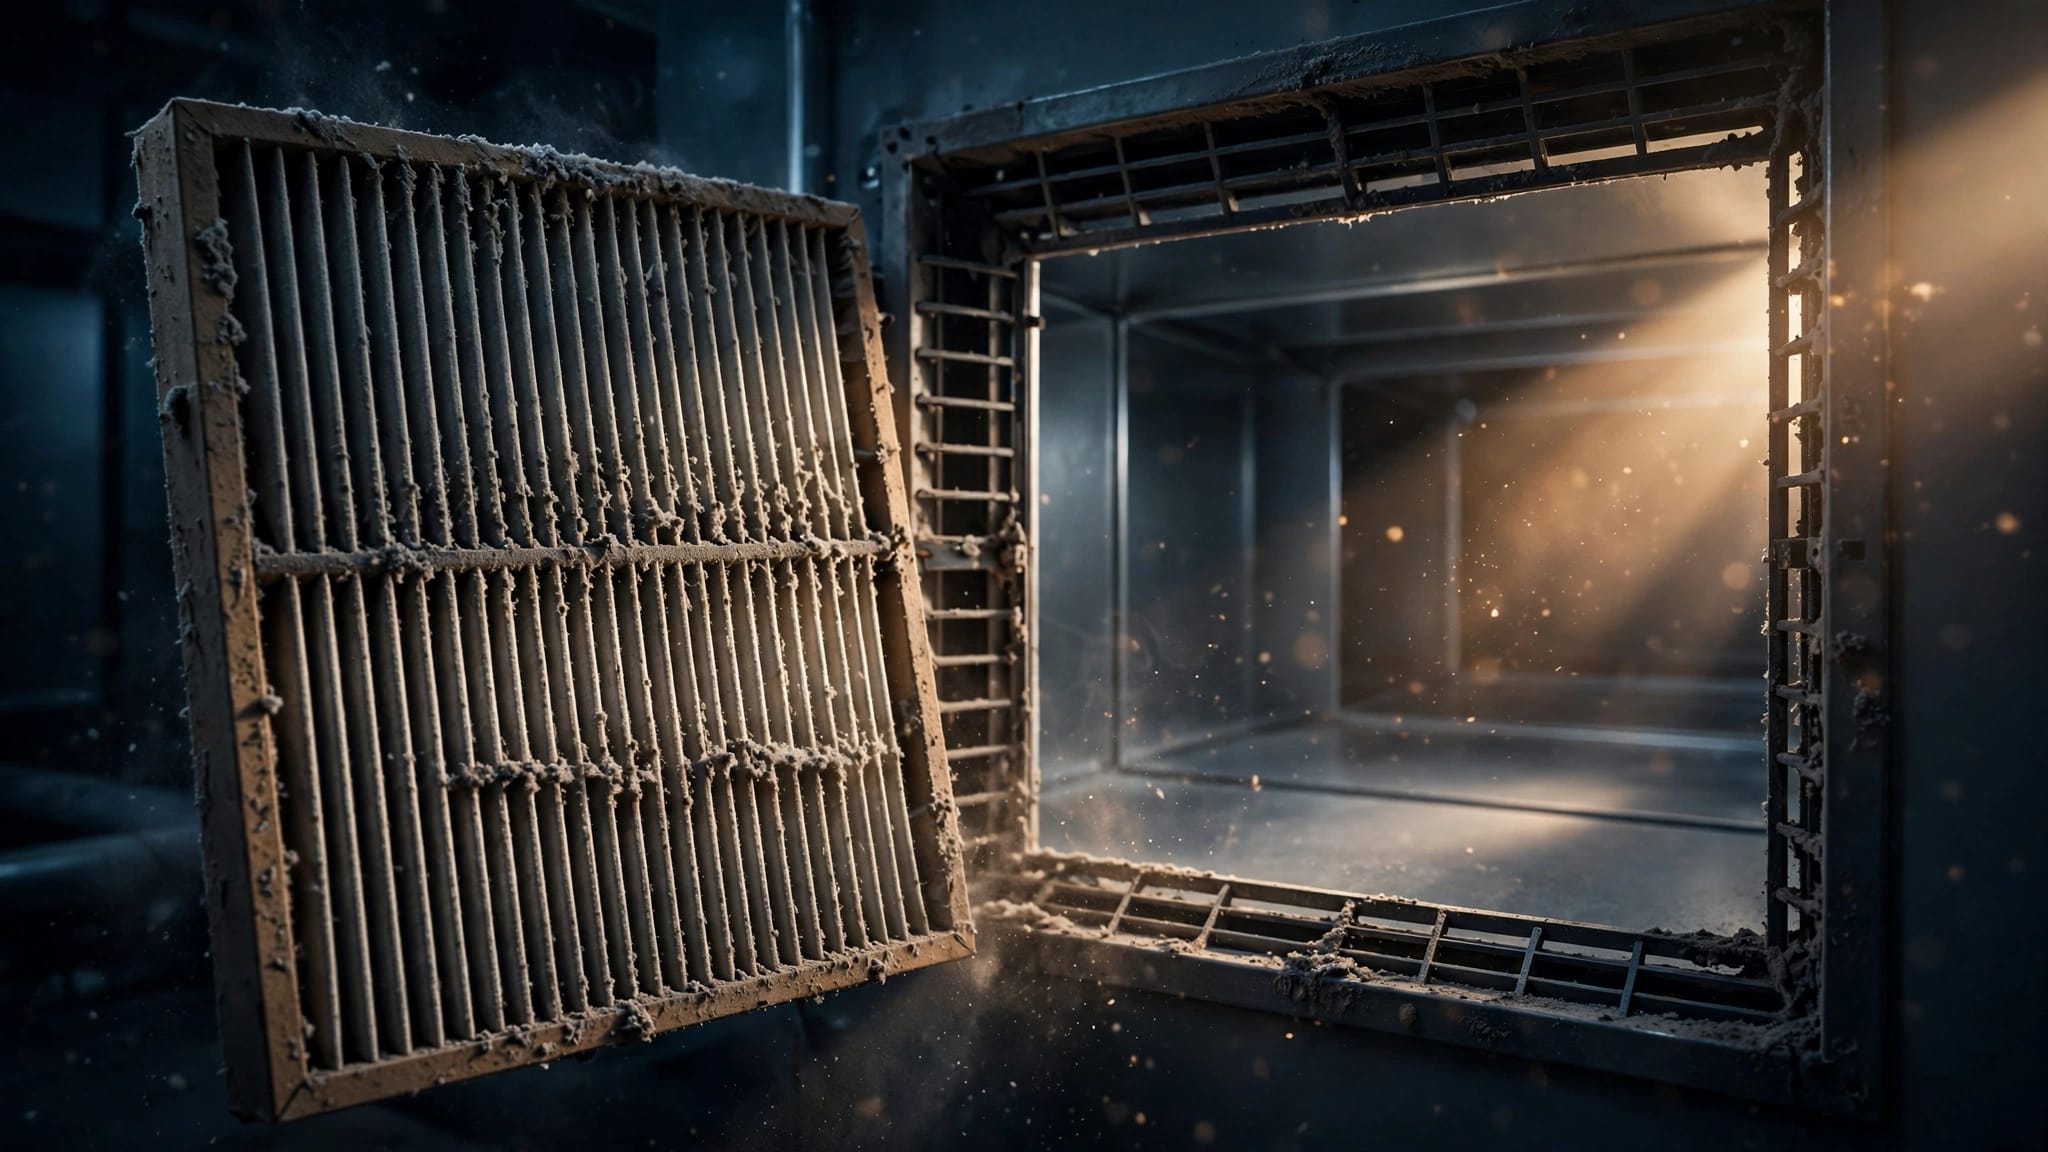
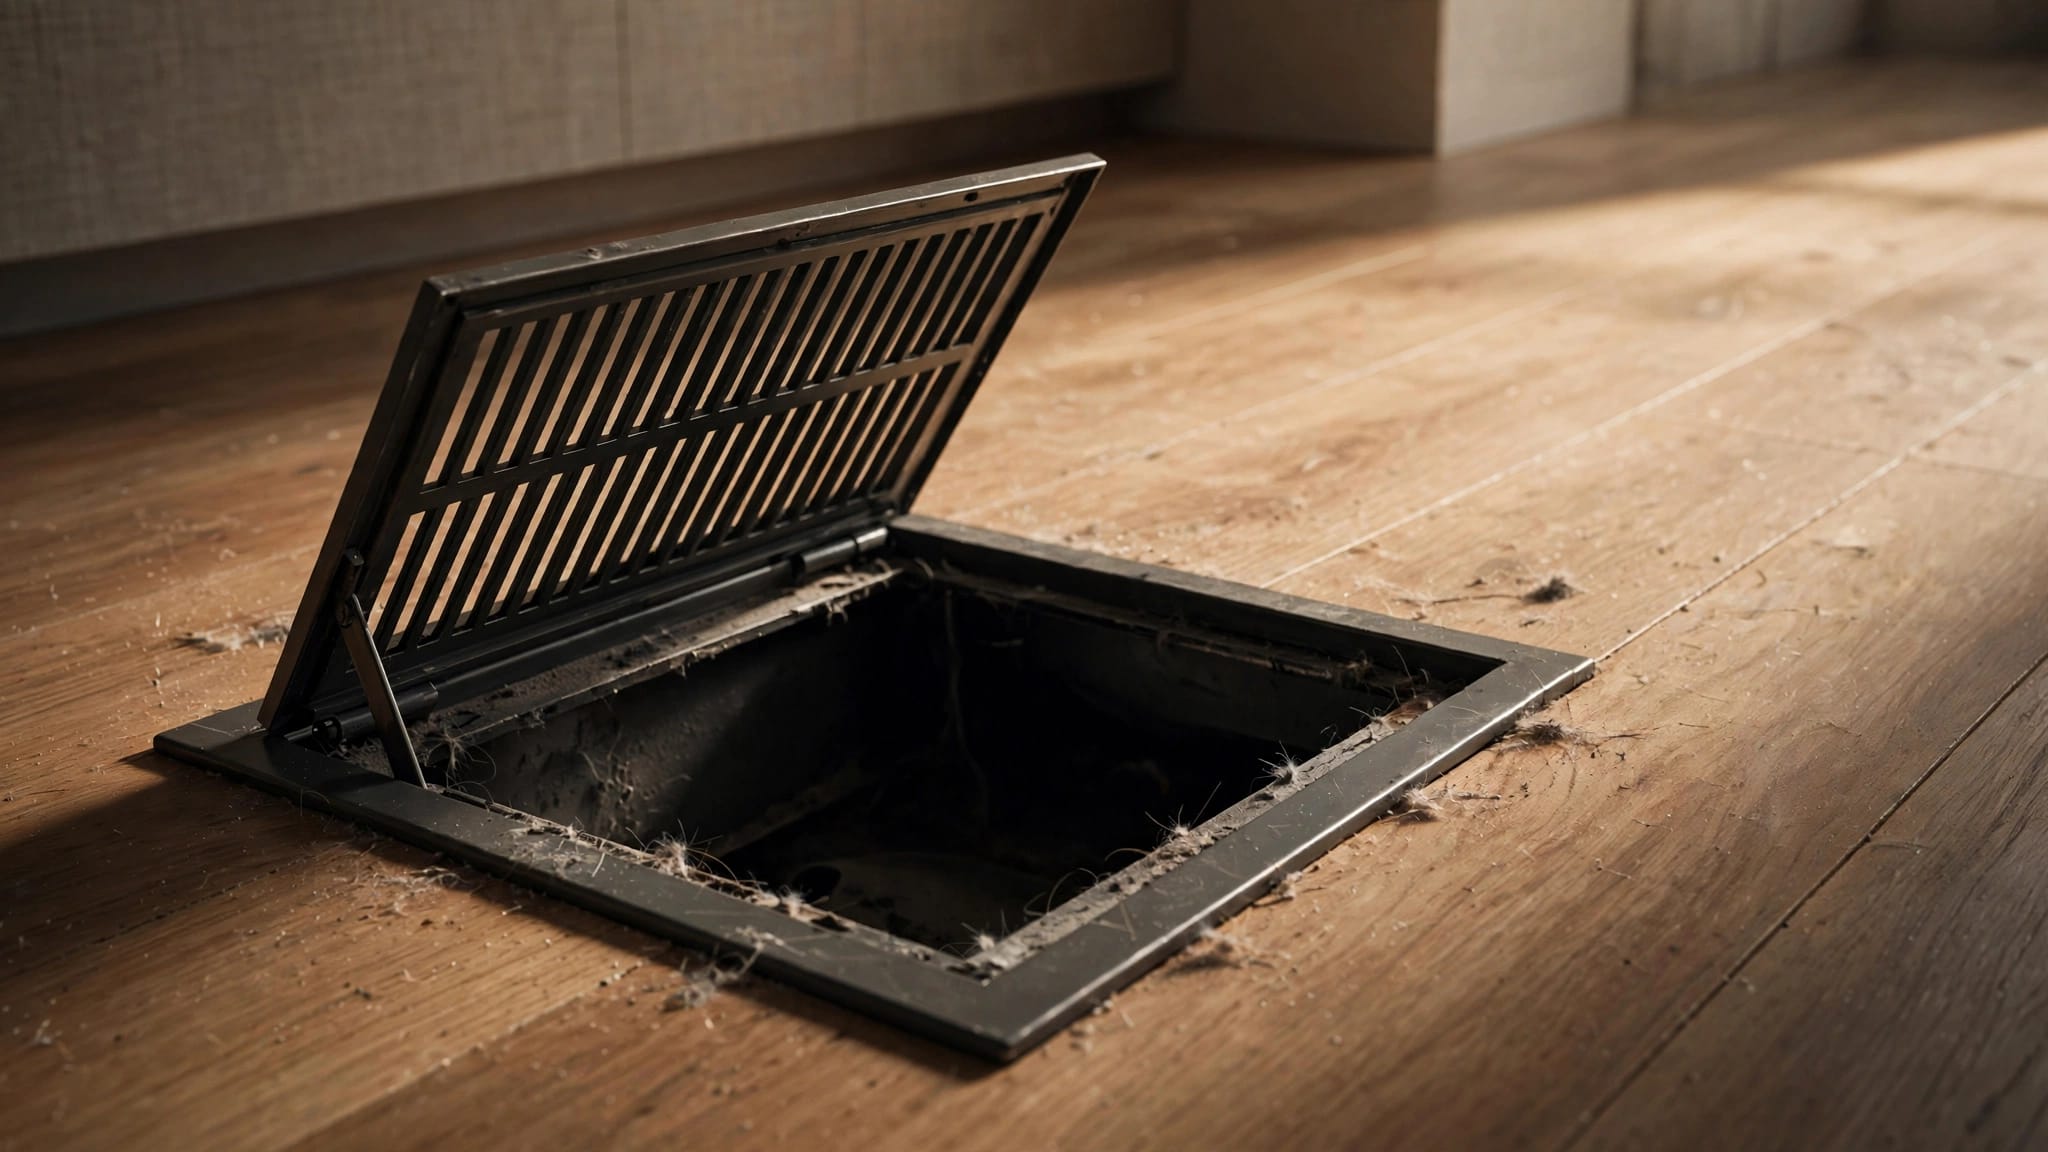
Move closer for sharp images of visible stains, rust, disconnected joints, crushed flexible duct, torn insulation jackets, or debris around a register. Show both the affected area and its edges. If water is visible, photograph where it appears and any nearby staining you can see safely.
Don't peel back wrap, lift duct board facing, remove a register, or brush away material to reveal more damage. Fiberglass duct board and older insulation can deteriorate when disturbed. A photo of the accessible surface is more useful than a clearer picture obtained by changing the condition.
Photograph an affected spot in context before taking close-ups. The location may be harder to establish after cleanup or repairs.

Use short videos to show the layout and symptoms
A slow video can connect details that separate photos don't. Begin at a recognizable point, such as the air handler or room entrance. Then show the route to the affected vent or exposed duct without entering an unsafe area. Pause briefly at each visible condition so it stays in focus.
Video is useful for a loose connection, intermittent dripping, or debris that appears when the system runs. Don't run equipment solely to record a symptom if you suspect water intrusion, electrical trouble, damaged wiring, or material that could spread through the system. Describe what happened when you previously observed it instead.
Keep narration factual: identify the room, the part you're viewing, and the date. Say "staining around the hallway supply register" rather than calling it mold or assigning a cause. A dark mark or musty smell needs an appropriate inspection before anyone can identify its source.
Keep a dated log and preserve the original files
Match each observation to a place and time
For each affected area, write down when you observed it and where it sits in the home. Distinguish the return grille, supply register, air handler, exposed branch duct, and dryer exhaust vent. The dryer vent is a separate system, even if it passes through the same attic.
Record what you can see, hear, or smell without making a diagnosis. "Insulation jacket hanging below the branch duct" describes an observation. "Storm destroyed the duct" states a cause you may not have established. Also note when an area was inaccessible, because a photograph of one vent can't show the condition of every connected duct.
Save originals, then organize copies
Check that your phone's date and time are correct before recording. Keep the original photo and video files with their available metadata. Back them up somewhere you can access if the phone is lost or damaged.
For sharing, group copies by room or system and give them clear filenames. Keep a separate written log if you need to add details; avoid drawing over or altering your only copies. If a condition changes, take another dated set from a similar angle rather than replacing the earlier images. That sequence can show what was present before and after an inspection, cleanup, or repair.
Protect evidence without delaying urgent safety work
Leave damaged materials in place when it's safe
Avoid cleaning a stained register, vacuuming debris, discarding wet insulation, or taping a damaged joint before you've recorded its condition. Those actions can remove details a technician or insurer may need to see. Don't handle material that appears mold-like or suspect insulation simply to preserve it.
Waiting isn't appropriate when water is actively entering the home or another hazard needs immediate attention. Protect people first and take only the images you can capture safely. Follow the insurer's instructions about damage mitigation and ask what records it wants if work must start before an inspection.
Record changes made during emergency work
If a plumber, HVAC technician, or restoration crew has to act promptly, ask them to describe what they found before work begins when circumstances allow. Request photos of accessible conditions, the location of any removed material, and a written account of the steps taken.
Save estimates, work orders, invoices, and receipts. Note the dates and names of the companies involved. Ask how removed materials will be handled, rather than storing damp or potentially contaminated pieces in your living space without guidance.
The goal is a traceable record, not a reason to leave an active leak or unsafe system untouched.
Ask a technician to document what the system shows
Request an inspection that follows the affected path
A stain at a register doesn't reveal the condition of the full duct run. An HVAC professional may need to check accessible supply branches, return paths, connections, the air handler, and nearby insulation. The inspection scope should follow the symptoms and the areas that can be reached safely.
Tell the technician about your photos, recent work, moisture observations, odors, and airflow changes. Ask them to identify the duct material before proposing cleaning tools. Flexible duct, sheet metal, and fiberglass duct board don't all tolerate the same approach; cleaning also won't restore a crushed duct or failed duct-board facing.
Get findings and limitations in writing
Request a report that names each inspected area and describes visible conditions. Useful findings might include a separated joint, damp insulation, a crushed flex duct, or debris inside an accessible return opening. Ask for photographs that match those descriptions.
The report should distinguish what the technician observed from what remains uncertain. It should also state which areas couldn't be reached without opening building materials. If the contractor recommends cleaning, repair, or replacement, ask for a written scope before approving work.
Keep HVAC duct findings separate from dryer vent findings. A restricted dryer exhaust needs its own assessment, even if both services occur during one visit.
Check claim requirements before sending your records
Ask what your insurer needs and when
Review your policy and contact your insurer for its instructions on reporting the loss, documenting conditions, and arranging an inspection. Ask how to submit large video files and whether it wants to see damaged materials before removal. Follow any instructions you receive about emergency work and retain a record of those conversations.
Claim requirements, deadlines, and coverage depend on the policy and circumstances. Documentation doesn't guarantee payment. Photos show visible conditions at a particular time; they may not establish why damage occurred, how far it extends, or whether a particular expense is covered.
Send an organized record, not a diagnosis
Group your dated images with the observation log, relevant service records, and any contractor findings. Identify the affected rooms and system components consistently across those materials. If you've already made an urgent repair, include the before-and-after images and the work documentation.
Be candid about gaps. Explain that an attic section was unsafe to reach or that a duct interior wasn't visible. Clear limits are more helpful than guesses. Keep copies of everything submitted, along with the claim number and any written requests for additional information.
Key Takeaways
- Take dated wide shots and close-ups so each visible condition has a clear location.
- Write down where and when you observed damage, and keep original files alongside your notes.
- Don't disturb suspect materials or enter unsafe areas for a better view.
- When urgent work can't wait, document what you safely can and save the contractor's records.
- Check your policy and insurer's instructions; a thorough record doesn't guarantee coverage.
FAQ: Documenting ducts for an insurance claim
Should I open a duct to photograph the inside?
Don't create an opening solely for a claim photo. Opening a duct or peeling back insulation can damage materials and change the condition you're trying to record. Photograph what you can access safely, then ask an appropriate professional to document any interior inspection.
What if I have to repair a leak before an adjuster visits?
Address the urgent problem. Take photos or video first only if doing so is safe and won't delay necessary work. Tell the insurer what happened, keep the repair records, and ask the contractor for photographs and a description of what they found.
Will photos prove that duct cleaning is covered?
No. Images can support a record of visible conditions, but coverage depends on your policy, the cause of loss, and the insurer's claim requirements. An inspection may also find that the duct needs repair rather than cleaning.
Conclusion
The detail that's easy to miss today may be difficult to recover after a duct is cleaned or repaired. Start with safe, dated wide shots, then record close-ups and plain-language notes about each location.
Keep the originals and document any changes made during urgent work. A clear record helps others assess what you observed, while your policy and insurer determine the claim process and coverage.