Dryer Vent Cleaning After a Laundry Room Remodel
A new laundry room can hide an old exhaust problem. After cabinets go in and the dryer moves back, a hose may be crushed, a joint may come loose, or debris may remain in the vent.
Dryer vent cleaning after a laundry room remodel should start with an inspection, because removing lint won't repair a damaged duct. Before you run the first load, check where the air goes and whether it has a clear path outdoors.
Why a remodel can change the dryer vent
A remodel doesn't automatically damage a vent. Still, work around the clothes dryer can change a connection that worked before the project began.
Construction dust and moved appliances
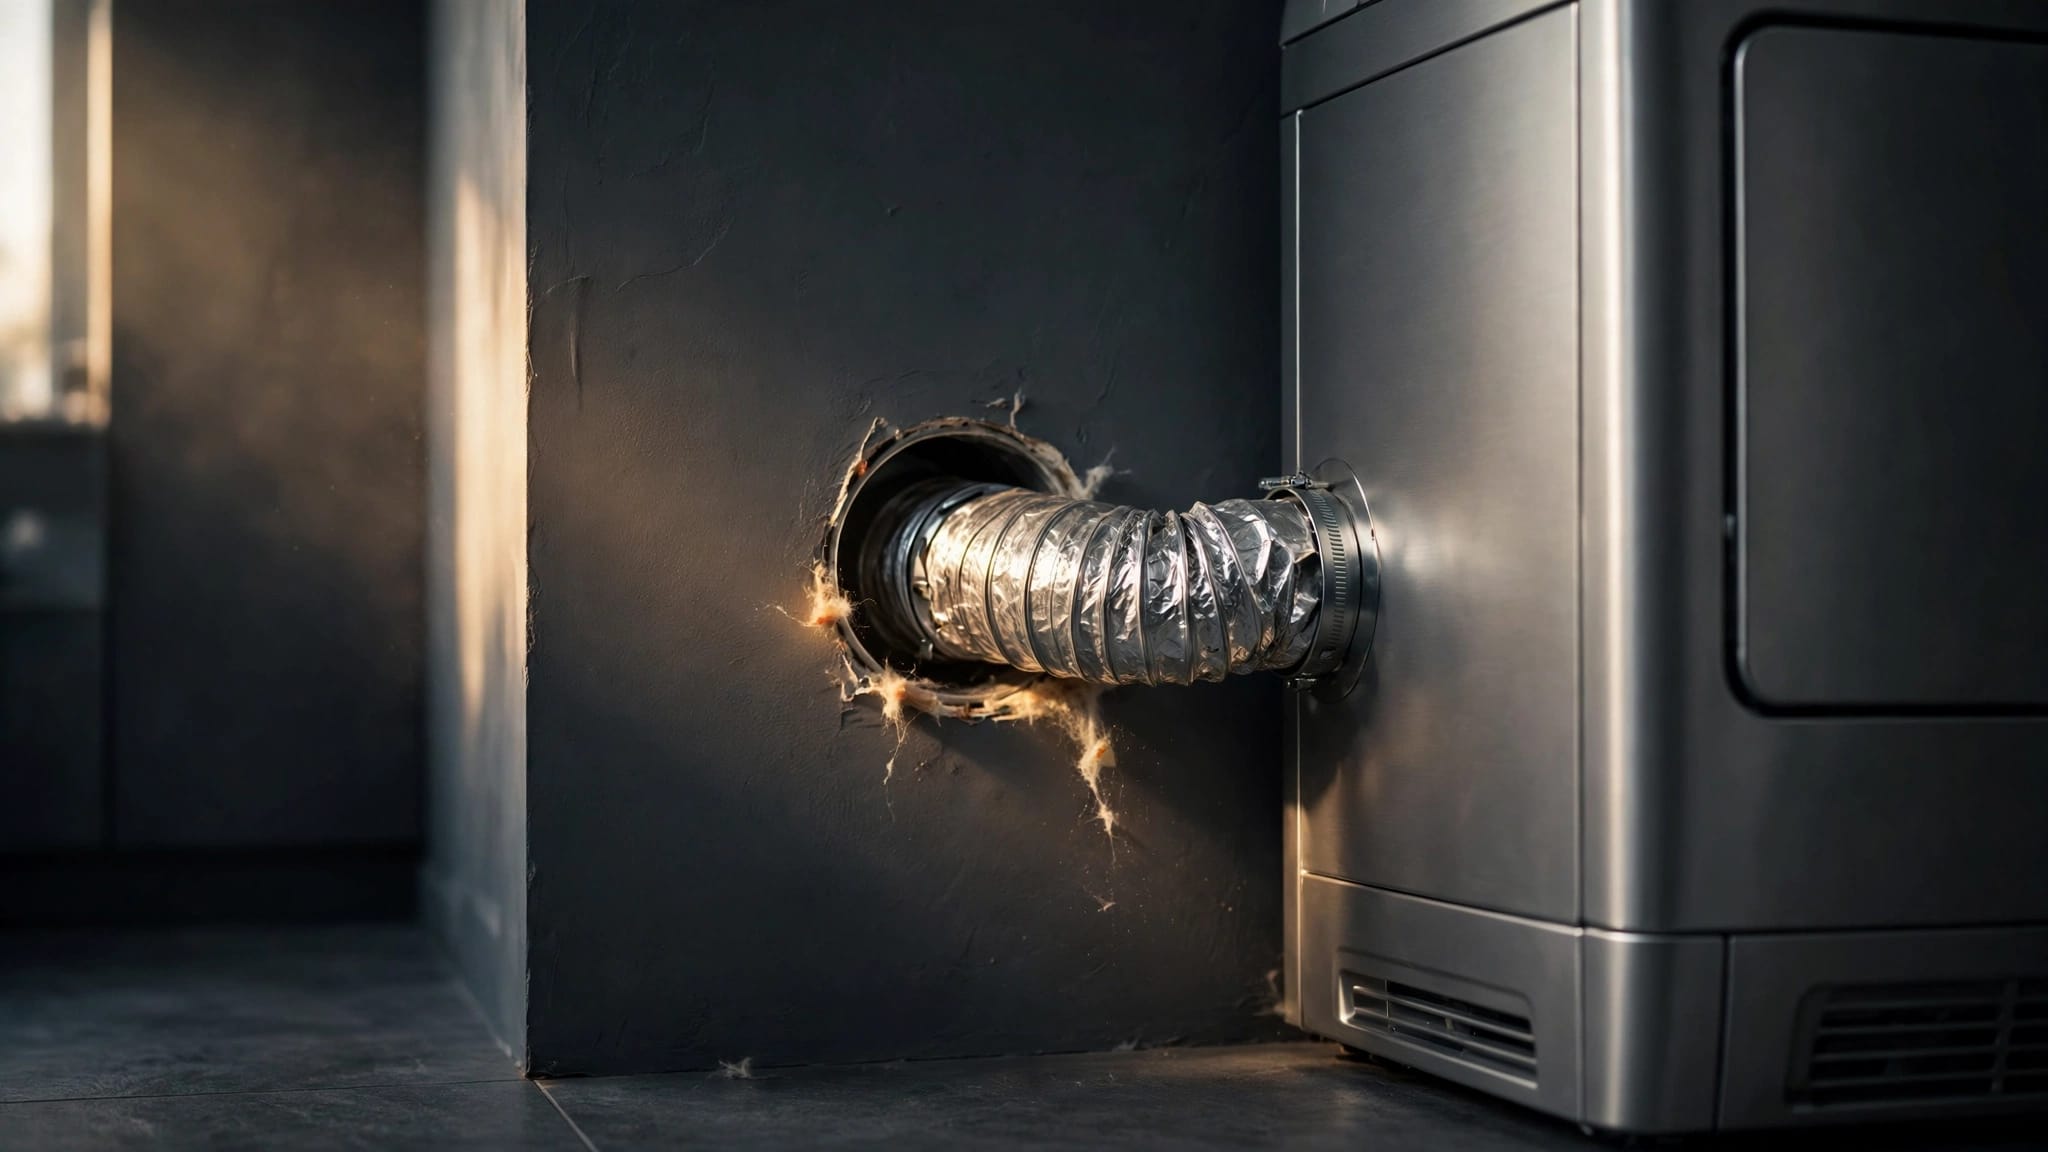
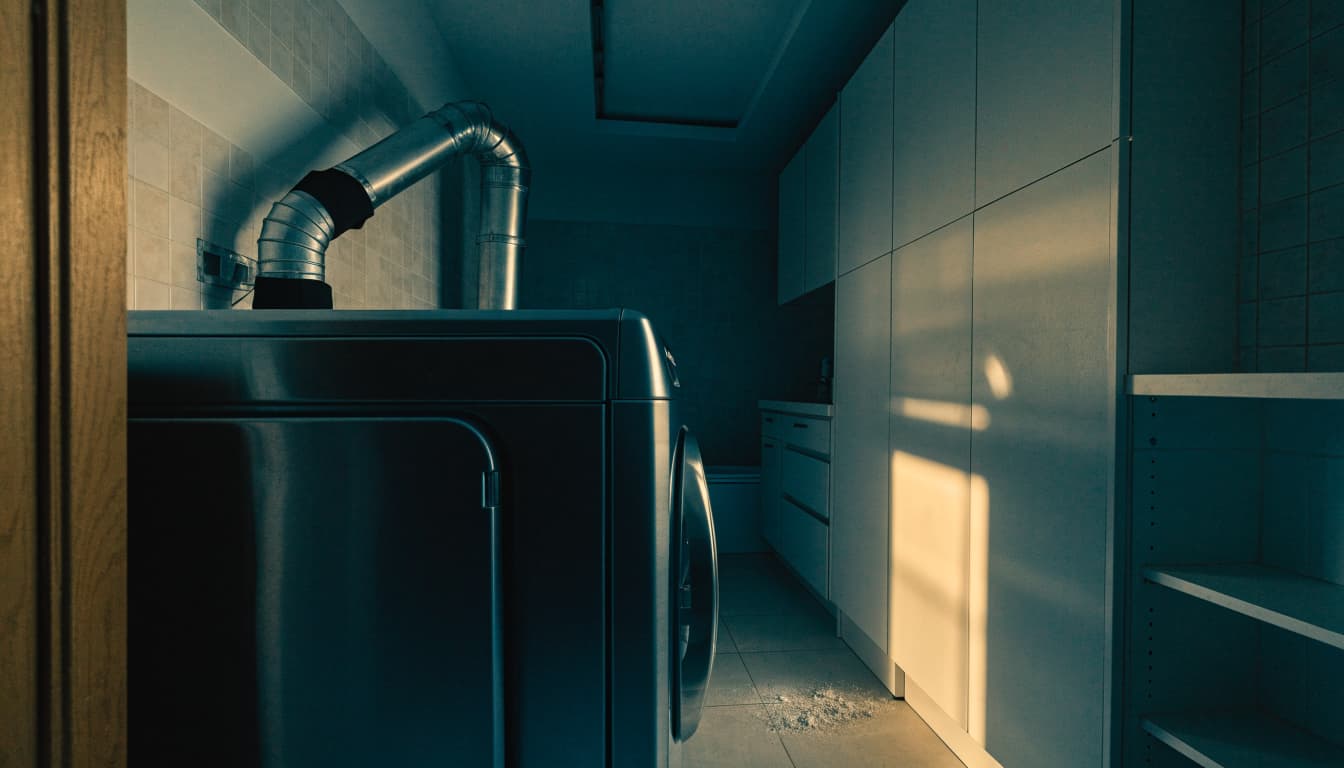
Cutting drywall, installing cabinets, and moving the dryer can leave construction dust and dryer lint near an open duct connection. Contractors may temporarily detach the vent hose to reach a wall. When the dryer goes back, the hose can fold against new cabinetry or become disconnected.
A flattened connector restricts airflow even if the ductwork beyond it is clean. Likewise, a loose joint can release warm, damp air and lint into the laundry room or a concealed space.
A new route needs a fresh look
Relocating the dryer can add turns or send the exhaust vent through a ceiling or attic. Check the new route and ductwork, since a less direct path can reduce airflow. Confirm that the line ends outdoors, not in an attic, crawl space, garage, or wall cavity.
If walls are still open, ask the contractor to show you the route and take photos before it disappears behind the finish. The dryer manufacturer's instructions and local requirements should guide any new installation.
Signs the vent needs attention after the work
Compare the first few loads from your clothes dryer with how it performed before the remodel. Damp clothes after a normal cycle, an unusually hot dryer, or a humid laundry room can point to restricted exhaust; a lint screen that’s unusually full or quickly collecting lint is another clue, though no single symptom proves a blockage.
Pay attention to when a symptom appeared. Gradually longer drying times can accompany lint buildup. A sudden change after the dryer was moved, especially with a new rattle or lint behind the appliance, deserves a connection and duct inspection.
A dusty odor or burning smell warrants prompt attention. Stop using the dryer if you notice smoke, scorching, or an electrical problem. Don't run another cycle to see whether the smell goes away. These symptoms can have several causes; a dryer vent inspection can reveal whether an accessible duct or connection is part of the problem.
Prepare for a safe post-remodel check
Begin with what you can see and reach without straining a connection. A hidden or high vent calls for a different approach than a short run through an exterior wall.
Gather basic supplies
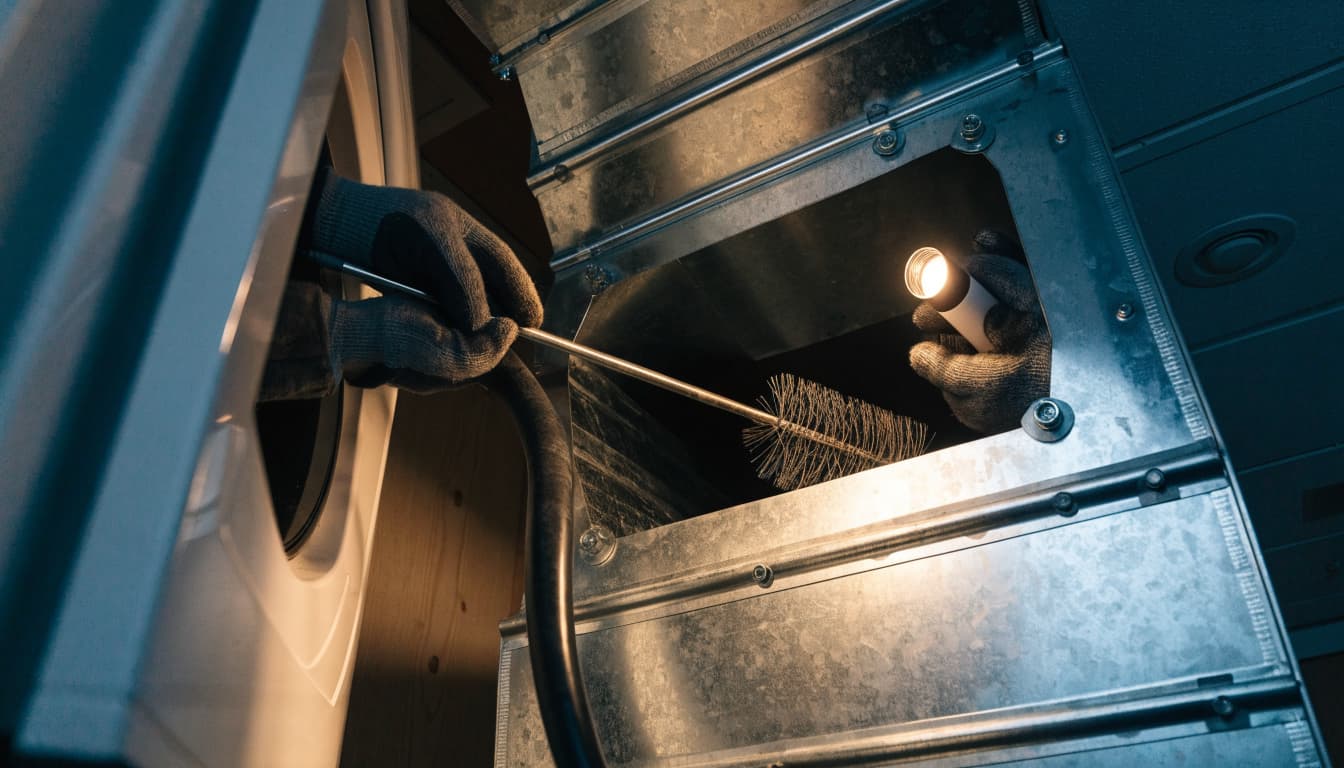
For an accessible electric clothes dryer, useful supplies include a flashlight, work gloves, safety glasses, a screwdriver suited to the connector clamp, a vacuum cleaner with a hose attachment, and a dryer vent brush. A shop vac is another option if you can contain dust and lint. A dust mask can make cleanup more comfortable if construction dust remains nearby.
Turn the dryer off and unplug an electric model before working behind it. As basic safety precautions, keep children and pets away from the work area. Don't pull the machine forward if doing so will tug a tight vent hose, cord, or gas line.
Treat gas and concealed runs differently
A gas dryer may need to move for cleaning, but its fuel connection shouldn't be disturbed as part of a casual DIY job. If access requires disconnecting the gas line, use a qualified professional who can reconnect and check it safely.
Likewise, don't force a brush into a route you can't identify. Tight bends, damaged flexible sections, and concealed joints make it easy to miss a blockage or worsen a defect. Avoid using a leaf blower inside the house; scattering lint doesn't confirm that the full route is clear.
Inspect the complete exhaust path
The visible hose is only one part of the system. A post-remodel check should follow the air's route as far as it can be inspected safely.
Start behind the dryer
With the appliance off, inspect the vent hose for a crushed section, sharp bend, loose clamp, or lint around a joint. Check whether the dryer can sit in its intended position without flattening the connection. Look for tears, gaps, corrosion, or sagging sections.
If the remodel added a wall opening, check that the duct enters it securely. Duct tape and ordinary tape aren't repairs for a leaking or damaged joint. Don't push the dryer back to conceal a problem. Damaged material needs an appropriate repair or replacement.
Find the exterior termination
Locate the outside vent cover rather than assuming where the new route ends. Clear leaves or stored items from around it, and look for lint at the opening or a damaged flap. An exterior screen can trap lint and deserves review by a qualified installer.
Don't climb onto a roof to check a termination without suitable access and training. If nobody can trace the new route or reach its outlet, arrange an inspection before treating the vent as clean.
How to clean an accessible dryer vent
DIY cleaning makes sense when the route is short, accessible, and free of visible damage. Inspect first: a brush removes debris, but it can't reconnect a separated joint or open a crushed hose.
- Clean the lint screen and nearby housing. The lint screen is also called the lint trap, but it isn't a substitute for cleaning the exhaust duct. Remove loose lint, then vacuum around the accessible opening. If the screen has residue, consult the dryer manufacturer's care instructions before cleaning it.
- Access the connection only if you can do so safely. Follow basic safety precautions: unplug an electric dryer, move the appliance carefully, and detach the accessible vent connection. Stop if the duct resists or appears damaged.
- Remove reachable debris. Vacuum lint at the dryer outlet and duct opening. Use a dryer vent brush suited to the accessible duct without forcing it around an unseen bend. Keep removed lint contained rather than blowing it through the room.
- Check the outside opening. Remove reachable lint and debris from the exterior vent cover. Leave roof-level or otherwise unsafe access to a professional.
- Reconnect and test the clothes dryer. Secure the intact connection, then position the dryer without crushing it. Run a normal test with the exhaust attached, and check air flow at the outlet. Confirm that the exterior flap opens and the laundry area doesn't fill with warm, damp air.
If a brush catches, stop rather than pulling hard or powering through the obstruction. The tool may be meeting a tight turn, a loose joint, or damaged ductwork. A clear-looking opening is no proof that a longer concealed run is clear, particularly after a route change.
Know when cleaning isn't the repair
Lint buildup in a restricted or defective exhaust system can contribute to a fire hazard. Cleaning and duct repair solve different problems. Some post-remodel vents need both.
Damage calls for correction
A crushed section still restricts airflow after cleaning. Cleaning alone won't correct crushed, disconnected, or unsuitable ductwork. A disconnected joint can still release lint and moisture, even when both sides are free of buildup. Holes, severe sagging, corrosion, and repeated blockages also call for a closer look at the duct's condition or layout.
Materials matter, too. Plastic or vinyl exhaust duct and damaged, easily crushed flexible material warrant professional review. The correct replacement depends on the appliance instructions and local requirements. If the route was changed during the remodel, ask the installer to confirm the materials and termination are appropriate.
Repeated symptoms deserve a diagnosis
If drying times improve after cleaning but quickly worsen, don't keep paying for the same short cleaning. Have someone assess the full path for a pinch point, poor connection, blockage, or routing problem. The dryer itself may also need service.
When a defective section is replaced, lint may remain in the duct that stays in place. Ask whether cleaning that remaining route is part of the repair.
When to call a dryer vent professional
A professional inspection is the safer choice when the exhaust crosses a ceiling, has several bends, exits through a roof, or disappears behind new finishes. Call sooner if you see damage, suspect a loose joint, or can't confirm where the vent ends.
Ask what the visit includes
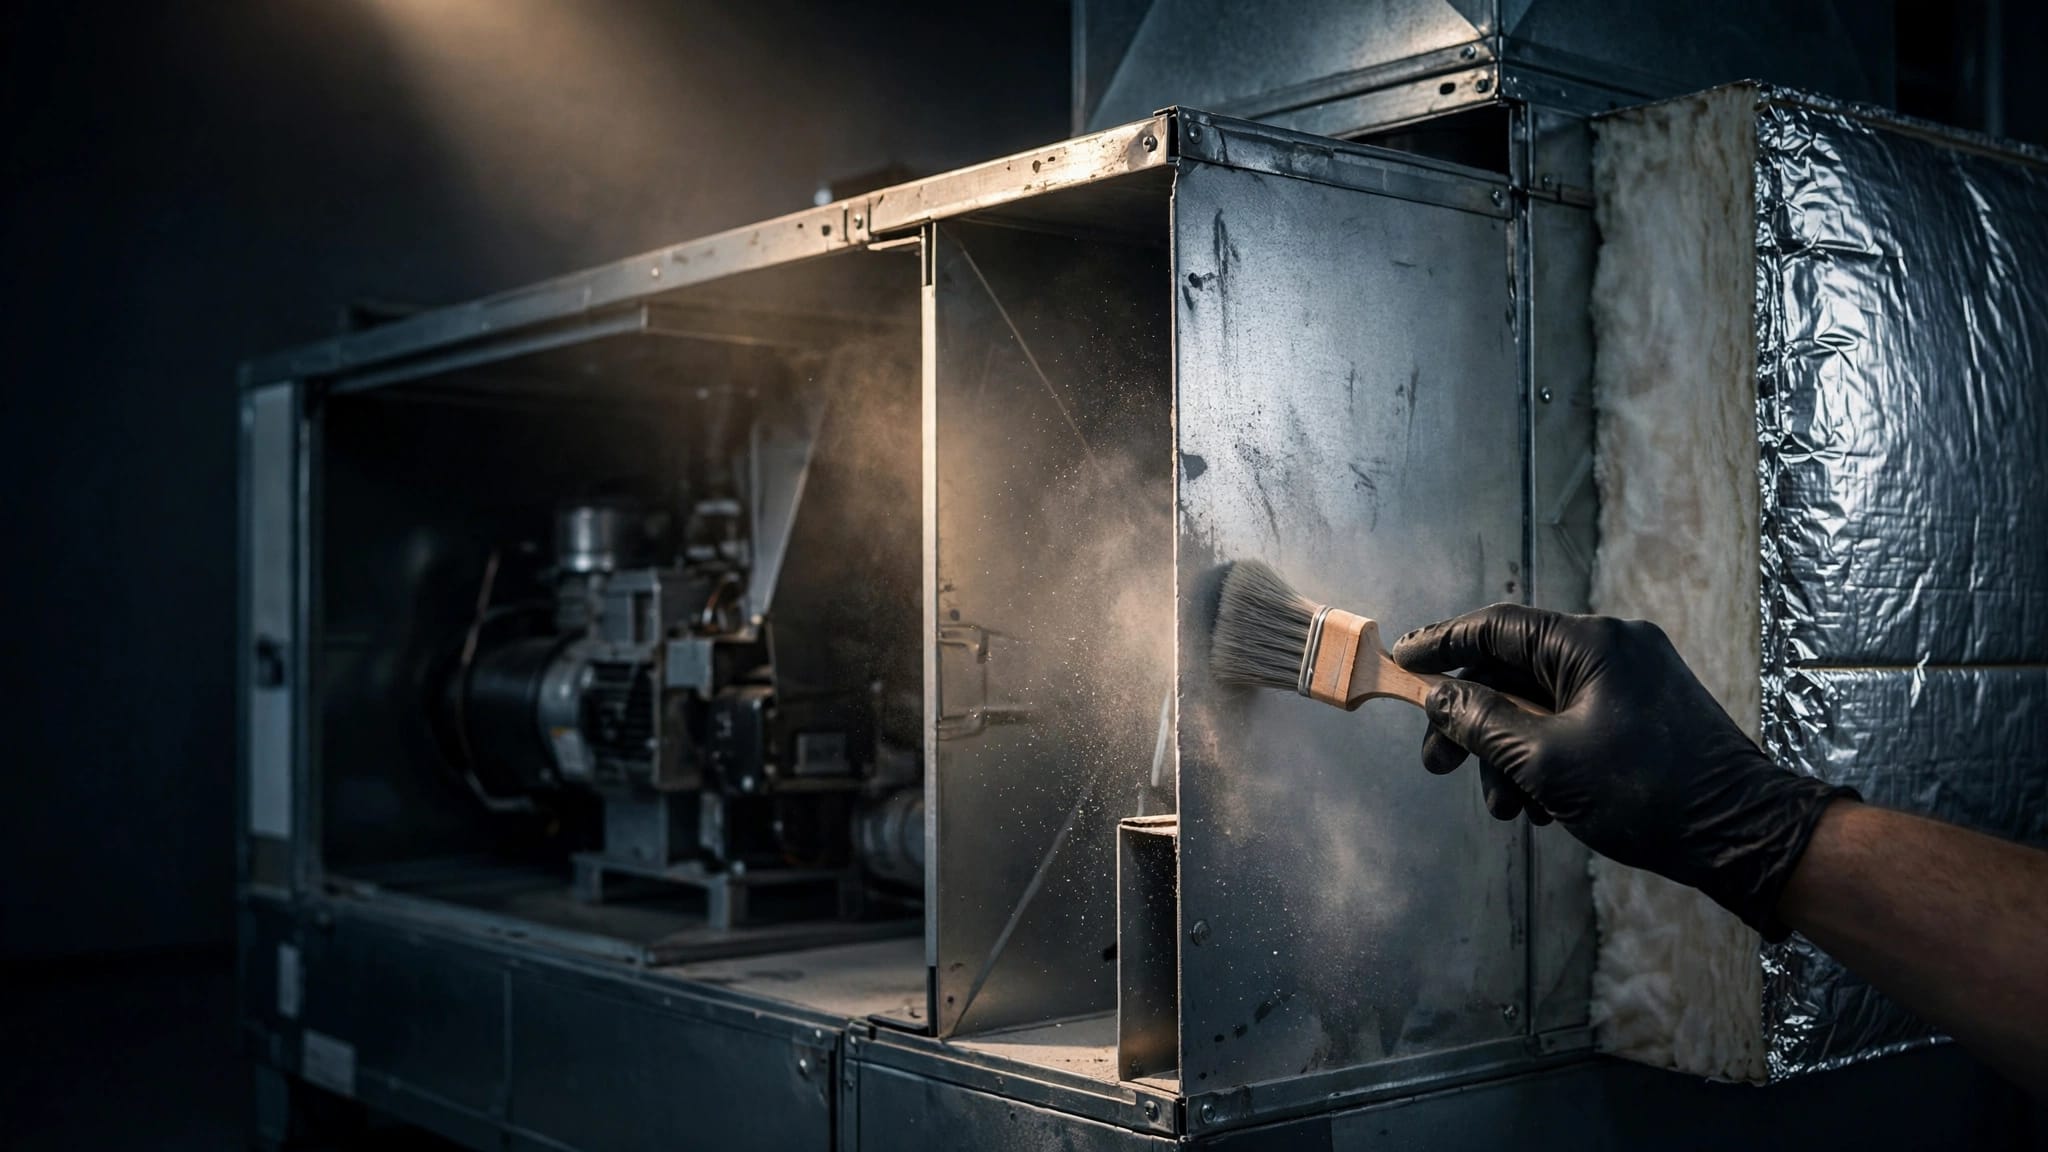
A thorough service should inspect the accessible clothes dryer connection and duct, address buildup along the reachable exhaust path, check the exterior opening, and test airflow after reassembly. The method depends on the route and duct condition, so ask what to expect from a professional cleaning visit before booking.
Have the technician explain any proposed repair separately from cleaning. Photos of a crushed section or loose joint can help you understand the recommendation.
Compare the scope, not just the quote
DIY supplies cost less than a service visit, but a household vacuum may reach only the first part of a long duct. A low service quote may also cover only the connector behind the dryer. Ask whether the estimate includes the exterior termination, an airflow check, and cleanup. Confirm how the company prices any repair it finds.
For Florida Gulf Coast homeowners, Adkins Duct Cleaning lists dryer vent cleaning services alongside its air duct work. These are separate systems, so clarify which one your appointment will cover.
Keep the vent clear after the remodel
Remove lint from the lint screen after every load. As part of routine maintenance, check the visible connection periodically without pulling it, and keep the exterior termination clear of plants and stored items. Watch for changes in drying time rather than waiting for the dryer to stop working. Clear airflow supports dryer efficiency.
Annual cleaning is a useful starting point for many households. Heavy laundry use, a long vent, multiple bends, or recurring lint may call for earlier attention. After a remodel, note the new route and keep photos or service records where you can find them.
Key Takeaways
- Inspect the dryer connection and exterior outlet after a remodel, especially if the appliance moved or its route changed.
- Clean accessible lint, but arrange repair for a crushed, disconnected, or unsuitable duct.
- Test the dryer with the exhaust attached. Persistent heat, dampness, or poor airflow needs further investigation.
Frequently Asked Questions
Should I clean the vent even if the dryer still works?
Yes, a post-remodel inspection is sensible if the dryer was moved, disconnected, or given a new vent route. A working dryer doesn't confirm that the connection is intact. Whether the vent also needs cleaning depends on its condition and buildup.
Are a power drill and cleaning kit suitable?
They can be, but flexible rods may be risky in an unknown route or with fragile connections. Rods can separate or get stuck, especially around concealed bends. If you can't identify the route and its condition, hire someone to inspect it rather than forcing a tool through.
Will cleaning fix a dryer that runs hot?
Cleaning can help when lint restricts an otherwise sound vent. It won't fix a crushed connector, disconnected duct, poor route, or appliance fault. Stop using the dryer if you notice a burning smell, smoke, or scorching, and have the cause checked.
A clear route matters more than a clean opening
Fresh cabinets and paint won't tell you what happened behind the dryer. The dependable check is an intact connection, a suitable route outdoors, and airflow at the exterior outlet.
Clean the lint that remains, repair what changed, and test the system before the next full load.