Cleaning HVAC Ducts in Homes With Multiple Air Handlers
A home with two or more air handlers doesn't have one duct system. It has separate comfort zones that often collect dust, pet hair, and debris at different rates. HVAC duct cleaning needs to account for every handler, return, supply run, and connected room.
Cleaning the downstairs unit while ignoring the attic system leaves part of the home untouched. A complete plan starts by identifying where each system begins, where its ducts travel, and which registers it serves.
Why Multiple Air Handlers Need a Complete Cleaning Plan
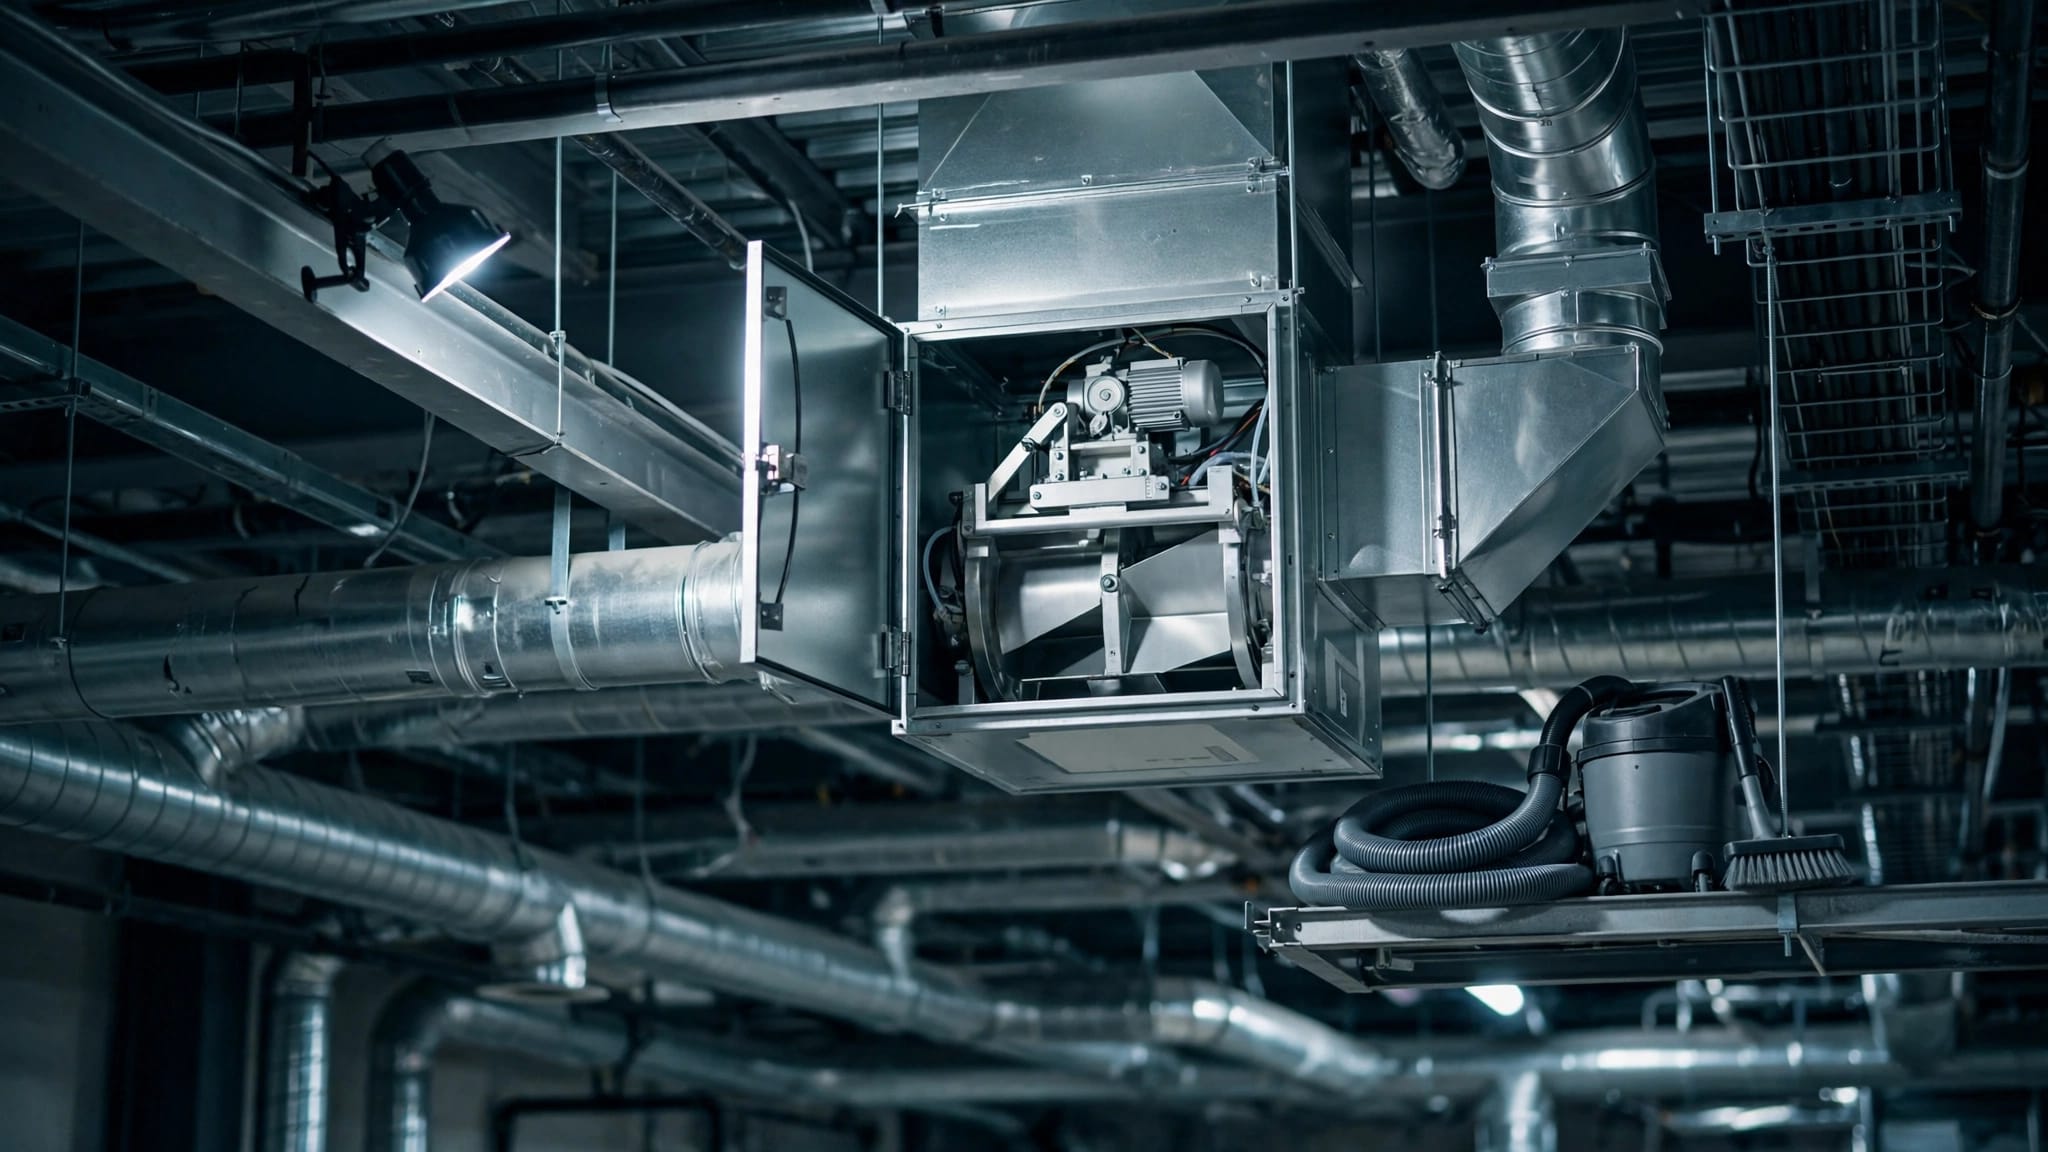
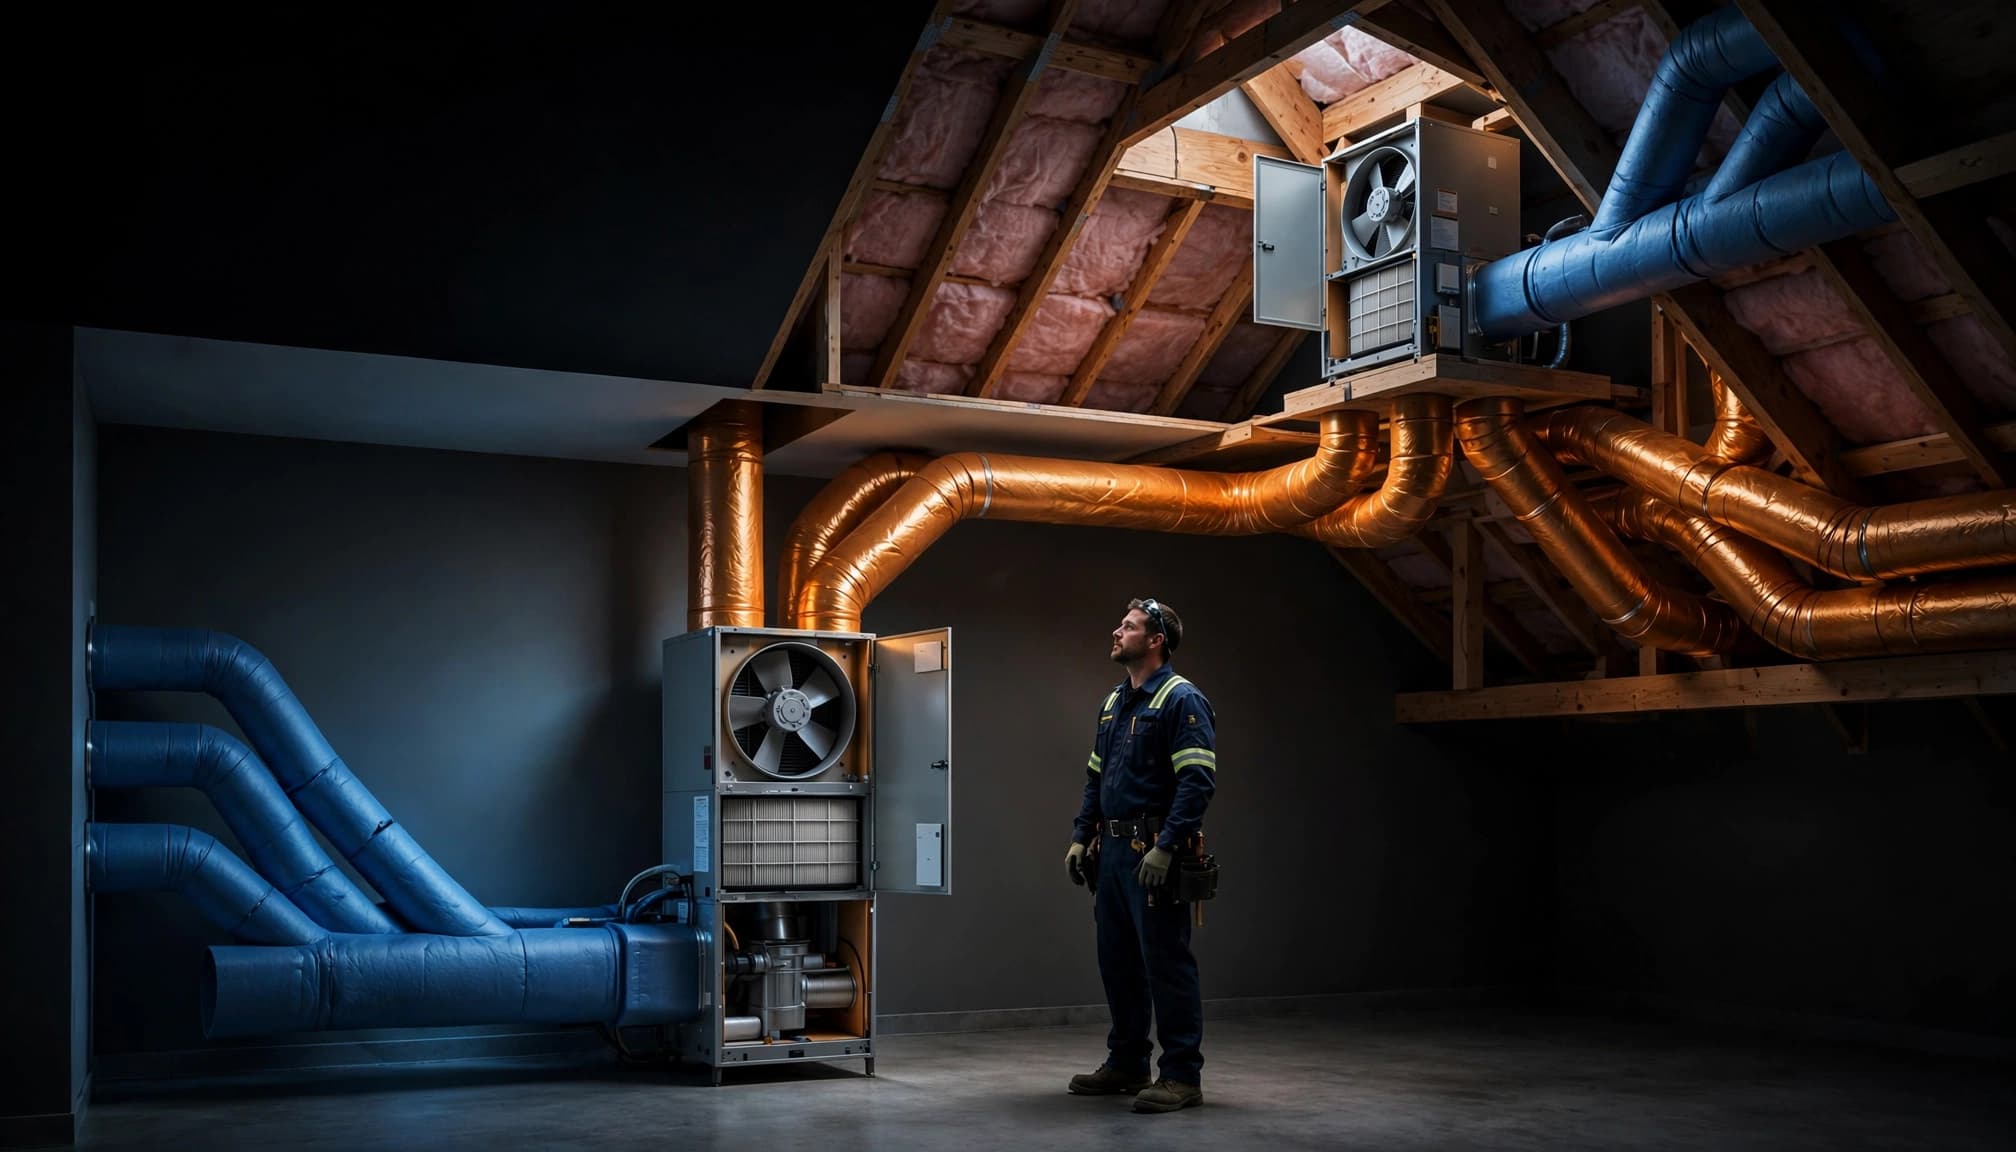
Multiple air handlers are common in larger homes, multi-story layouts, homes with additions, and properties with separate guest areas. Each air handler has its own blower, evaporator coil, filter location, return ductwork, and supply branches.
That separation matters. Dust pulled into an upstairs return does not travel through the downstairs system. Likewise, debris in a garage air handler's ductwork may have no connection to the main living area's ducts.
Map each system before cleaning begins
Start by locating every air handler. One may sit in a utility closet, while another is in an attic, garage, crawlspace, or mechanical room. Then identify the return grilles, supply registers, filter racks, and visible trunk ducts connected to each unit.
A technician should verify the layout rather than assume rooms are grouped by floor. A bedroom over the garage may connect to an unexpected system, especially after a remodel or addition.
Labeling systems during the inspection prevents missed duct runs. It also helps the crew avoid cleaning the same branches twice while leaving another zone untouched.
Shared spaces can still hide separate systems
Two systems may share a hallway, attic, or return-grille location without sharing ductwork. Zoning dampers can also create confusion because they divide airflow within one system, while separate air handlers operate independently.
A clean register does not prove the connected duct run is clean, and a cleaned downstairs system does not improve the air path served by an upstairs handler.
For full-home HVAC duct cleaning, every independent air handler needs its own inspection and cleaning sequence.
Inspect the Equipment Before Any Duct Work Starts
Cleaning crews should inspect the air side of each system before connecting hoses or brushes. The air handler cabinet, blower compartment, filter slot, return plenum, supply plenum, and accessible coil area can reveal where debris is entering.
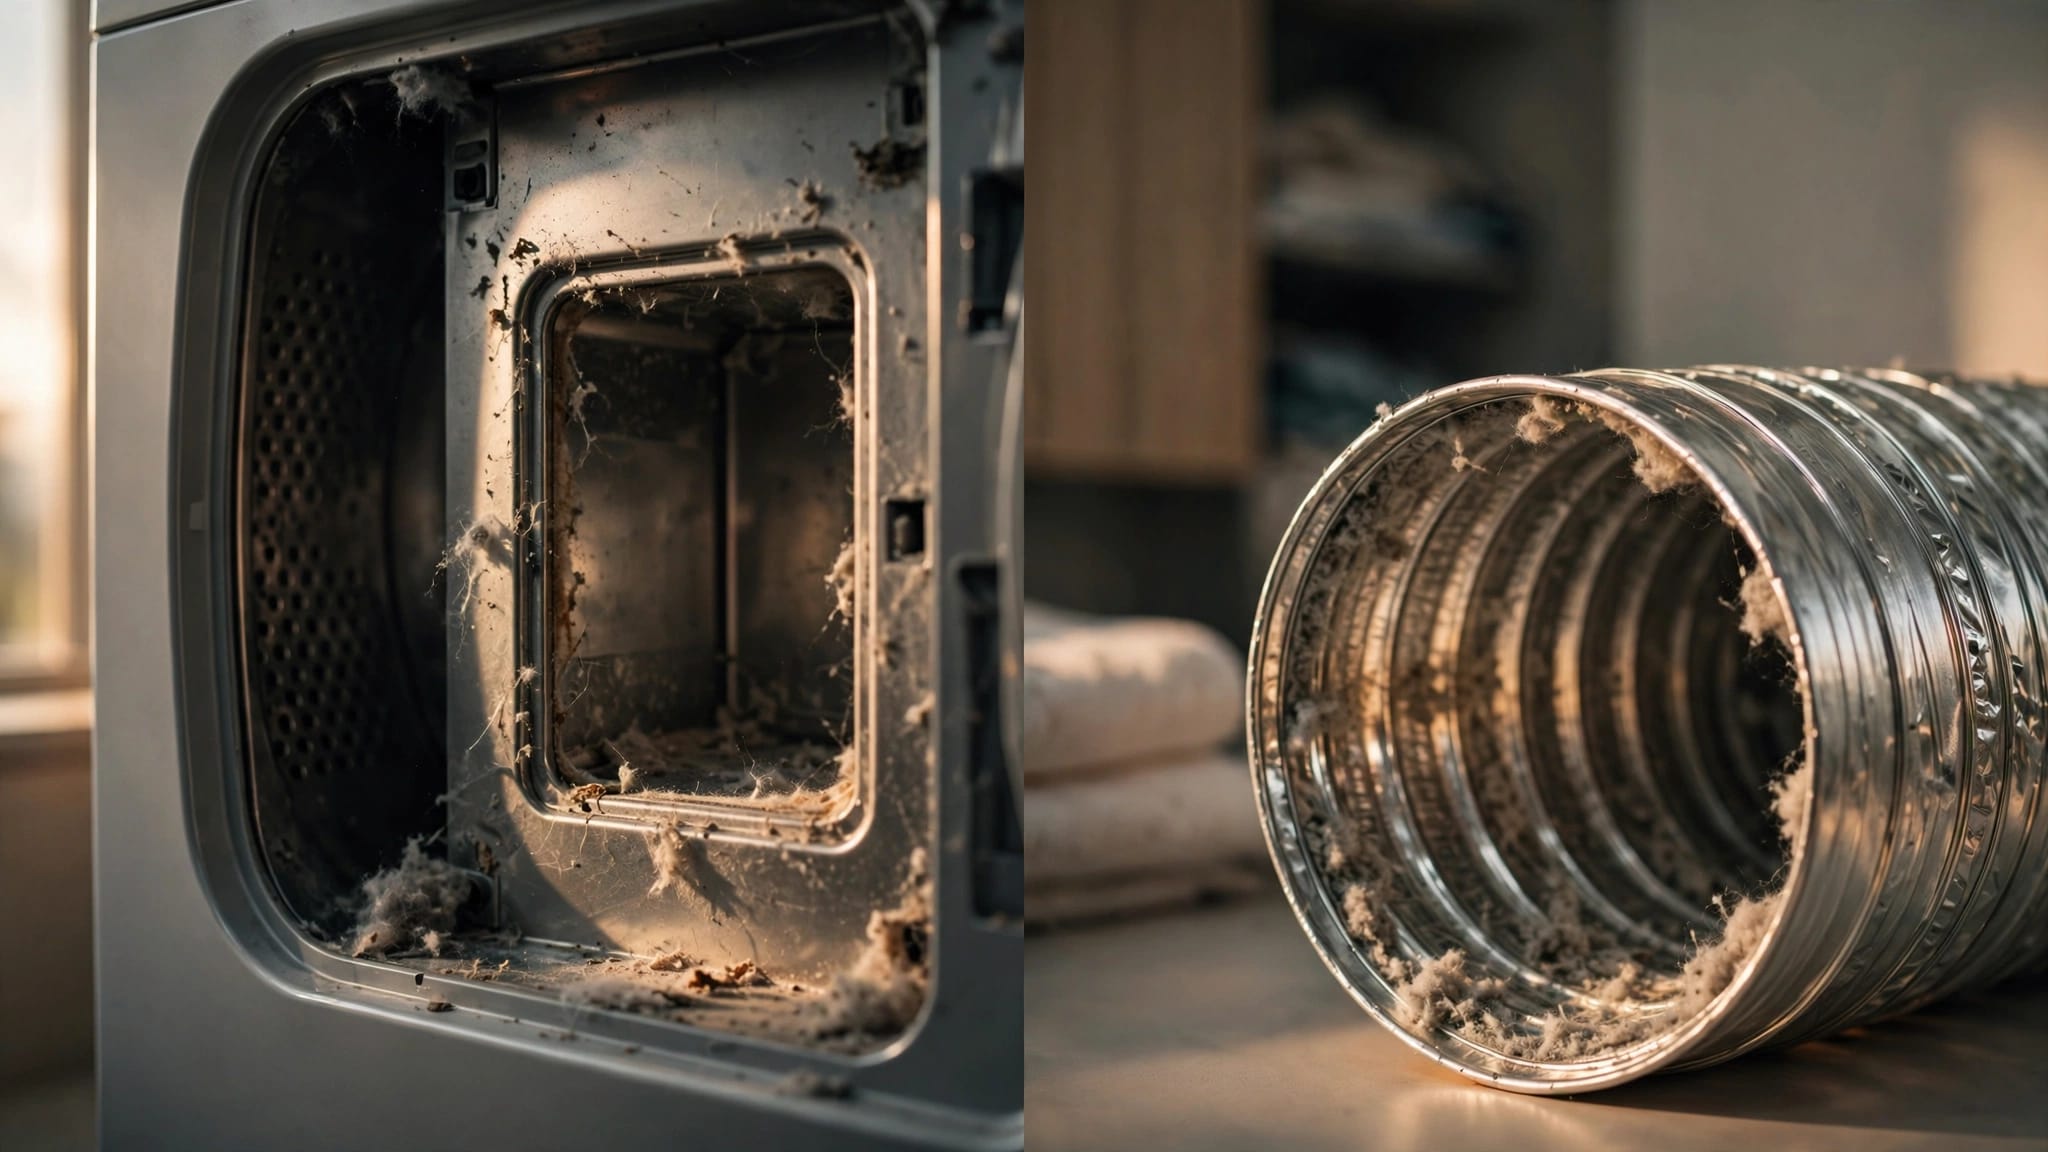
A heavily loaded filter, gaps around the filter rack, or a dirty return plenum often points to an ongoing dust problem. Cleaning ducts without correcting these issues can lead to rapid buildup again.
Build a simple system inventory
A useful inspection record includes the location of each air handler and the rooms it serves. It should also note duct materials, accessible panels, disconnected runs, insulation condition, and signs of moisture.
This quick inventory helps set realistic expectations. A system with rigid metal trunks and accessible branch lines allows more direct cleaning than one buried beneath insulation or enclosed behind finished walls.
Ask the contractor whether the estimate covers all air handlers , all supply branches, all returns, and each accessible plenum. A vague price for "whole-house ducts" can leave room for misunderstandings.
Protect electrical and refrigerant components
Air handlers contain electrical connections, blower motors, control boards, condensate drains, and refrigerant lines. These parts need protection throughout the job.
Homeowners can turn thermostats off before an appointment. However, a qualified HVAC professional should handle electrical isolation at the equipment, cabinet access, and any work near refrigerant components. Never remove refrigerant lines, open sealed refrigeration equipment, or spray water into an air handler.
Loose insulation, wet electrical areas, a damaged drain pan, or exposed wiring should pause the work until the issue is assessed. Cleaning equipment is powerful, and it shouldn't be used around unsafe mechanical conditions.
HVAC Duct Cleaning Methods That Work Across Every Zone
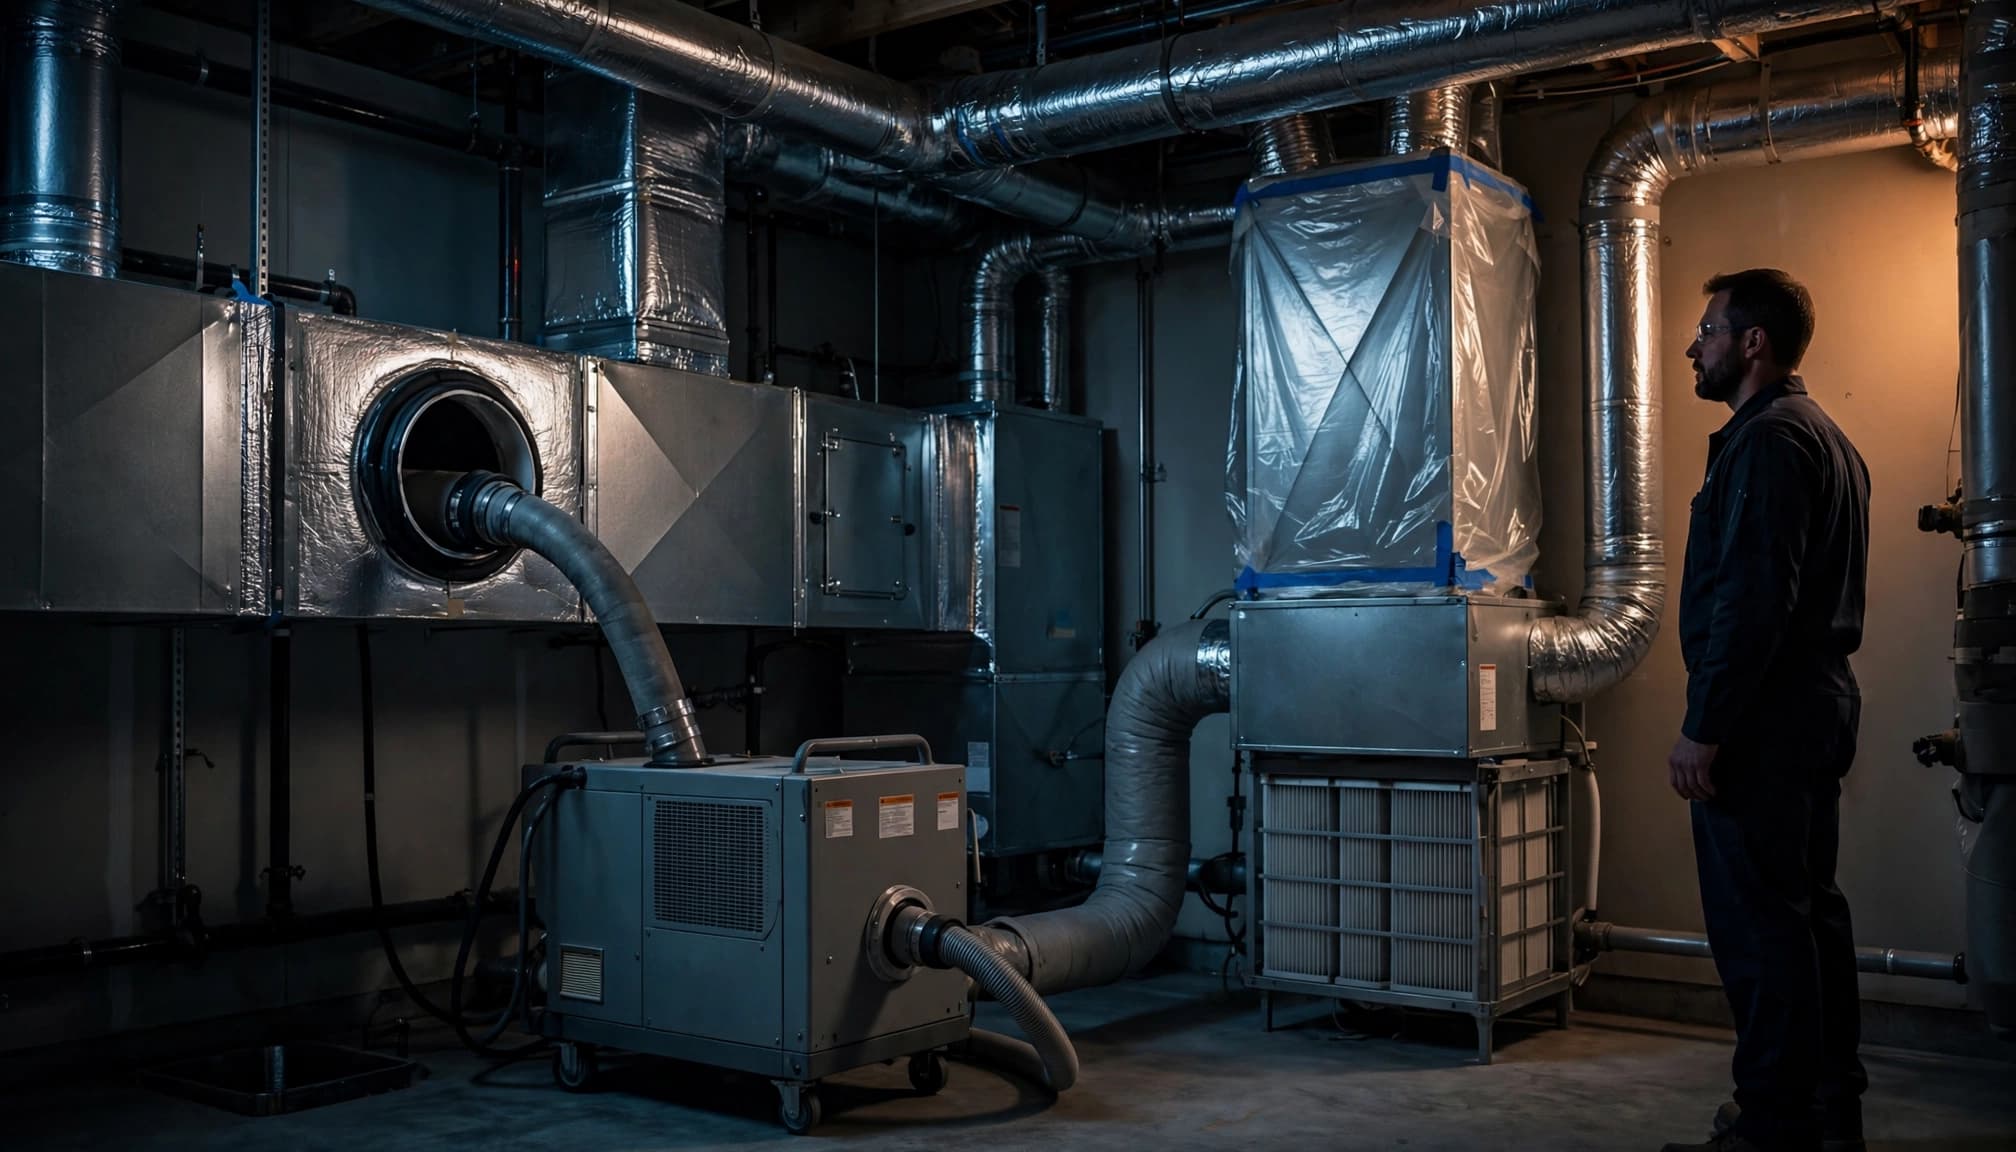
Professional HVAC duct cleaning uses controlled negative pressure to capture loosened debris. A high-powered collection unit connects to a suitable access point, while agitation tools dislodge dust along the duct interior.
The process should clean the full accessible path, rather than only vacuuming a few registers. Each air handler gets its own containment setup because its return and supply sides are separate.
Clean returns before supply branches
Return ducts often hold the heaviest buildup because they pull air from living spaces back to the equipment. The crew may clean return grilles, return branches, the return trunk, and the return plenum before addressing the supply side.
Next, the technician cleans accessible supply trunks and branches leading to individual registers. Negative pressure keeps loosened material moving toward the collection equipment rather than into the home.
The blower compartment and accessible cabinet surfaces also need attention when they contain dust. Coil cleaning is a separate task that requires the right method and protection for the fins, drain system, and surrounding electronics.
Use tools that match the duct material
Rigid metal ducts can often tolerate controlled brushing or air-whip agitation. Flexible ducts need a gentler touch. Their inner liners can tear, collapse, or separate from fittings when someone pushes aggressive tools through tight turns.
A reputable crew adjusts pressure and agitation for each run. They also seal temporary access openings properly after the work is complete.
Do not use a household vacuum inside ductwork. It lacks the power, hose length, filtration, and containment needed for a duct-cleaning job. Its hose can also snag flexible duct liners or damage insulation around poorly supported runs.
Flexible Ducts, Insulation, and Hidden Runs Need Extra Care
Many Florida homes use insulated flex duct in attics and tight mechanical spaces. These ducts are light and practical, but they are more delicate than sheet-metal trunks. Their insulated outer jacket also hides damage until airflow problems appear.
Before work begins, the contractor should check for crushed sections, disconnected collars, sagging runs, and damp insulation. Cleaning will not repair those defects.
Avoid tearing flexible duct liners
Flex duct has a wire helix inside a thin inner liner. Sharp brushes, forceful rods, and careless hose movement can puncture the liner or loosen tape at a connection. Once damaged, the run may leak conditioned air into an attic or pull dusty attic air toward the system.
Technicians should use equipment suited to flex duct and stop if resistance suggests a kink, collapse, or hidden obstruction. Replacing a compromised section may be safer than forcing tools through it.
Treat inaccessible ductwork honestly
Some ducts are sealed behind drywall, under floors, or beneath deep attic insulation. Others may be too fragile or unsafe to access without causing damage. A responsible provider will explain what can be cleaned and what cannot.
Avoid anyone who promises to reach every inch without first inspecting the system. Access holes may be appropriate in metal ductwork when installed and sealed correctly. They are not a reason to cut blindly through insulated flex duct or finished ceilings.
DIY Steps That Help Between Professional Cleanings
Homeowners can reduce dust entering each system with basic maintenance. Those small steps matter more in homes with several filters and multiple return paths.
Check filter sizes and replacement schedules for every air handler. One neglected filter can keep sending dust into its own return side, even if the other system is well maintained.
Safe homeowner tasks
You can handle a few surface-level jobs without opening equipment or entering duct runs:
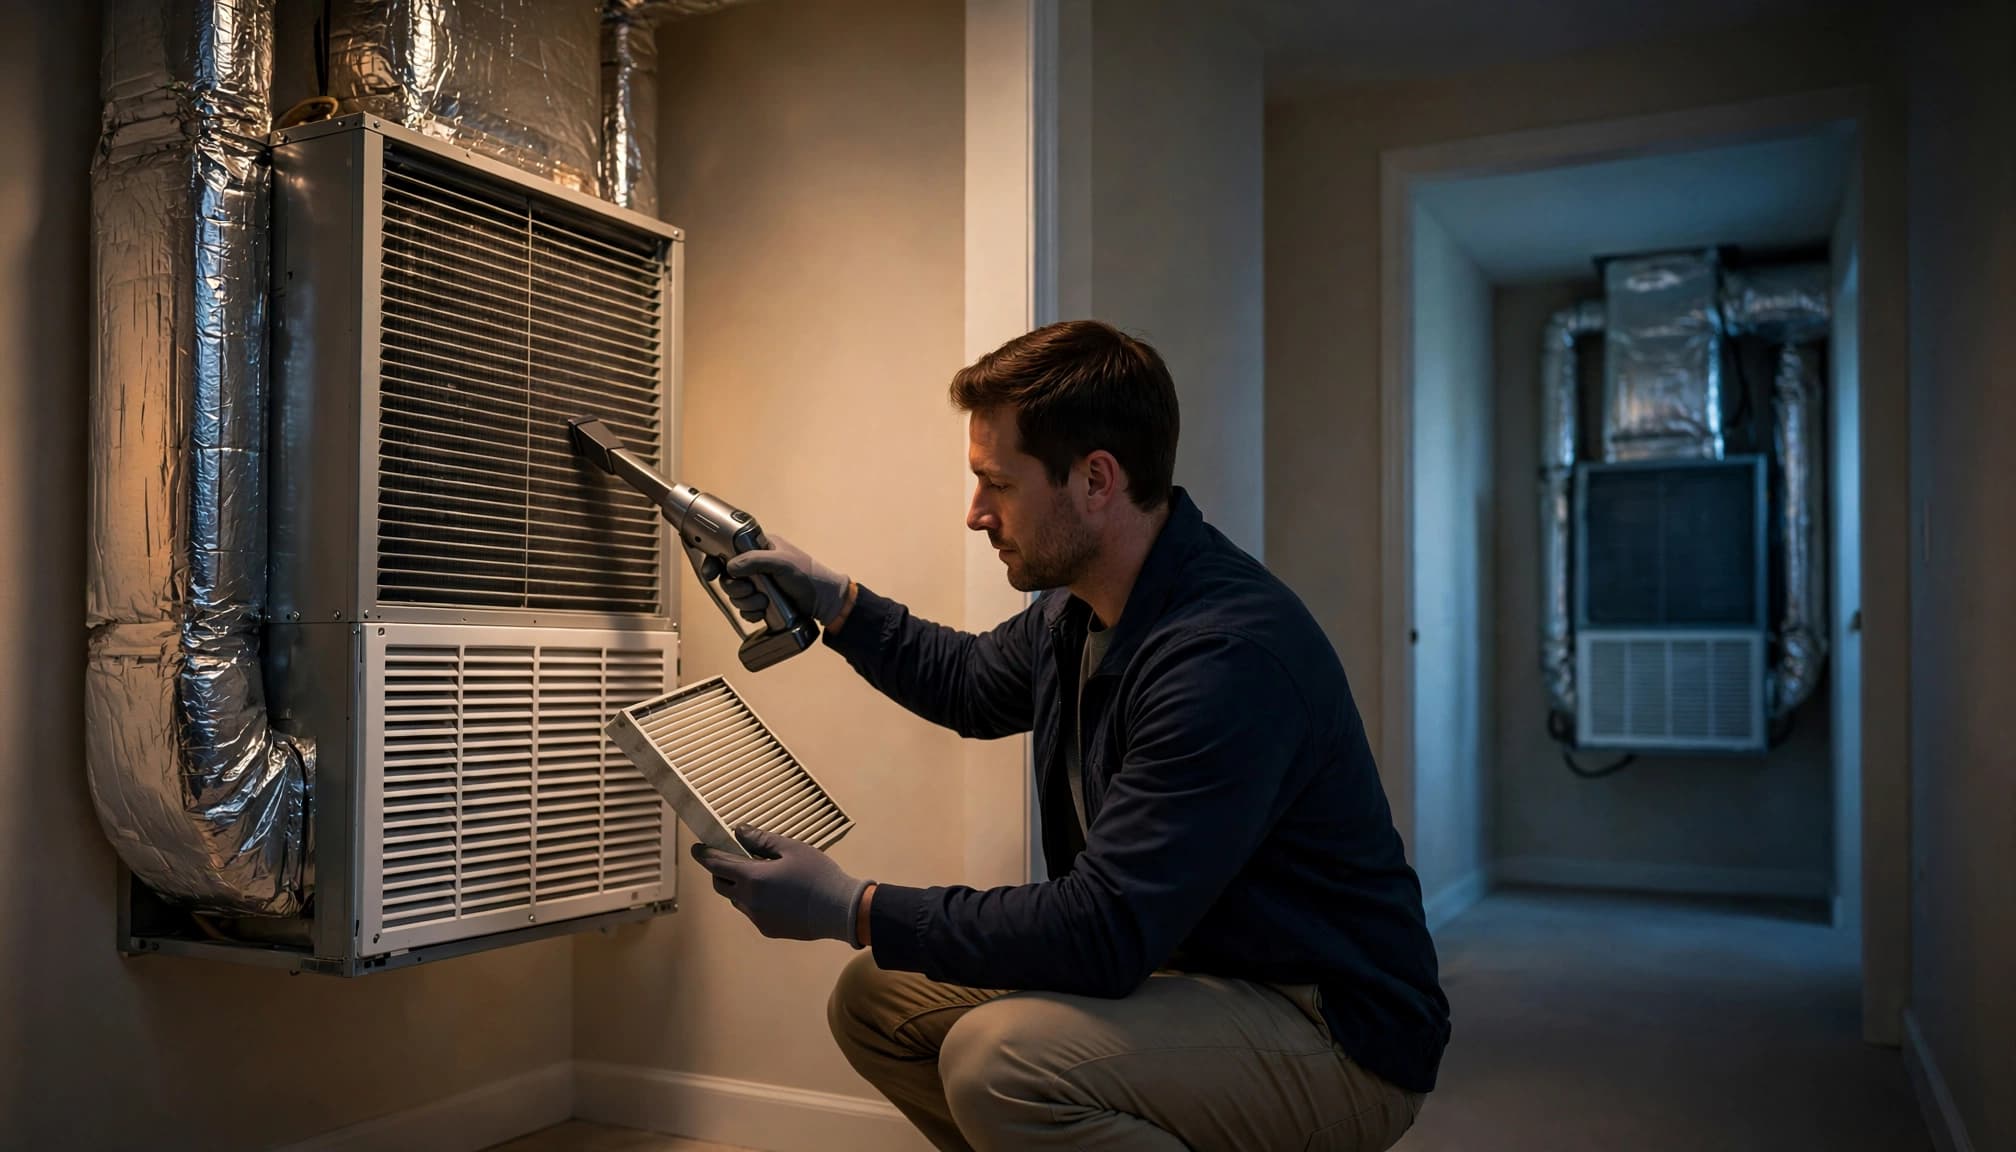
- Replace filters with the size and type recommended for each system, and install them with the airflow arrow facing the correct direction.
- Vacuum dust from the face of accessible supply and return grilles, keeping the vacuum hose outside the duct.
- Wipe grille covers after removing them, then reinstall each cover securely.
- Keep attic access doors, return grilles, and air-handler closets clear of stored items.
If a filter bends, whistles, or will not fit, stop and confirm the correct size. An overly restrictive filter can reduce airflow.
When professional service is the better choice
Call a qualified provider for visible debris beyond the grille, repeated dust around registers, loose ducts, odors that return when the system runs, or airflow differences between rooms. A professional can inspect the blower, cabinets, plenums, and accessible ducts without damaging the system.
For a home with separate upstairs and downstairs equipment, Get a Free Estimate for a review of every air handler and connected duct zone.
Mold, Odors, and Hazardous Debris Change the Job
Dust is one thing. Suspected mold, rodent waste, water damage, lead-containing debris, or insulation contamination requires a different response. The source of moisture or contamination must be found before routine duct cleaning continues.
A musty odor can come from a wet coil, clogged condensate drain, damp insulation, or microbial growth. Duct cleaning alone will not fix a moisture problem.
Do not spray biocides blindly
Chemical biocides, sanitizers, and inhibitors are not a substitute for source removal and moisture repair. They should never be sprayed into ducts without a clear reason, a product appropriate for that use, and a professional assessment of occupants, materials, and ventilation.
Mold-like growth also needs careful identification. If contamination is extensive or involves hazardous materials, use a qualified remediation professional. Disturbing it with brushes or air pressure can spread particles into living areas.
Stop when contamination or damage appears
A crew should pause if it finds wet insulation, animal nesting, deteriorated duct liner, significant mold growth, or a disconnected duct hidden in an attic. Photos and a clear explanation help homeowners decide on repairs before cleaning resumes.
This approach protects the home and avoids spending money on a cleaning that cannot last.
A Complete System Is a Cleaner System
Multiple air handlers create separate paths for air, dust, and debris. That is why HVAC duct cleaning should cover each independent system, not only the unit that is easiest to reach.
A careful inspection, protected equipment, proper negative-air collection, and gentle handling of flexible ducts keep the job focused on real conditions. Complete coverage matters more than a fast pass through a few visible registers.