Move a Dryer Safely Without Crushing the Vent Hose
Knowing how to move dryer safely starts with one rule: never let the appliance press against its vent hose. A crushed flexible duct restricts airflow, traps lint, and can make the dryer run longer or hotter.
Whether you're cleaning behind the machine, replacing flooring, or making room for service, move slowly. The right preparation protects the hose, electrical connection, gas line, and your back.
Why Dryer Vent Hoses Get Crushed
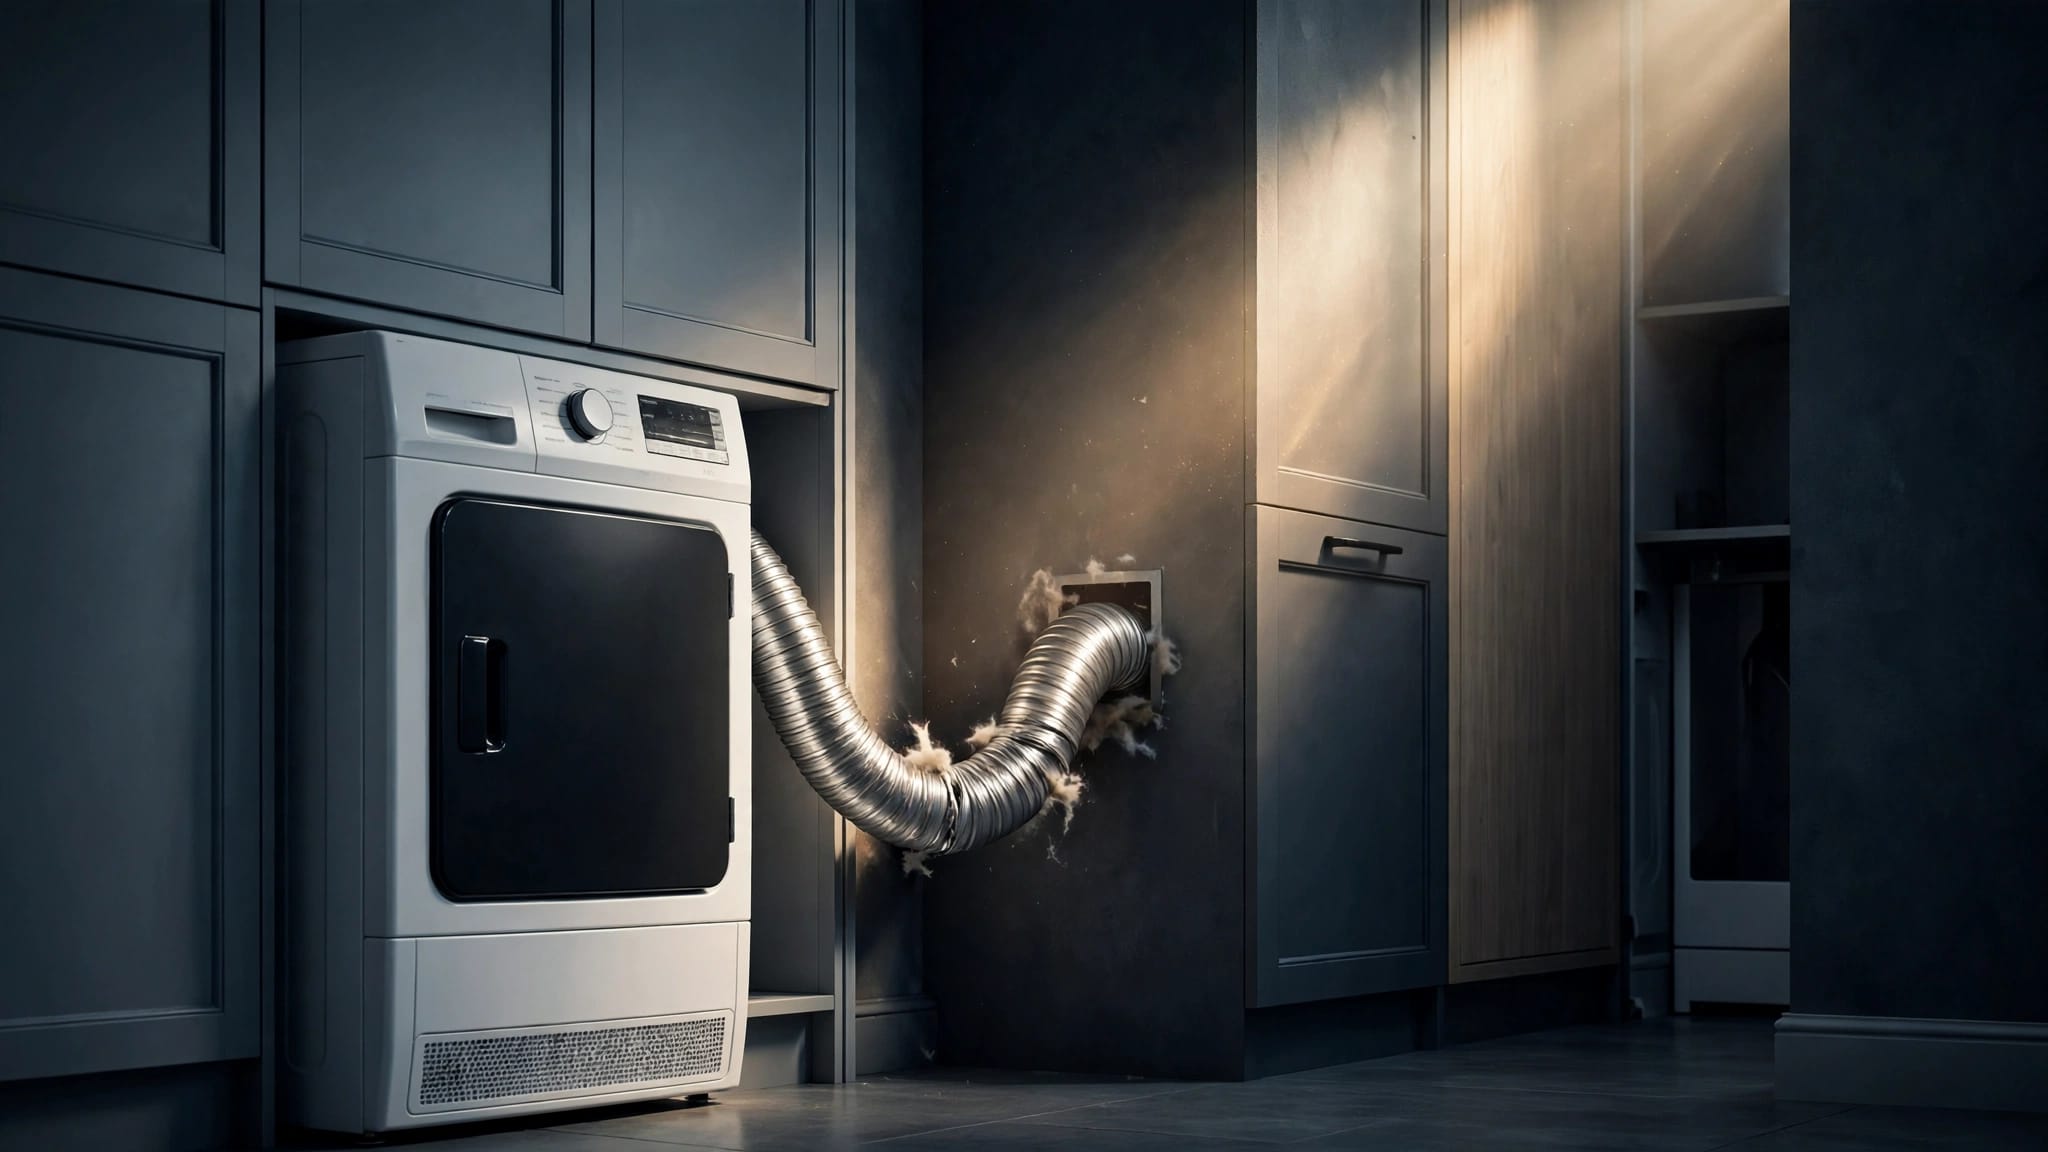
Most dryers connect to the wall with a short flexible transition duct. It may be made from flexible aluminum foil or semi-rigid metal. The hose needs enough room to bend in a broad curve behind the dryer.
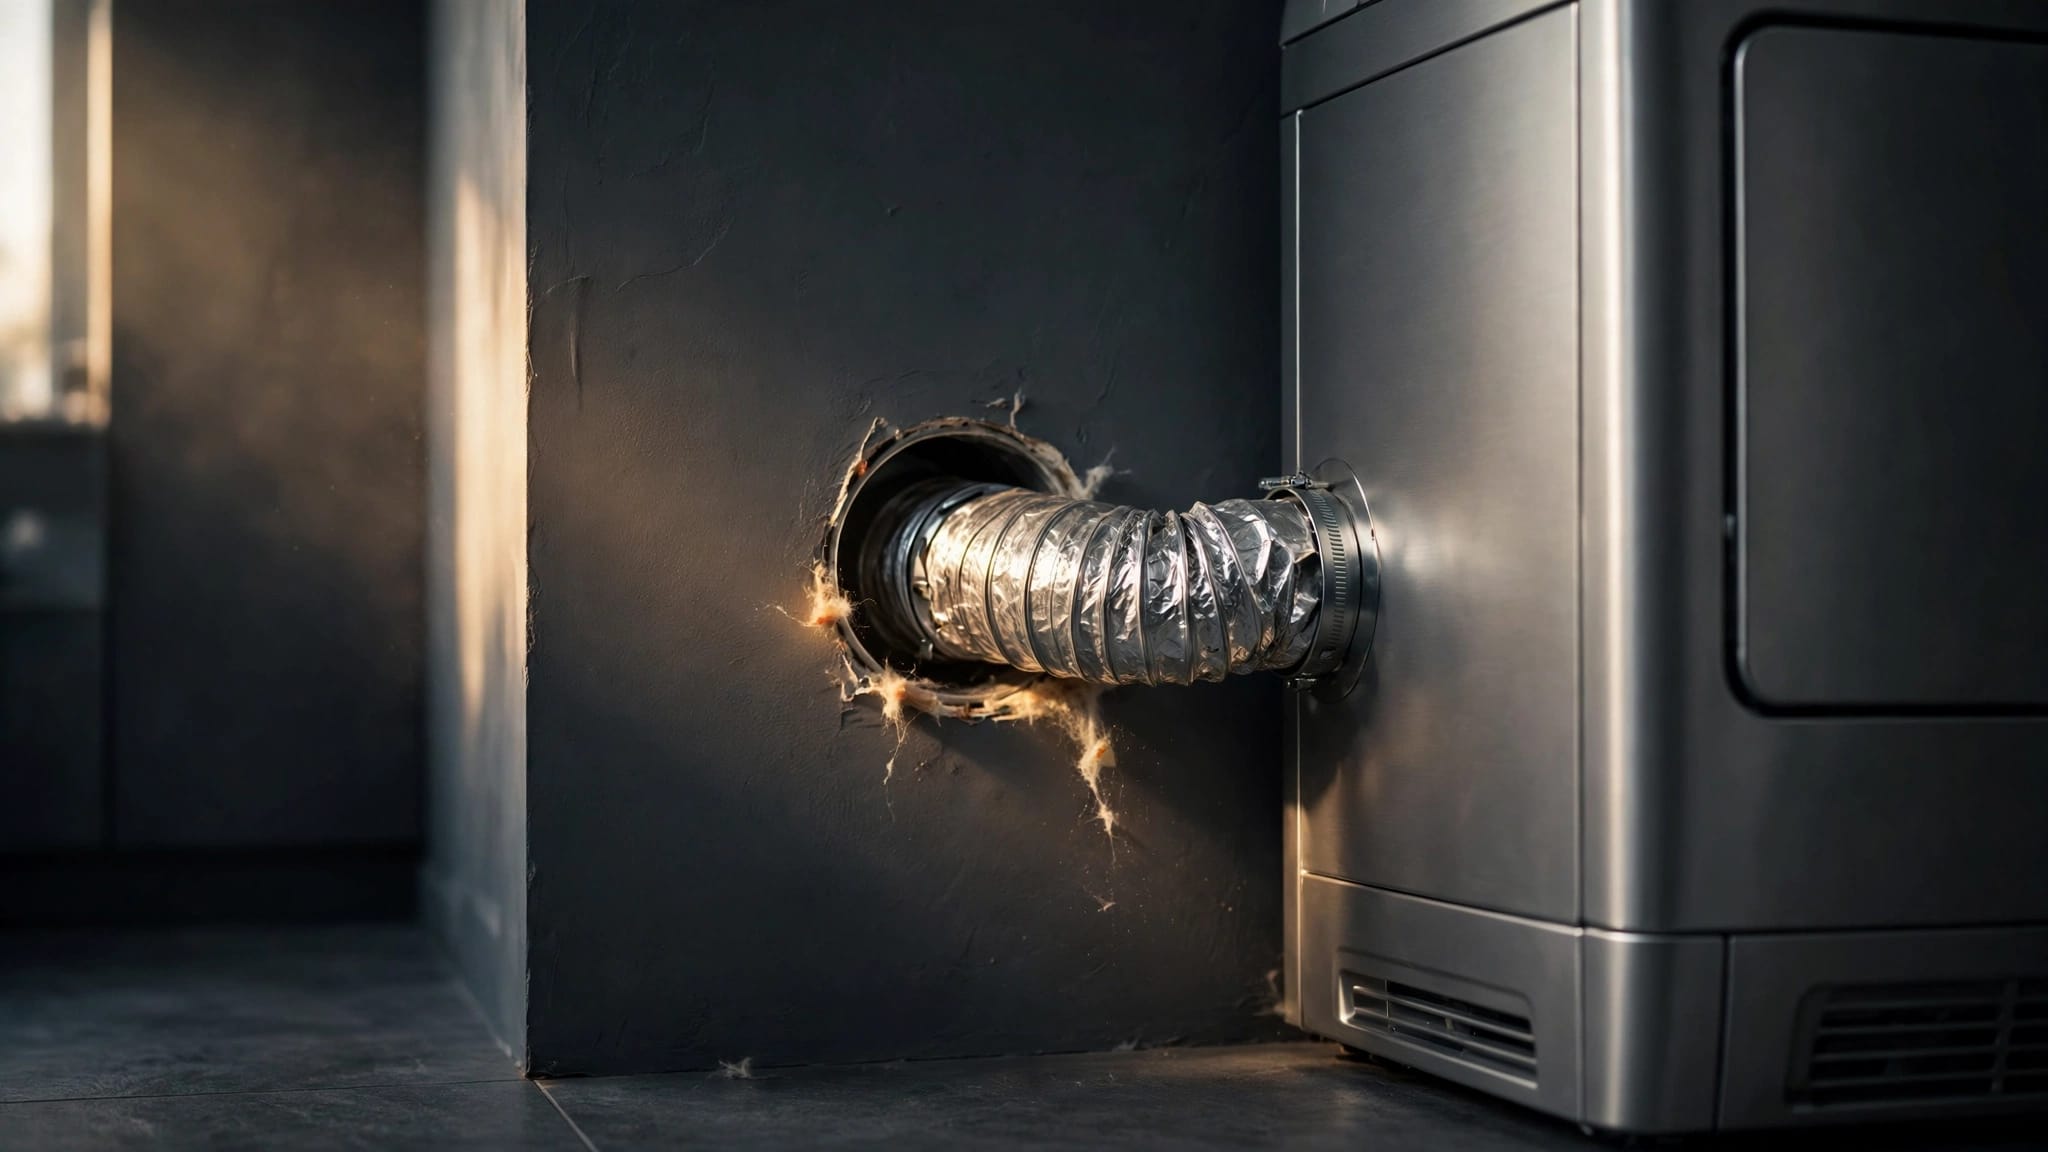
Problems begin when the dryer sits too close to the wall. The hose folds into sharp accordion-like bends, which narrows the opening. A rear corner can also twist the duct, then pin it against the wall or floor.
Dragging the dryer at an angle creates another common problem. One side moves first, while the opposite rear corner pushes sideways into the hose. Even if the clamp stays attached, the duct can split or flatten behind the appliance.
A hose can look connected while its center is flattened behind the dryer. Check the entire visible curve, not only the clamp.
Avoid using the wall, a tool, or the dryer's weight to force a hose into a smaller space. Rigid pressure can damage flexible metal, loosen the wall connection, or shift a concealed vent pipe. If the hose won't fit without tight bends, the vent layout needs attention before you use the dryer.
How to move dryer safely before pulling it forward
Start by clearing a path around the dryer. Remove laundry baskets, detergent bottles, rugs, and anything that could catch the appliance. You may need work gloves, a flashlight, furniture sliders, and another adult to watch the rear connection.
Empty the drum and clean the lint screen. Lint around the back connection can fall into the gap while you move the machine, so vacuum loose debris if you can reach it safely.
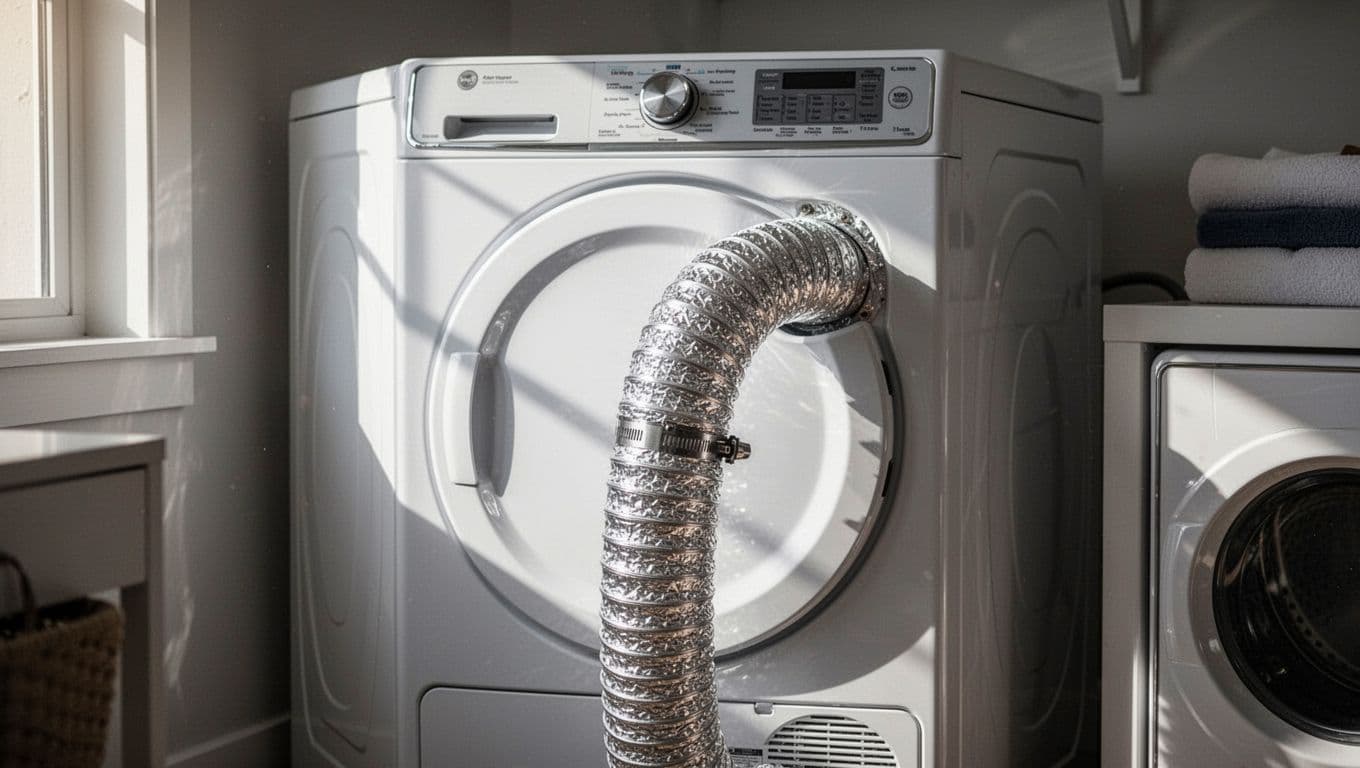
Before pulling the dryer, identify every connection:
- An electric dryer usually has a heavy power cord connected to a 240-volt receptacle.
- A gas dryer has a power cord plus a flexible gas connector and a nearby shutoff valve.
- Both types have a vent hose connected to the exhaust outlet.
If the dryer sits on a pedestal or is stacked with a washer, check the manufacturer's instructions before moving it. A stacked unit may need to be separated or secured first. Never pull a stacked dryer forward by itself.
For a small move, you may have enough slack to pull the dryer forward a few inches. For a larger move, disconnect the vent hose rather than stretching it. The appliance should never carry the hose along the floor or drag it across a sharp edge.
Move the dryer in controlled steps
The safest process keeps the dryer square and gives the hose room to move. Work through these steps in order:
- Turn the dryer off and let it cool. Remove clothing from the drum. Hot surfaces and recently heated laundry can make handling more difficult.
- Disconnect the power safely. Unplug an electric or gas dryer by holding the plug, not the cord. If the cord is hard to reach, don't yank the appliance until you have created enough space.
- Check the gas supply before moving a gas dryer. If you only need a few inches and the connector has clear slack, avoid bending or stretching it. For a larger move, close the shutoff valve and have a qualified professional disconnect the gas line.
- Loosen the vent connection when necessary. Support the hose with one hand while loosening the clamp. Pull the duct straight off the dryer outlet, rather than twisting the metal collar or forcing the hose sideways.
- Slide the appliance straight forward. Keep the rear panel parallel with the wall. Furniture sliders can reduce strain on hard floors, while an appliance dolly is safer for a longer move or uneven flooring.
- Have someone watch the rear. Move a few inches at a time. Stop if the hose folds, the clamp catches, the cord tightens, or the gas connector begins to bend.
- Position the dryer with clearance behind it. Leave enough space for the duct to form a smooth curve. The exact clearance depends on the vent design and the manufacturer's installation instructions.
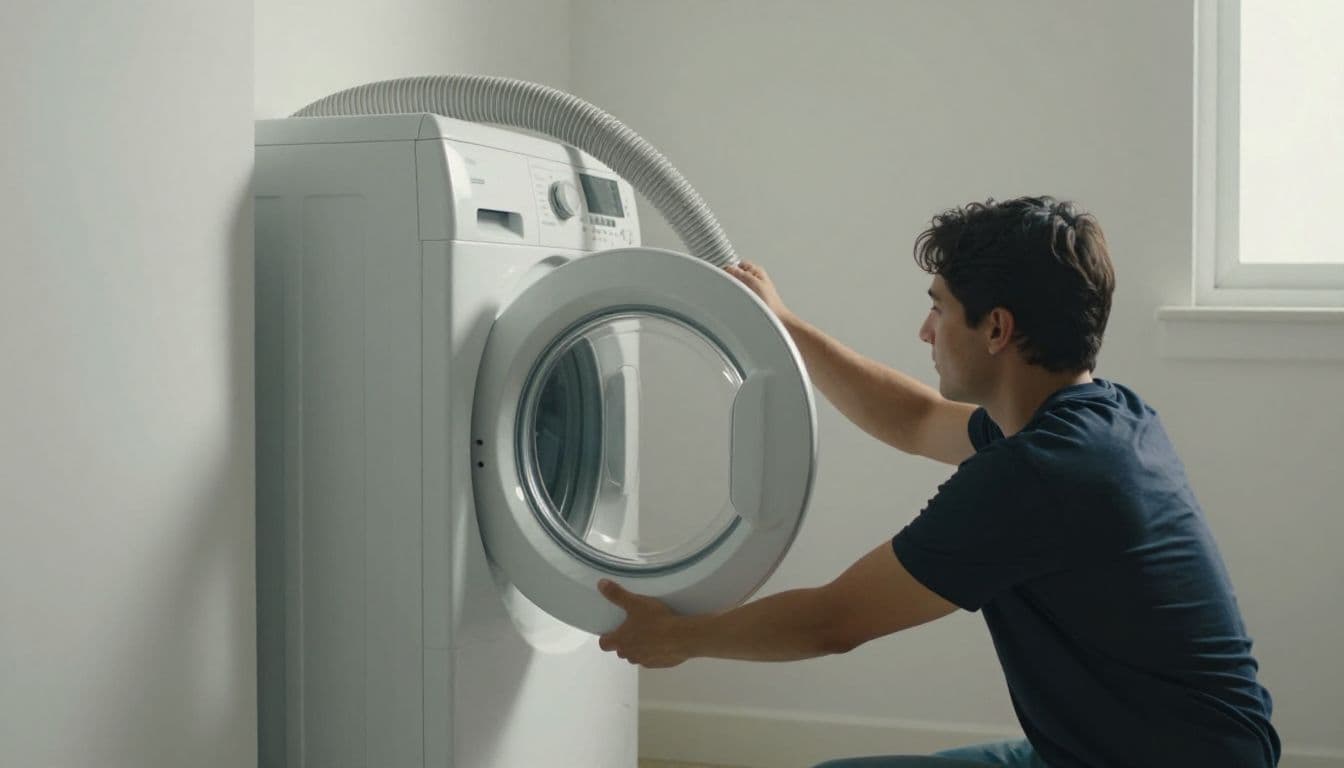
When you move the dryer back, reverse the process slowly. Keep one person at the rear and guide the hose as the appliance approaches the wall. Don't push until the duct becomes flat. A slightly longer route with gentle bends is safer than a short route under pressure.
Electric and gas dryer precautions differ
Moving an electric dryer
Electric dryers use high-voltage power. Turn the control off, unplug the cord, and keep the plug away from water or damaged flooring. Don't remove the receptacle cover or handle wiring while preparing to move the machine.
Inspect the power cord for cuts, melted insulation, or loose terminals. If you find damage, leave the dryer unplugged until an appliance technician replaces the cord or repairs the connection.
The cord should have enough slack for the planned movement. It shouldn't sit beneath the dryer, scrape against a sharp edge, or pull tight when the machine moves.
Moving a gas dryer
A gas dryer needs extra care because its flexible connector can kink or leak. Keep the gas line from twisting, stretching, or rubbing against the cabinet. If you smell gas, stop immediately, avoid switches and flames, leave the area, and contact your gas utility or emergency service.
For a minor adjustment, leave the gas connection intact only when the line has safe, visible slack and the manufacturer permits that movement. A full relocation usually requires gas disconnection and reconnection by a qualified professional.
After reconnection, a qualified installer should check for leaks. Never test a gas connection with a match or lighter.
Inspect the hose before reconnecting the dryer
Moving the appliance is a good opportunity to examine the entire transition duct. Look for crushed sections, torn foil, separated seams, heavy lint, and clamps that no longer grip firmly.
Replace a damaged hose instead of patching it and pushing the dryer back into place. The replacement should match the dryer and vent system requirements. Avoid materials that collapse easily or create a sharply corrugated path.
Reconnect the duct straight onto the dryer's exhaust outlet. Tighten the clamp so the connection stays secure, but don't tighten it so aggressively that it cuts into the flexible metal. Approved foil tape can help seal a suitable connection. Ordinary cloth-backed duct tape isn't a dependable long-term choice in a hot, lint-producing vent system.
Check the wall connection as well. The hose shouldn't pull away when you reposition the dryer. It should have a smooth curve with no kinks, flat spots, or sharp bends. Confirm that the exterior vent cap opens freely and that nothing blocks the outlet.
Never operate a dryer with a crushed, disconnected, or damaged vent hose. A connected duct still needs clear airflow through its full length.
Once every connection looks sound, run the dryer on an air-only setting first. Then, if there are no problems, use a short heated cycle and check the exterior exhaust. You should feel steady airflow outside. Stop the dryer if you notice a gas smell, unusual heat around the cabinet, poor airflow, rattling, or a hose that shifts.
If the dryer already takes two cycles to dry clothing or the outside airflow feels weak, arrange the dryer vent cleaning process before returning the appliance to tight clearance. Lint and moisture can build up inside a vent even when the visible hose looks clean.
Know when the move needs professional help
Stop and call for service when the hose disappears into an inaccessible wall space, the connection has pulled loose, or the vent won't fit without crushing. A professional can inspect the transition duct, wall connection, exterior cap, and airflow path.
The same applies if you find a duct that exhausts into an attic instead of outdoors. Read about why attic venting is a hazard, then arrange the needed correction before running the dryer.
Homeowners in Fort Myers, Naples, Tampa, and nearby Gulf Coast communities can Get a Free Estimate for dryer vent cleaning or related service when the vent needs more than a quick visual check.
Conclusion
To move dryer safely, create room first, disconnect the right connections, and keep the appliance square as it slides. The vent hose should never bear pressure, develop sharp kinks, or become trapped between the dryer and wall.
Afterward, inspect every connection and confirm strong outdoor airflow before using heat. A few extra minutes spent guiding the hose can prevent restricted drying, damaged ductwork, and a much harder repair.