What Technicians Do When They Find Wet Duct Liner
Wet insulation inside your ductwork can turn a routine cleaning appointment into a moisture investigation. When technicians find wet duct liner, they need to identify the water source and assess the material before choosing a fix.
Cleaning alone won't correct a leak, and drying doesn't automatically restore damaged insulation. The right response depends on the material's condition , contamination, and whether the moisture source is still active.
A professional assessment starts with documenting what got wet and how far the problem extends.
Key Takeaways
- Technicians trace the moisture source before recommending cleaning, treatment, or replacement.
- Wetness, dark staining, and musty odors need investigation, but none alone confirms mold.
- The decision depends on the duct material, water source, damage, and whether restoration is appropriate.
- A completed repair should include checks for dryness, sound materials, and correction of the original moisture problem.
Inspecting the Wet Duct Liner Before Cleaning
A technician usually pauses routine cleaning in the affected area. Aggressive brushing or air agitation can damage weakened liner or disturb suspected contamination.
Identify the Material and Affected Area
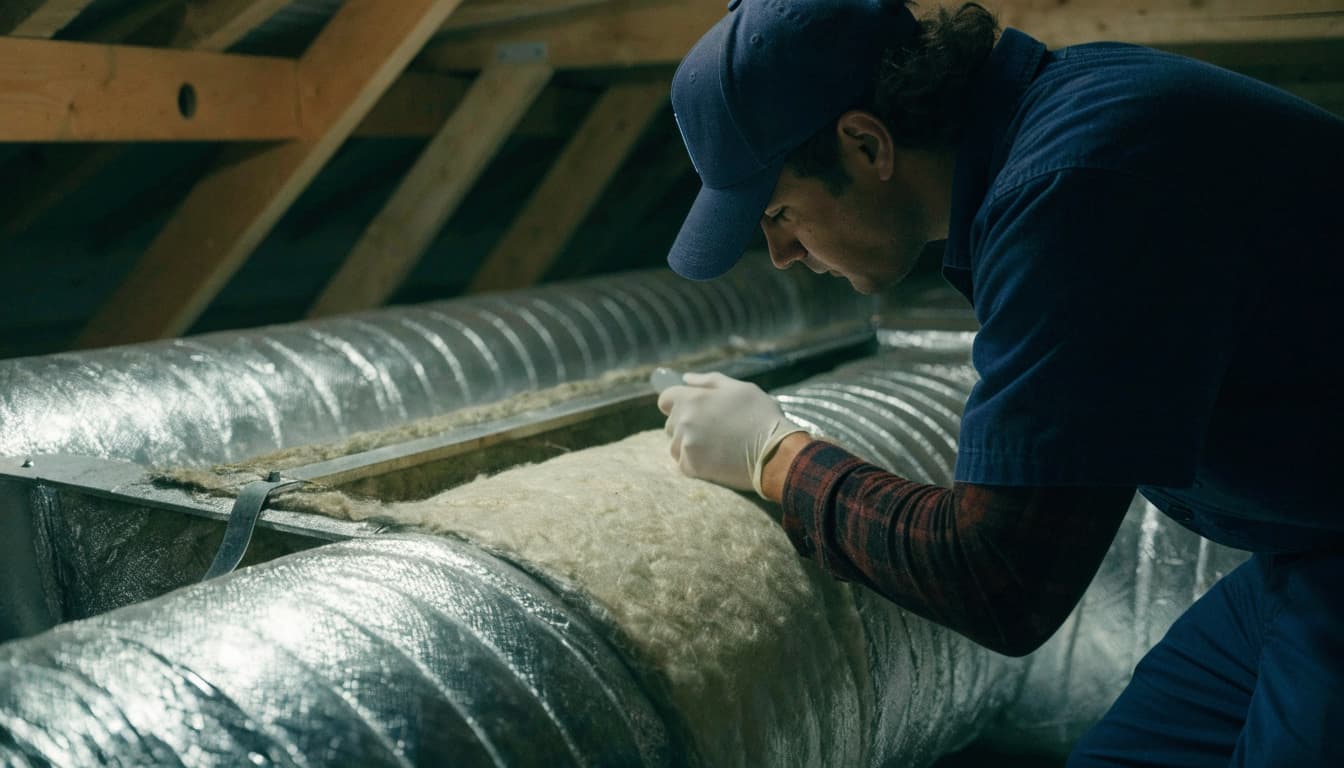
Internal duct liner is different from insulation wrapped around a duct. Many lined sheet-metal ducts contain porous fiberglass on the inside. Flex duct has a separate inner air passage surrounded by insulation.
That distinction affects the repair. Wet external wrap doesn't automatically mean the interior is contaminated, while damp internal liner sits directly in the airflow.
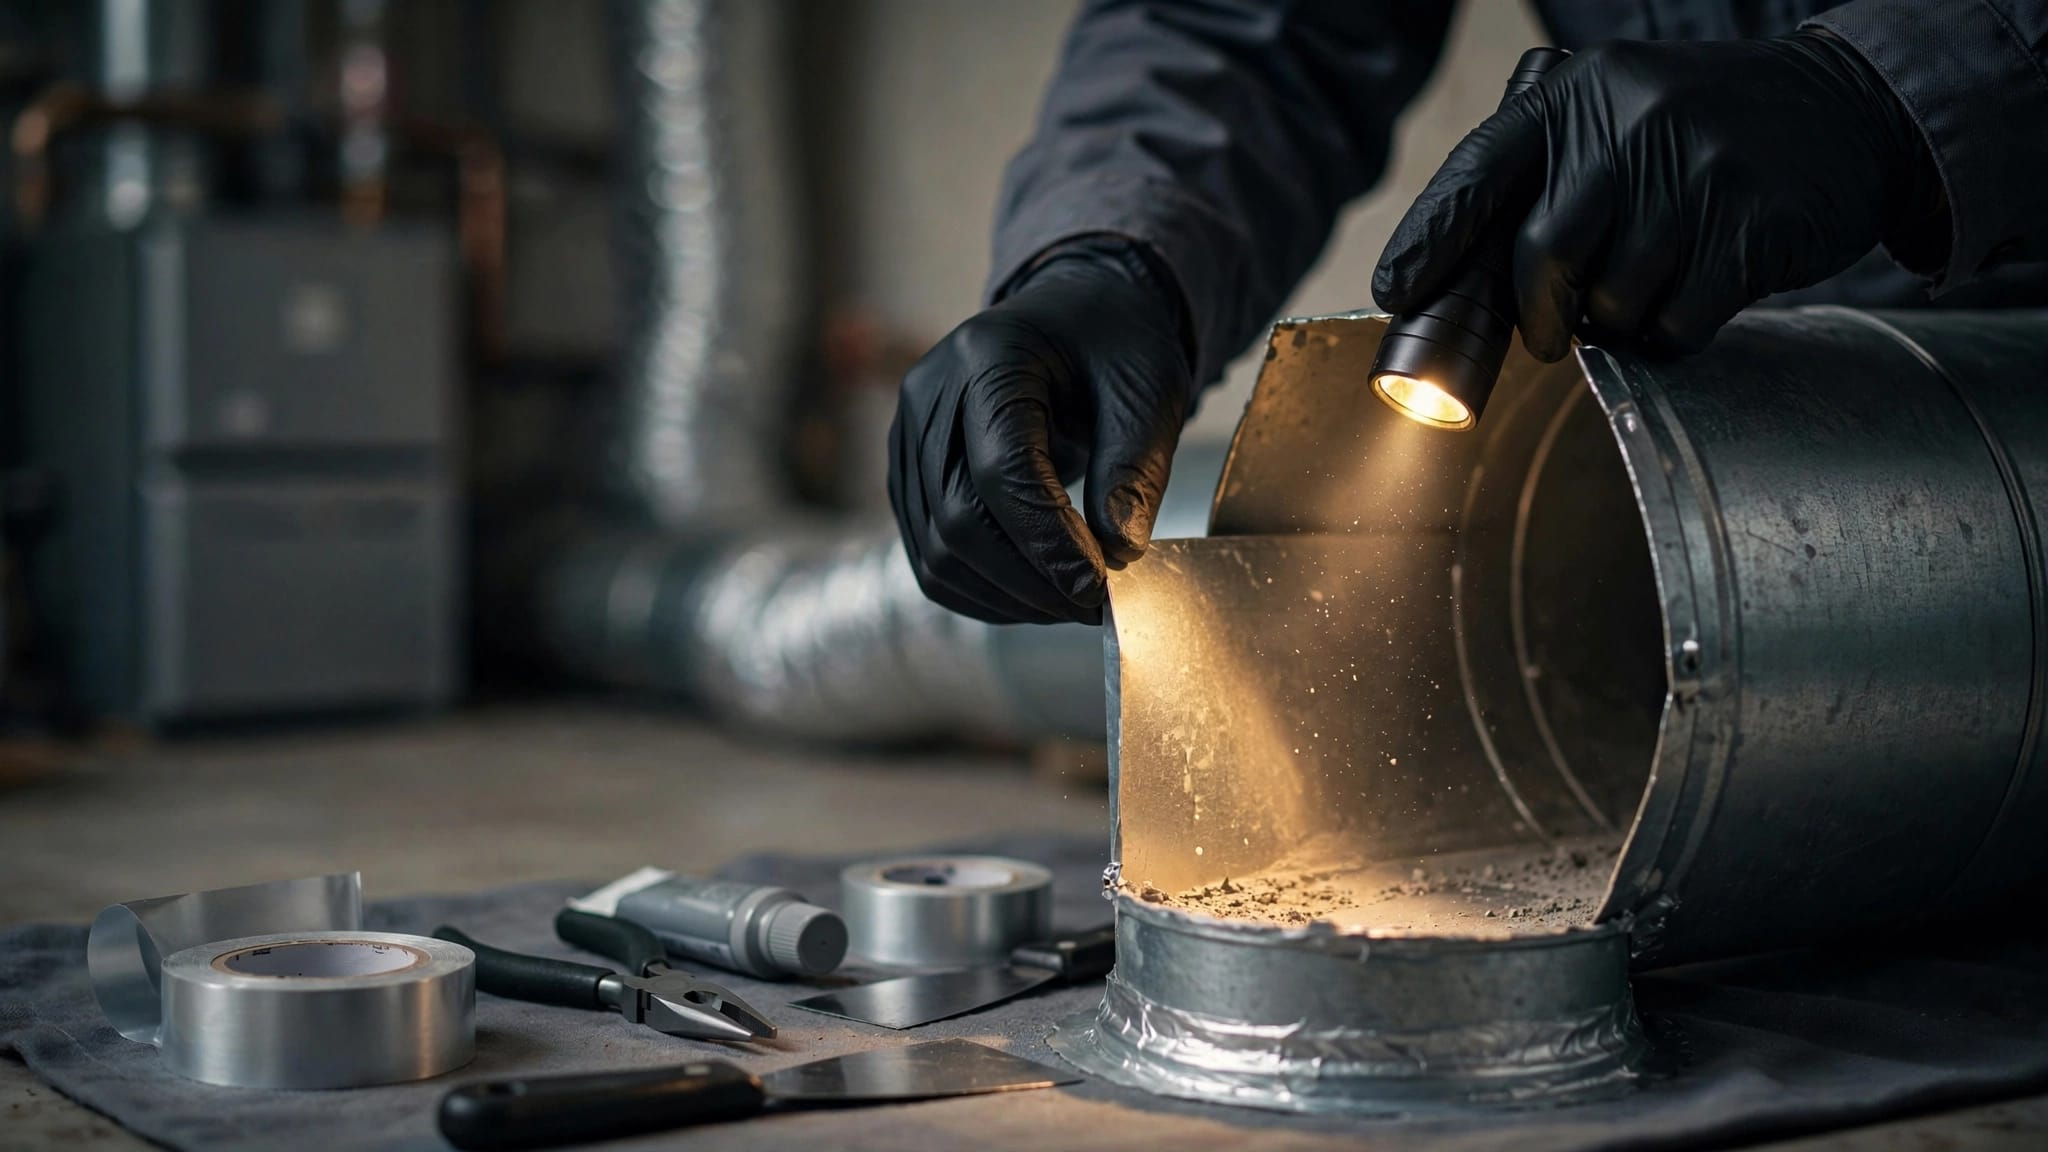
Technicians inspect accessible supply runs, returns, plenums, and nearby air-handler components. They look for wet areas, water stains, sagging, loose adhesive, torn surfaces, and deterioration. Photos help document whether damage affects one connection or several connected sections.
Use Inspection Tools Without Overstating Results
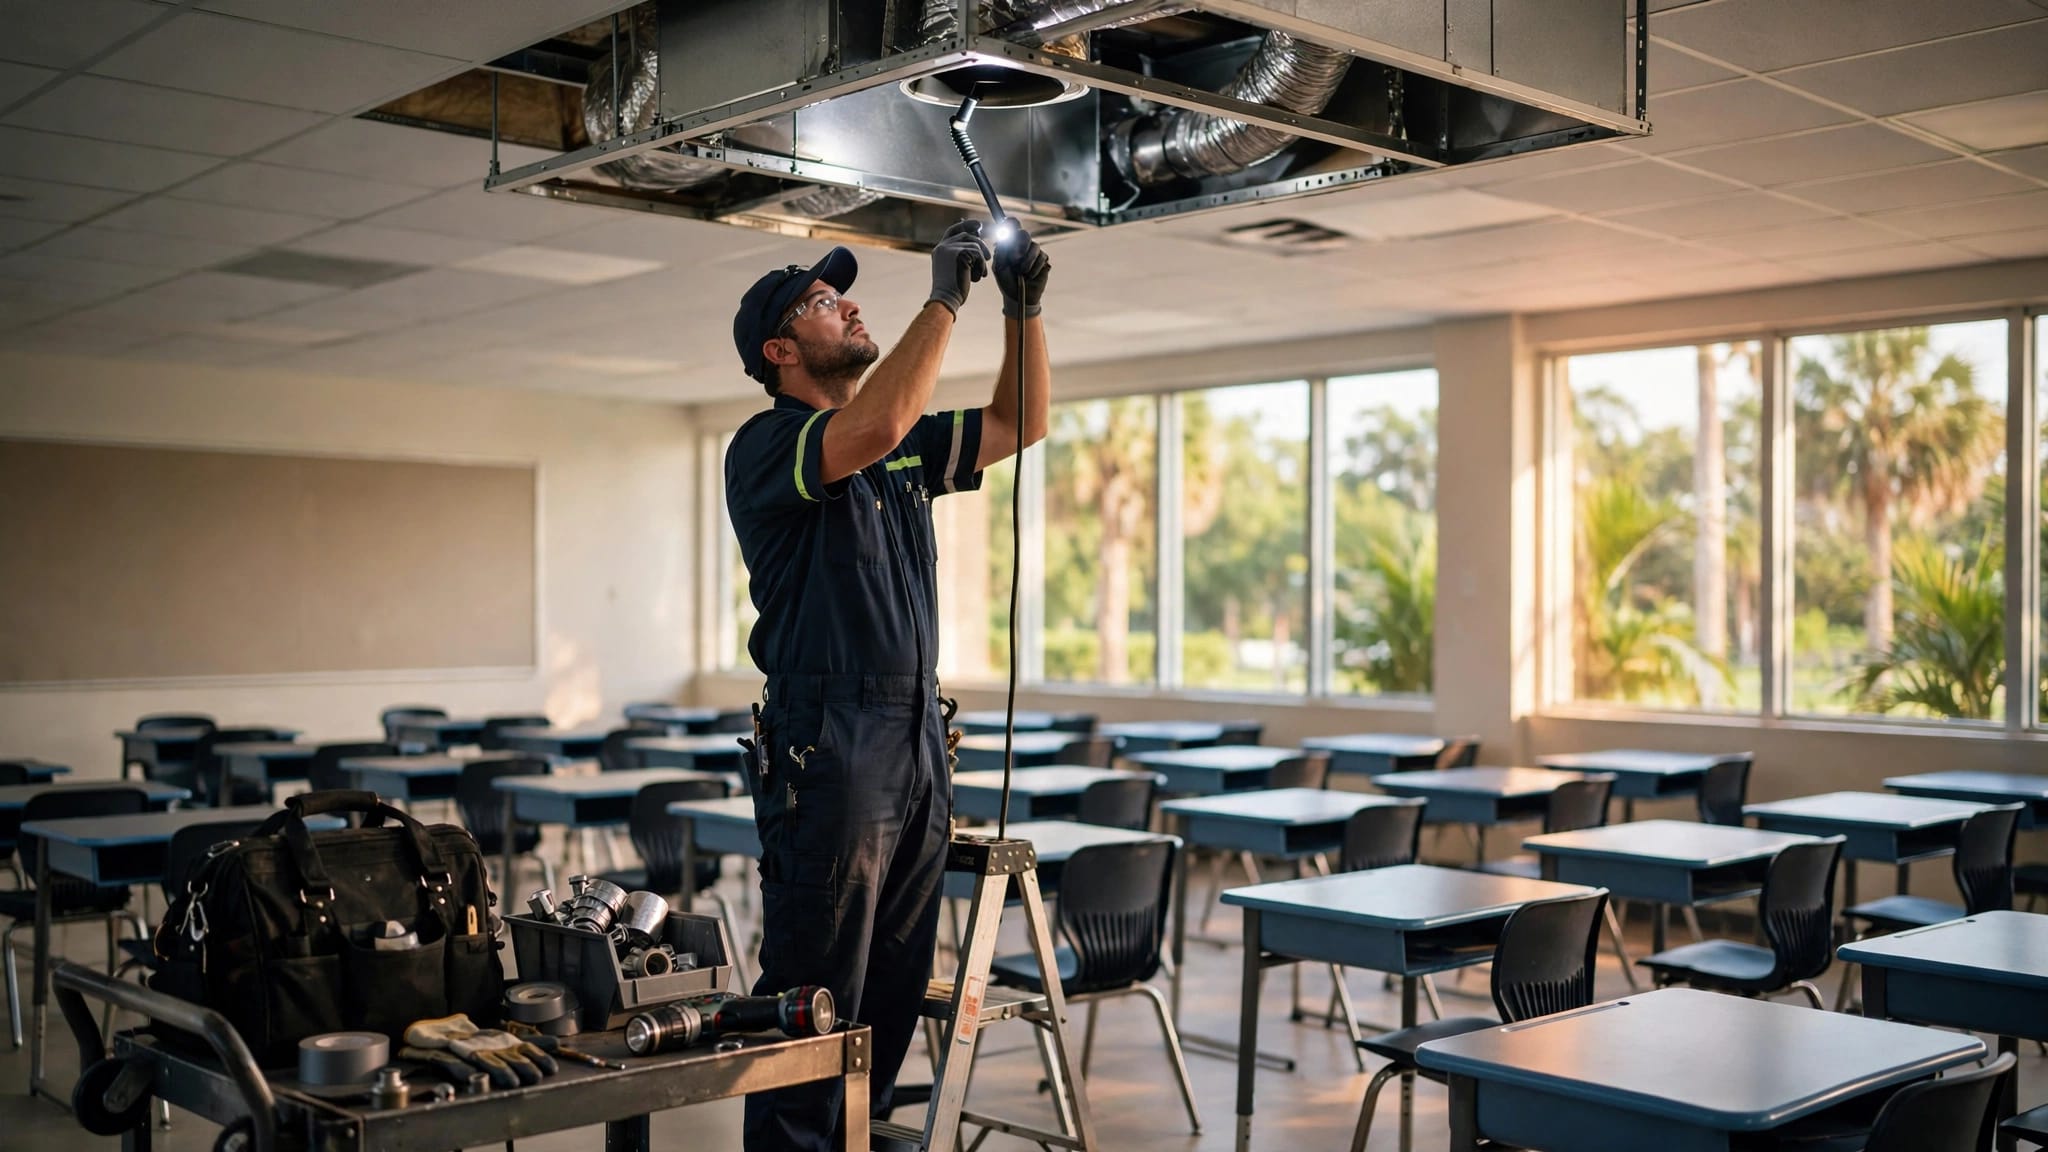
A camera can reveal moisture clues and damage beyond an accessible opening. However, a duct camera inspection cannot determine every hidden condition or confirm mold from dark patches alone.
Moisture readings can support the inspection, but technicians must interpret them for the material and instrument. A single reading isn't a complete assessment.
They also record areas they cannot inspect. If access requires opening ductwork, drywall, or a ceiling, the contractor should explain the location and obtain approval before proceeding.
Finding the Moisture Source
Repairing the liner without fixing the water source can leave the same section vulnerable to repeated damage. Along Florida's Gulf Coast, humid air and cold HVAC surfaces make condensation an important possibility.
Check the Air Handler and Drainage
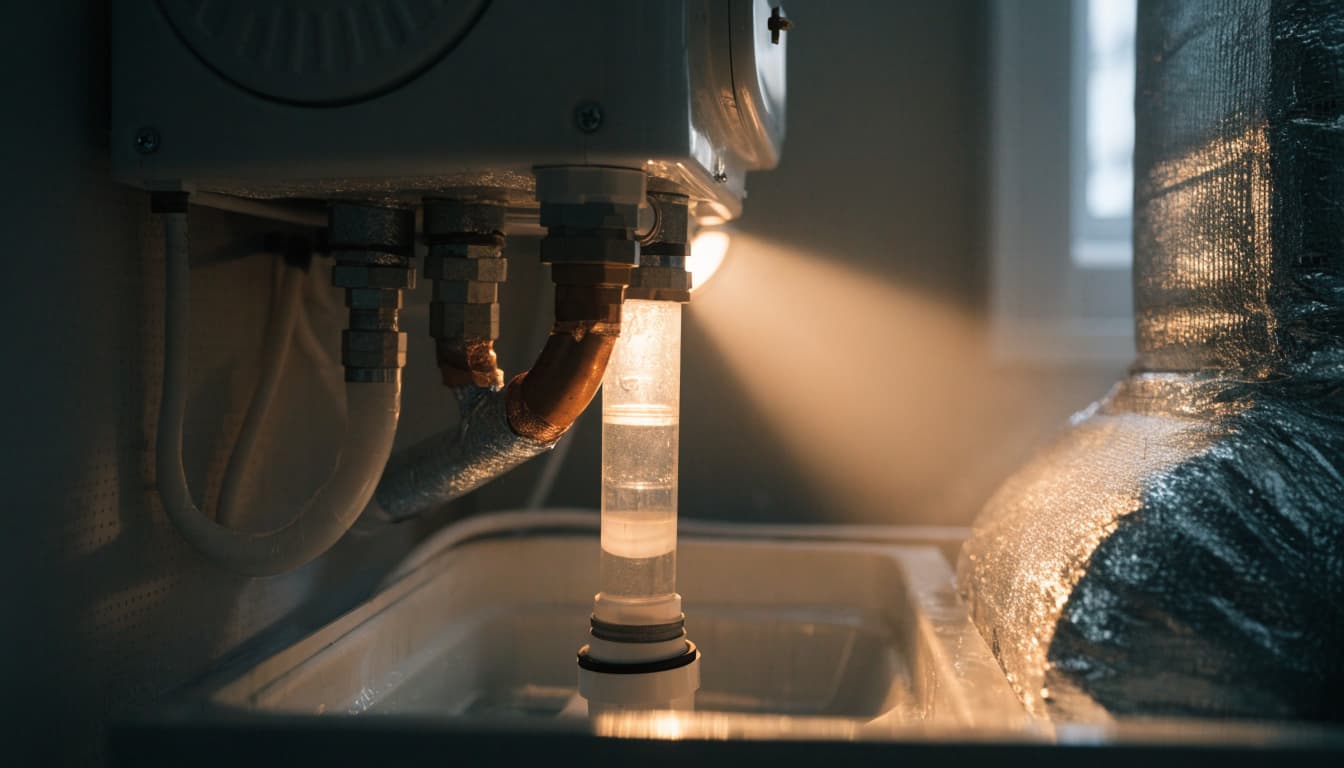
Technicians inspect the evaporator coil area, condensate pan, drain line, and adjacent duct connections. A blocked drain or overflowing pan can introduce moisture near the equipment.
A musty smell may originate in those components rather than the duct liner. Therefore, the inspection should follow the evidence beyond the nearest register.
Poor airflow and coil problems also deserve HVAC evaluation when cooling performance or condensation points toward equipment trouble. A professional HVAC ductwork inspection can help separate moisture damage from ordinary dust buildup and identify repairs that cleaning won't address.
Check Building Leaks and Condensation
Roof leaks, nearby plumbing leaks, and storm-related water intrusion can wet ducts from outside. In an attic or crawl space, technicians also check surrounding insulation and nearby surfaces for evidence of water movement.
Condensation requires a different investigation. Damaged insulation, air leaks, and openings in the vapor-retarding outer jacket can expose cold surfaces to humid air.
The contractor should distinguish the suspected cause from a confirmed cause. For example, a water stain near a roof penetration needs investigation, but its location alone doesn't prove the roof is leaking.
Assessing Contamination and Material Damage
Wetness raises concern, but it doesn't establish what contamination is present. Technicians consider the water source, odor, visible deposits, and the condition of the porous material.
Water from a recent leak requires a different assessment than sewage, floodwater, or water mixed with rodent waste. The latter conditions need additional precautions and may require a qualified remediation professional.
Dark spots can be dust, adhesive residue, soot, staining, or microbial growth. When identification would change the work plan, a qualified professional can determine whether targeted testing is useful. Testing shouldn't delay correction of an obvious water problem.
Meanwhile, technicians look for physical damage. Liner that has separated, collapsed, become friable, or lost its protective surface may no longer tolerate cleaning.
The EPA advises replacing mold-contaminated duct insulation because it cannot be effectively cleaned. Porous liner can hold contamination below its visible surface, so wiping away a patch doesn't establish that the material is restored.
If suspect asbestos-containing material is present, work should stop until qualified professionals evaluate it. Routine duct cleaning shouldn't disturb materials whose safety is uncertain.
Deciding Whether Drying or Replacement Is Appropriate
The decision should address each affected material separately. Bare sheet metal, internal fiberglass liner, external insulation, and flexible ductwork don't have the same restoration limits.
Drying and cleaning are separate decisions. Removing moisture doesn't prove that contamination, structural damage, or odor has been resolved.
Determine What Can Be Retained
A drying assessment considers the source and extent of wetting, material integrity, accessibility, and the manufacturer's instructions. Any proposal to retain affected liner needs a defensible explanation, not a promise that running the fan will fix it.
Sound metal surfaces may be suitable for cleaning and drying while adjacent porous insulation requires removal. Similarly, an intact duct interior may remain usable even when its external insulation needs replacement.
Technicians should explain which components they intend to retain and how they will evaluate the result. A dry-looking surface alone doesn't establish that insulation underneath has dried or remains serviceable.
Recognize When Replacement Is the Better Choice
Replacement becomes more appropriate when liner is contaminated, deteriorated, detached, or unable to be restored under the applicable product guidance. Persistent odor after moisture correction also calls for reassessment.
Repeated wetting matters because the material may have suffered damage that isn't obvious at first glance. A technician should also check adjacent sections rather than replacing only the most visible patch.
The scope might involve affected insulation, a lined plenum, or an entire damaged duct section. It doesn't automatically require replacing every duct in the building.
Before approval, the contractor should explain why the proposed boundary includes all affected material and how the new section will connect to the existing system.
Carrying Out the Repair Without Spreading Debris
The work plan should separate moisture repair, material replacement, cleaning, and any remediation. Those tasks may require coordination between an HVAC contractor, duct-cleaning provider, and remediation specialist.
Technicians protect occupied areas and control debris during removal. Where cleaning is appropriate, controlled vacuum collection and methods suited to the duct material help keep loosened particles out of the home.
Fragile liner shouldn't receive the same aggressive treatment as sound bare metal. Replacement work must also preserve the duct's shape, insulation, connections, and access for maintenance.
Chemical treatments need their own justification. A sanitizer, inhibitor, or biocide doesn't repair a leak or restore damaged porous material. Understanding microbial treatment for duct surfaces helps clarify why a spray isn't a substitute for removal and moisture control.
If a contractor proposes treatment, ask which product they will use and whether its label permits that application on the actual material. The provider should also consider occupants and ventilation.
Likewise, UV equipment and air purification systems don't correct water intrusion or replace wet, damaged insulation.
Verifying That the Repair Worked
A job isn't complete merely because the stained material is out of sight. Verification should address both the repaired moisture source and the condition of the affected HVAC components.
Confirm Moisture Control and Material Condition
Depending on the original problem, technicians check drainage, inspect repaired leaks or connections, and reassess affected materials. They should confirm that retained components are dry using methods appropriate to those components.
A previous overflow calls for checking the drain and pan. A condensation problem calls for reviewing the insulation and air-leakage conditions that allowed moisture to form.
If the original source was intermittent, such as rain-related intrusion, the contractor should explain any limitations of the final check. An inspection on a dry day may not demonstrate performance during the next storm.
Check Operation and Keep a Record
After appropriate repairs, the HVAC contractor checks system operation and relevant airflow concerns. New duct sections should remain secure without crushing or restricting the air passage.
Before-and-after photos help show removed damage and completed connections. The written record should distinguish replaced material from cleaned or retained material.
Ask whether odor, visible contamination, and remaining inaccessible areas need follow-up. The absence of a musty smell is useful, but it isn't proof by itself that every affected surface is restored.
Where remediation requires separate verification, the remediation and HVAC teams should coordinate before returning the system to normal use.
What Homeowners Should Do While Awaiting Assessment
You can help by noting when the problem appeared, whether it followed rain, and whether the odor occurs when the blower runs. Share any history of roof leaks, drain overflows, plumbing repairs, or previous duct damage.
However, don't cut open ducts, pull out liner, brush suspicious patches, or spray household chemicals inside. Avoid running the system simply to "dry it out." Ask the professional whether continued operation is appropriate for the conditions found.
Request a written scope that names the affected components, moisture repair, proposed cleaning method, and any material that needs replacement. It should also explain access openings and who will repair surrounding finishes.
If you notice damp insulation, a dripping register, or an HVAC-related musty odor, Get a Free Estimate to discuss inspection and appropriate duct-cleaning services with Adkins Duct Cleaning & Dryer Vent Service.
An estimate should start with the condition of your system, not an automatic recommendation for whole-system cleaning or chemical treatment.
A Sound Repair Starts With the Moisture Source
Wet duct liner calls for condition-based decisions . Technicians need to identify the source, assess contamination and damage, and explain what can remain versus what needs replacement.
Cleaning may be part of the solution, but it can't replace moisture repair or removal of unrestorable material. The strongest evidence of a successful job is a corrected source, sound ductwork, and documented verification.