Dryer Vent Inspection After Replacing Your Dryer
A new dryer can still perform poorly if the existing exhaust path is crushed, clogged, disconnected, or made from unsuitable material. A careful dryer vent inspection checks more than the short connector behind the appliance. It follows the accessible route to the outside termination and looks for problems that may stay hidden behind walls or ceilings.
Before running the first load, confirm that the dryer has power, the vent connection is secure, the exhaust route leads outdoors, and the exterior flap can open freely. These checks can reveal whether you need cleaning, repair, replacement, or help with the appliance itself.
Start With a Safe Visual Inspection
Disconnect power before moving the dryer
Turn the dryer off and unplug it before pulling it forward. Move it only far enough to see the rear connection without straining the cord, gas line, or vent.
If the dryer uses gas, close the appliance's gas supply shutoff before moving it when you can do so safely. Don't loosen gas fittings or disconnect the gas line unless a qualified professional handles that work. Stop immediately if you smell gas.
Keep the laundry area clear of clothing, boxes, cleaning products, and other stored items. Never operate the dryer with the vent disconnected, without the lint screen, or while a damaged duct remains in service.
Inspect the rear connection
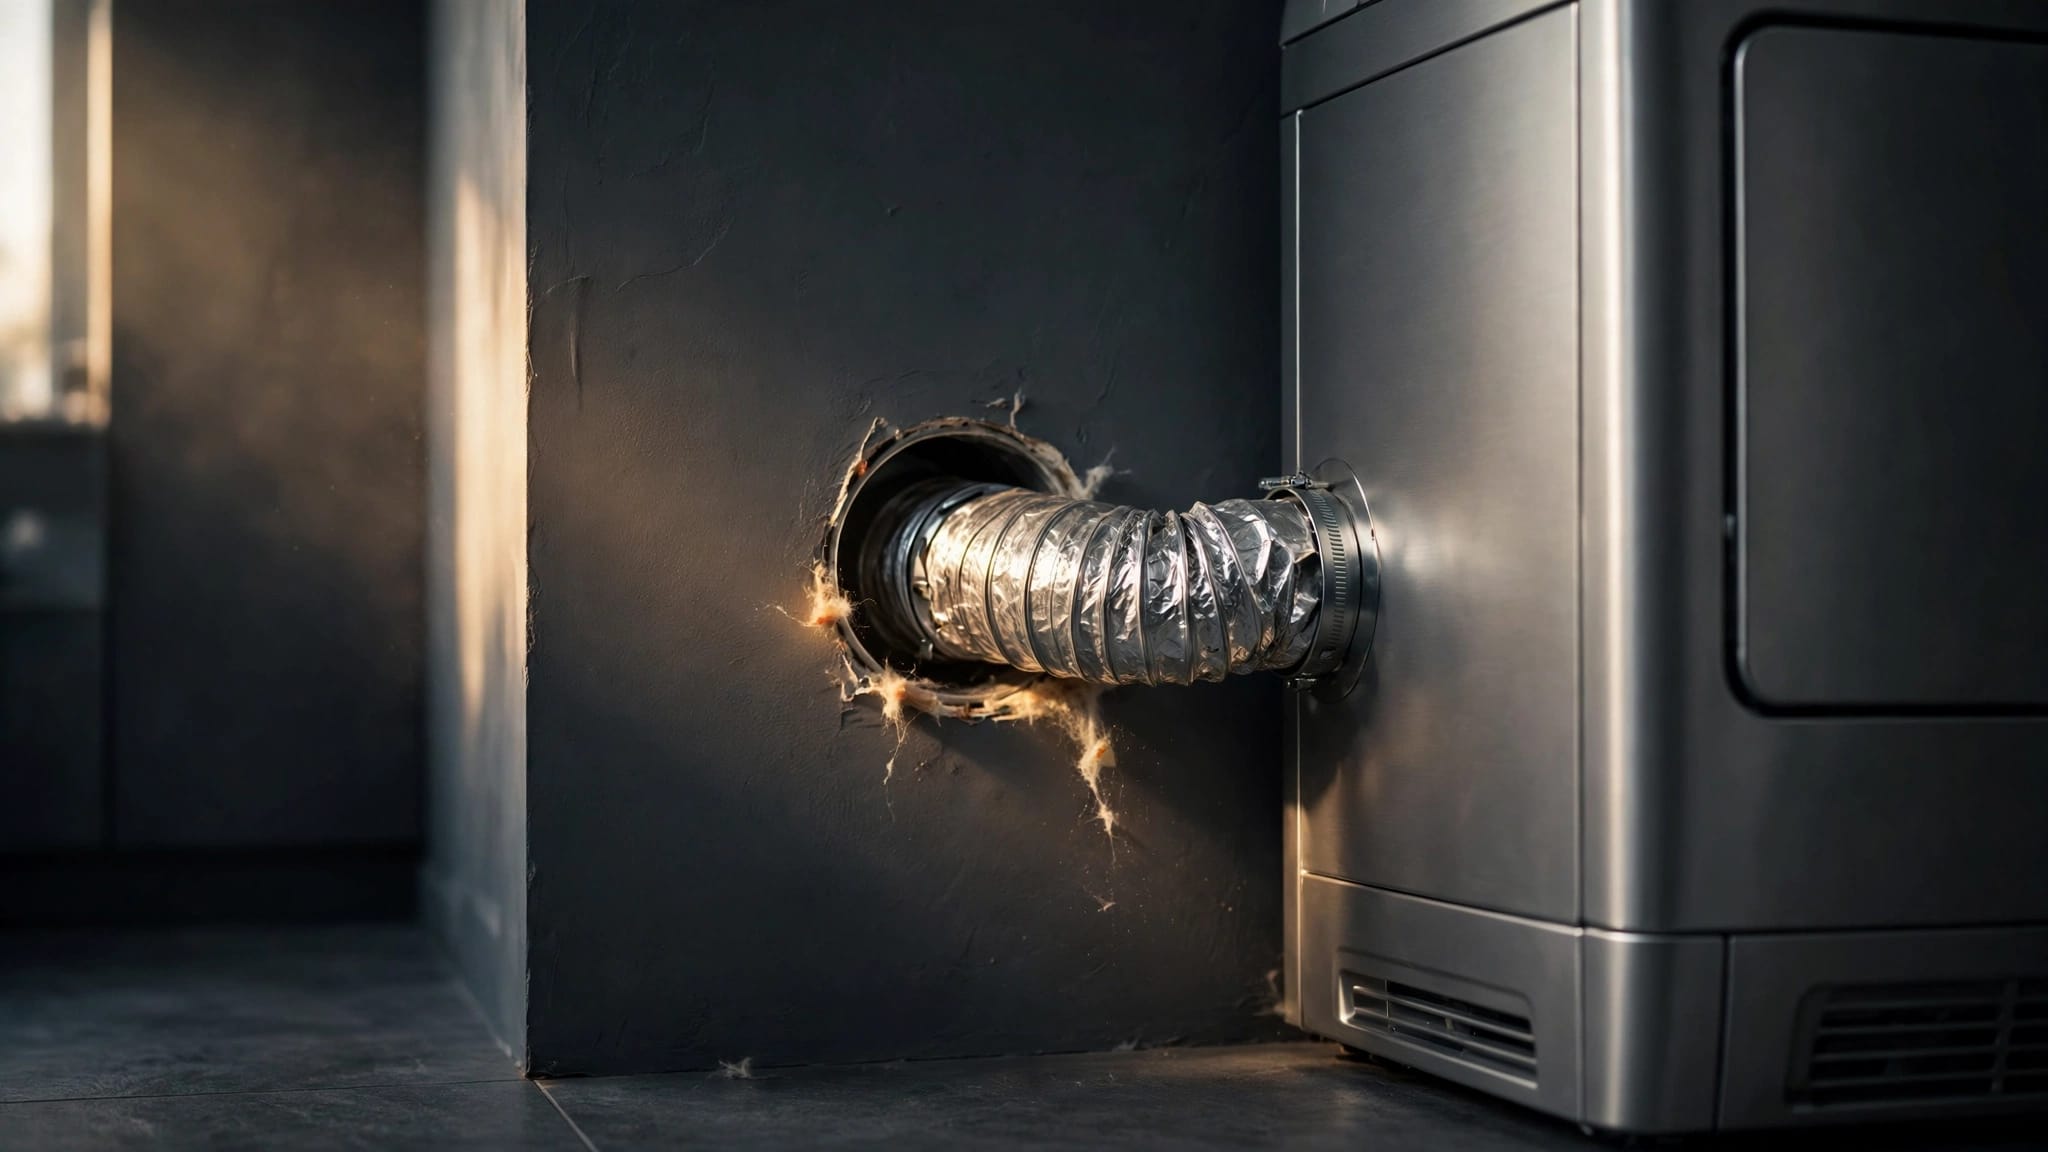
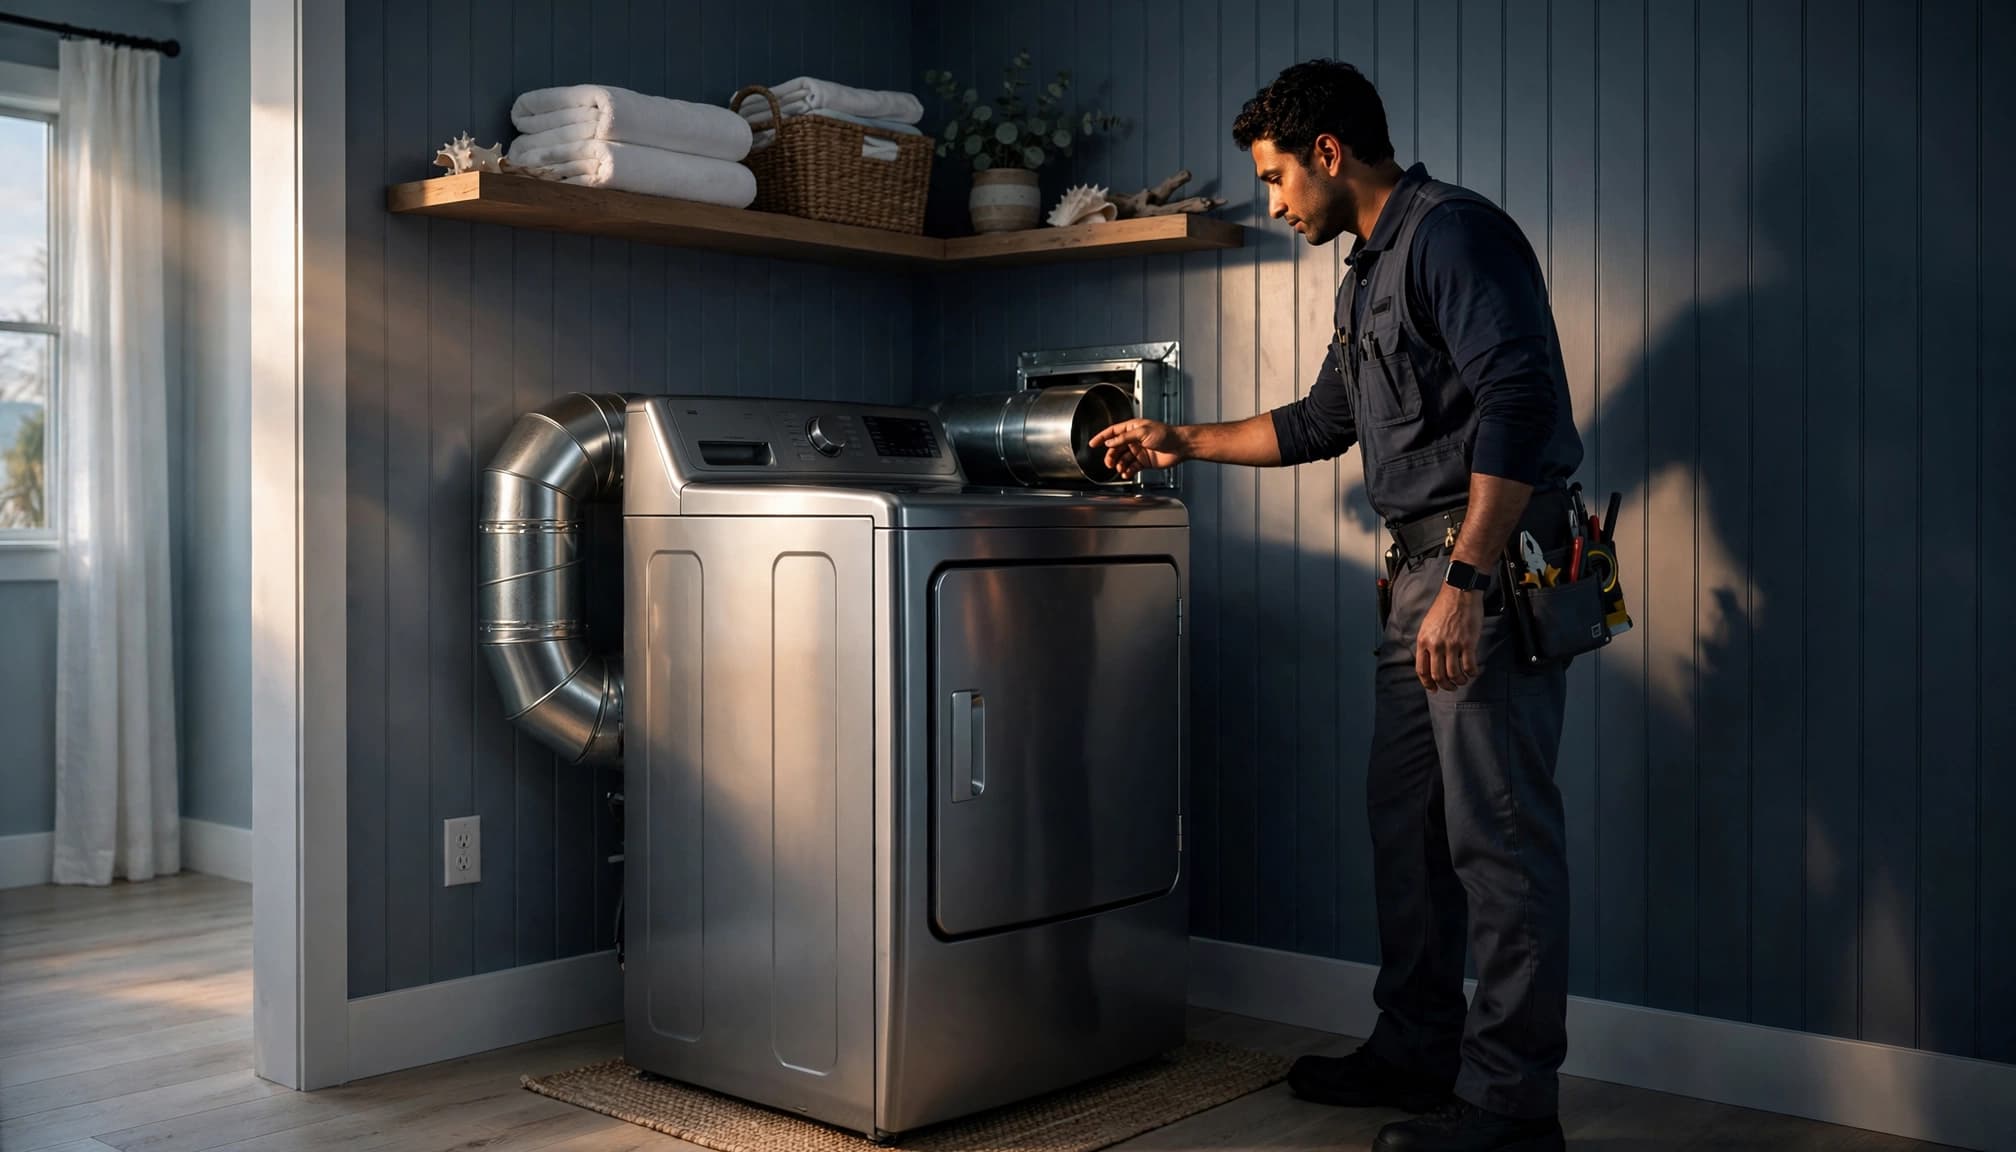
Look for a transition duct that is crushed, torn, sharply bent, or pulled away from the dryer outlet or wall connection. The duct should follow a smooth route with enough room for the dryer to sit level without pressing the connector flat.
Check the clamps and joints for gaps. Lint outside the connection can indicate an air leak. Also look for moisture marks, scorch marks, melted material, or a buildup of lint around the dryer outlet.
A professional service visit usually begins with the dryer connection, visible ductwork, exterior cap, and airflow condition. You can review what happens during dryer vent cleaning before deciding whether your setup needs more than a visual check.
Check the Exterior Vent Opening
Confirm that the exhaust terminates outdoors
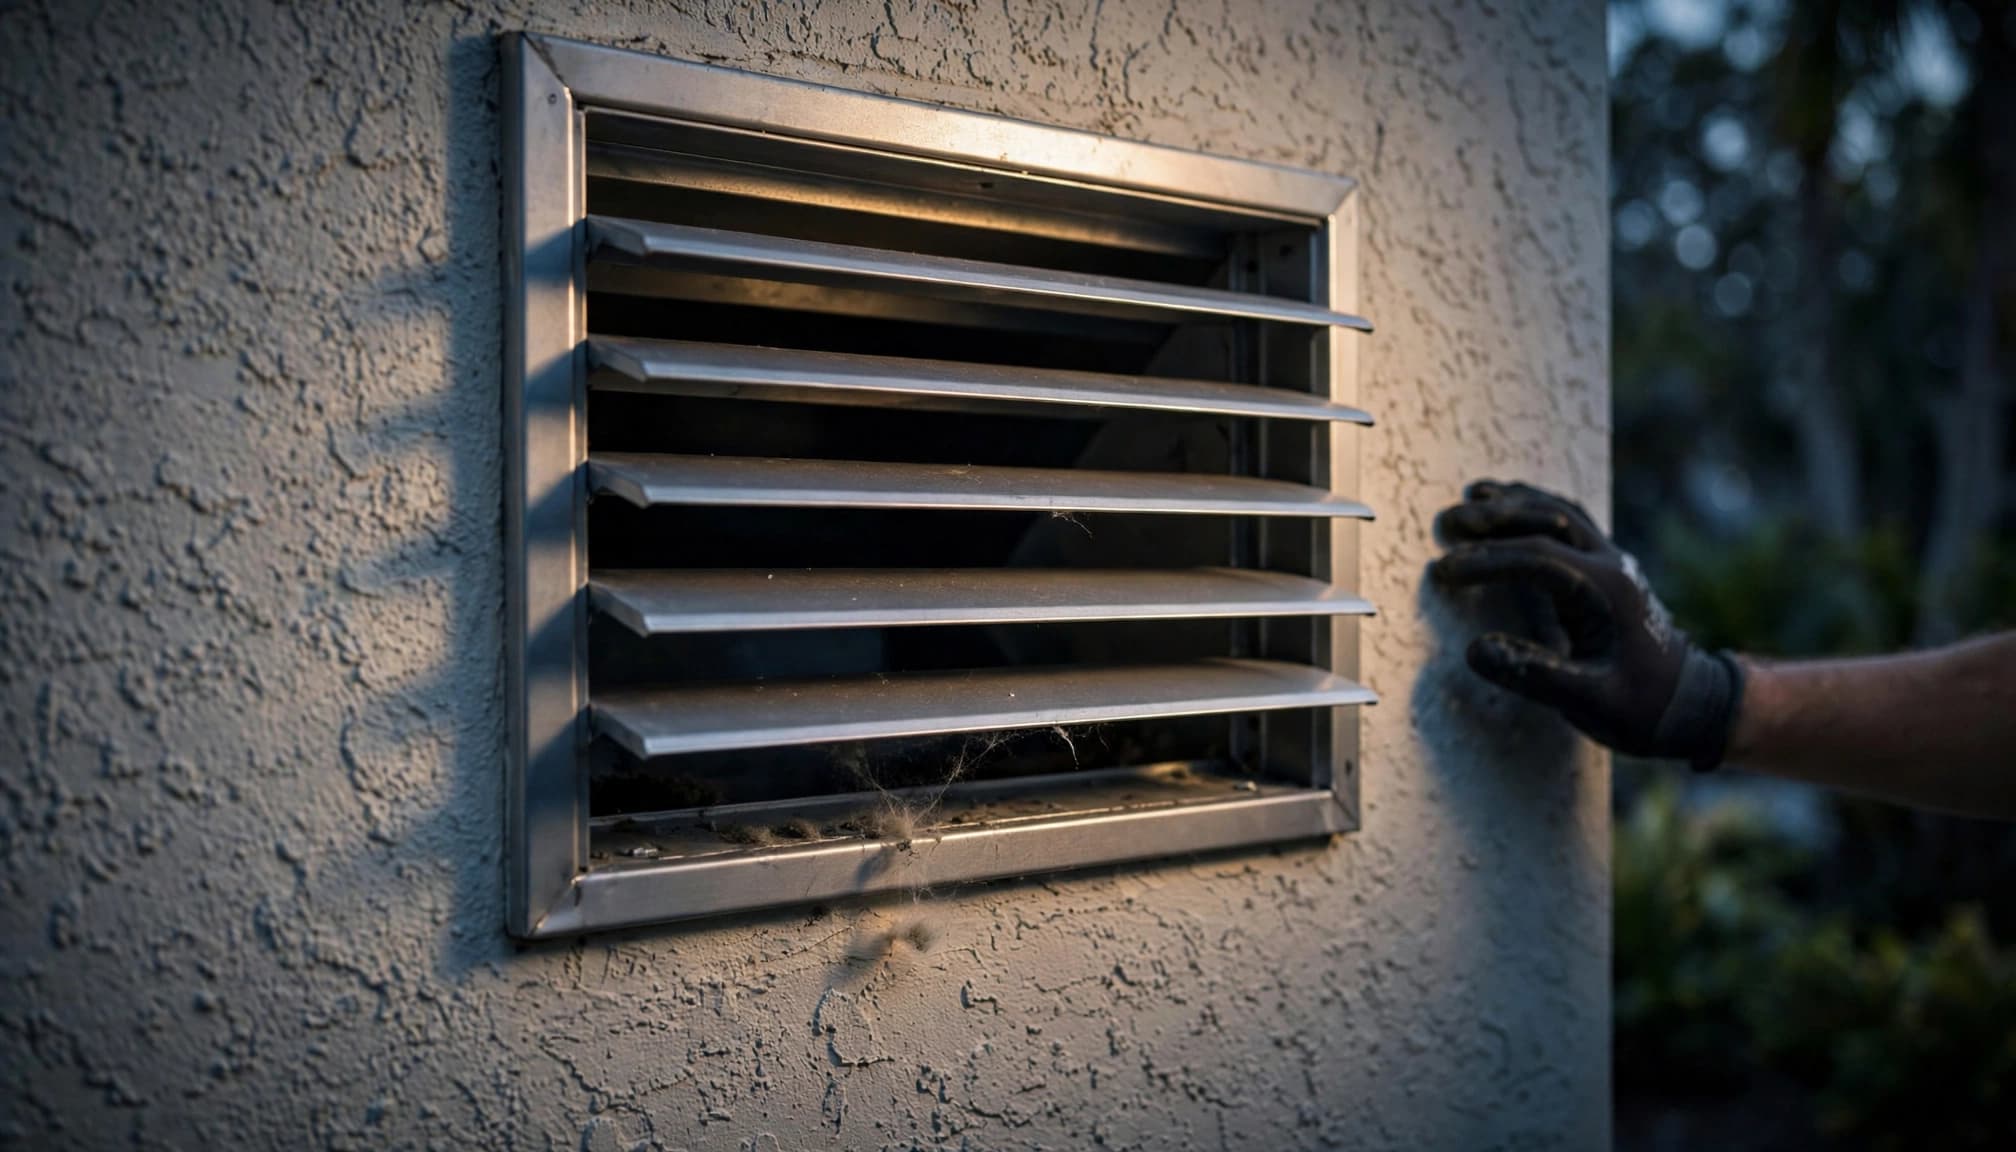
Find the exterior dryer vent hood and make sure it leads outside, rather than into an attic, crawl space, garage, soffit, or wall cavity. Hot, moist air and lint need to leave the home through a proper outdoor termination.
Inspect the hood from the ground or another secure location. Avoid climbing onto a roof or reaching an unsafe second-story opening. The cover should be intact, reasonably clean, and accessible for future inspection.
During a cycle, the exterior flap should open as air leaves the duct. Weak movement, a flap that stays closed, or lint collecting around the edges can point to restricted airflow or a blocked termination.
Look for blockage and moisture
Clear away leaves, mulch, plant growth, and other debris around the opening. Don't install a fine screen that catches lint unless it is specifically approved for dryer exhaust. A screen can restrict airflow and become packed quickly.
A musty smell, damp wall, rust streaks, or moisture around the exterior outlet deserves attention. Florida's humid conditions can make ventilation problems more noticeable, but humidity alone doesn't explain lint buildup or a weak exhaust stream.
Trace the Full Vent Route
Identify accessible sections and difficult areas
A dryer vent may travel through a wall, ceiling, attic, crawl space, or roof before reaching the outside. The short connector behind the dryer may look clean while lint collects farther along the route.
Inspect any sections you can reach safely. Look for crushed ductwork, sagging areas, sharp bends, loose joints, corrosion, and lint escaping around seams. Pay special attention to bends and low points where debris can collect.
A long, indirect route needs more careful review than a short, straight run through an exterior wall. The dryer manufacturer's installation instructions should guide the setup, along with applicable local requirements.
Watch for unsafe termination locations
A vent that ends in an attic or crawl space needs correction, not routine cleaning alone. Exhausting hot, damp air and lint into an enclosed area can damage building materials and increase fire concerns.
Don't enter a roof space, crawl space, or wall opening without suitable access and protective equipment. If the route is hidden, ask the technician to explain which portions were inspected and whether any section could not be reached.
A single exterior photo doesn't prove that the interior route is clear. A complete dryer vent inspection considers the appliance connection, accessible duct, concealed path, and exterior termination.
Verify the Vent Materials
Use metal ducting that fits the appliance
The transition connector behind the dryer should use approved metal ducting that meets the dryer's installation requirements. Rigid or flexible metal venting may be appropriate depending on the location and design.
Plastic and vinyl ducting should not be used for dryer exhaust. Thin foil-style duct can also crush easily behind an appliance, creating a restriction that may worsen when the dryer is pushed back into place.
Don't patch a damaged connector and treat it as a permanent repair. Replace unsuitable or damaged material with a product that matches the appliance instructions and the home's vent layout.
Check for poor routing and loose joints
A vent with excessive bends, unsupported sections, or a sharply compressed transition can lose airflow even when it contains little lint. Loose joints can release lint and warm moisture into the wall, attic, or laundry area.
If a duct terminates indoors, has a disconnected section, or disappears into an inaccessible space, cleaning won't correct the underlying problem. The system may need repair, replacement, or rerouting.
The difference matters when choosing dryer vent replacement or cleaning. Cleaning addresses lint in sound ductwork. Replacement or repair addresses damaged material, an unsuitable route, or a poor termination.
Check Airflow and Dryer Performance
Use the exterior flap as an initial clue
After reconnecting the dryer correctly, run a short cycle only if there are no warning signs such as burning odors, visible damage, or unusual overheating. Watch the exterior flap from a safe location.
The flap should open while the dryer operates and close after the cycle ends. A weak or inconsistent opening can indicate lint buildup, a blocked hood, a crushed connector, a disconnected joint, or a longer restriction inside the route.
This observation is useful, but it isn't a complete airflow test. A professional can assess airflow before and after cleaning or repair, then compare the results with the condition of the vent system.
Separate vent problems from appliance problems
Longer drying cycles, repeated loads, excess heat, and a muggy laundry room often point to restricted exhaust. However, the dryer itself can also cause poor performance.
If airflow appears reasonable but clothes remain wet, the cause may involve the heating element, gas ignition, sensor, belt, drum load, or cycle selection. An appliance repair professional should diagnose those internal issues rather than assuming the vent is responsible.
For a clearer explanation of the difference, see dryer vent airflow testing. Cleaning the vent won't repair a failed dryer component.
Know When to Stop Using the Dryer
Treat heat, odors, and visible damage seriously
Stop the dryer and disconnect power if you notice a burning smell, smoke, scorch marks, melted plastic, burned lint, or unusual electrical sounds. Don't restart it to see whether the symptom disappears.
Also stop using the appliance if the cabinet feels much hotter than usual, clothes need repeated cycles, or the outside flap barely moves. These signs can indicate restricted airflow and overheating.
If a gas dryer produces an unusual gas odor, leave the area and follow appropriate gas safety procedures. Contact a qualified professional before using the appliance again.
You can compare your symptoms with these signs of a clogged dryer vent, especially when the problem appeared after the appliance was replaced or repositioned.
Call for help with hidden or damaged runs
Professional help is appropriate when the vent travels through a wall, attic, crawl space, or roof. It is also the safer choice when the connector keeps slipping, the exterior cap is damaged, or moisture has reached walls, trim, or flooring.
Don't push a brush deep into a concealed duct if you can't control where it is going. A tool can dislodge an internal joint and leave lint trapped inside a wall.
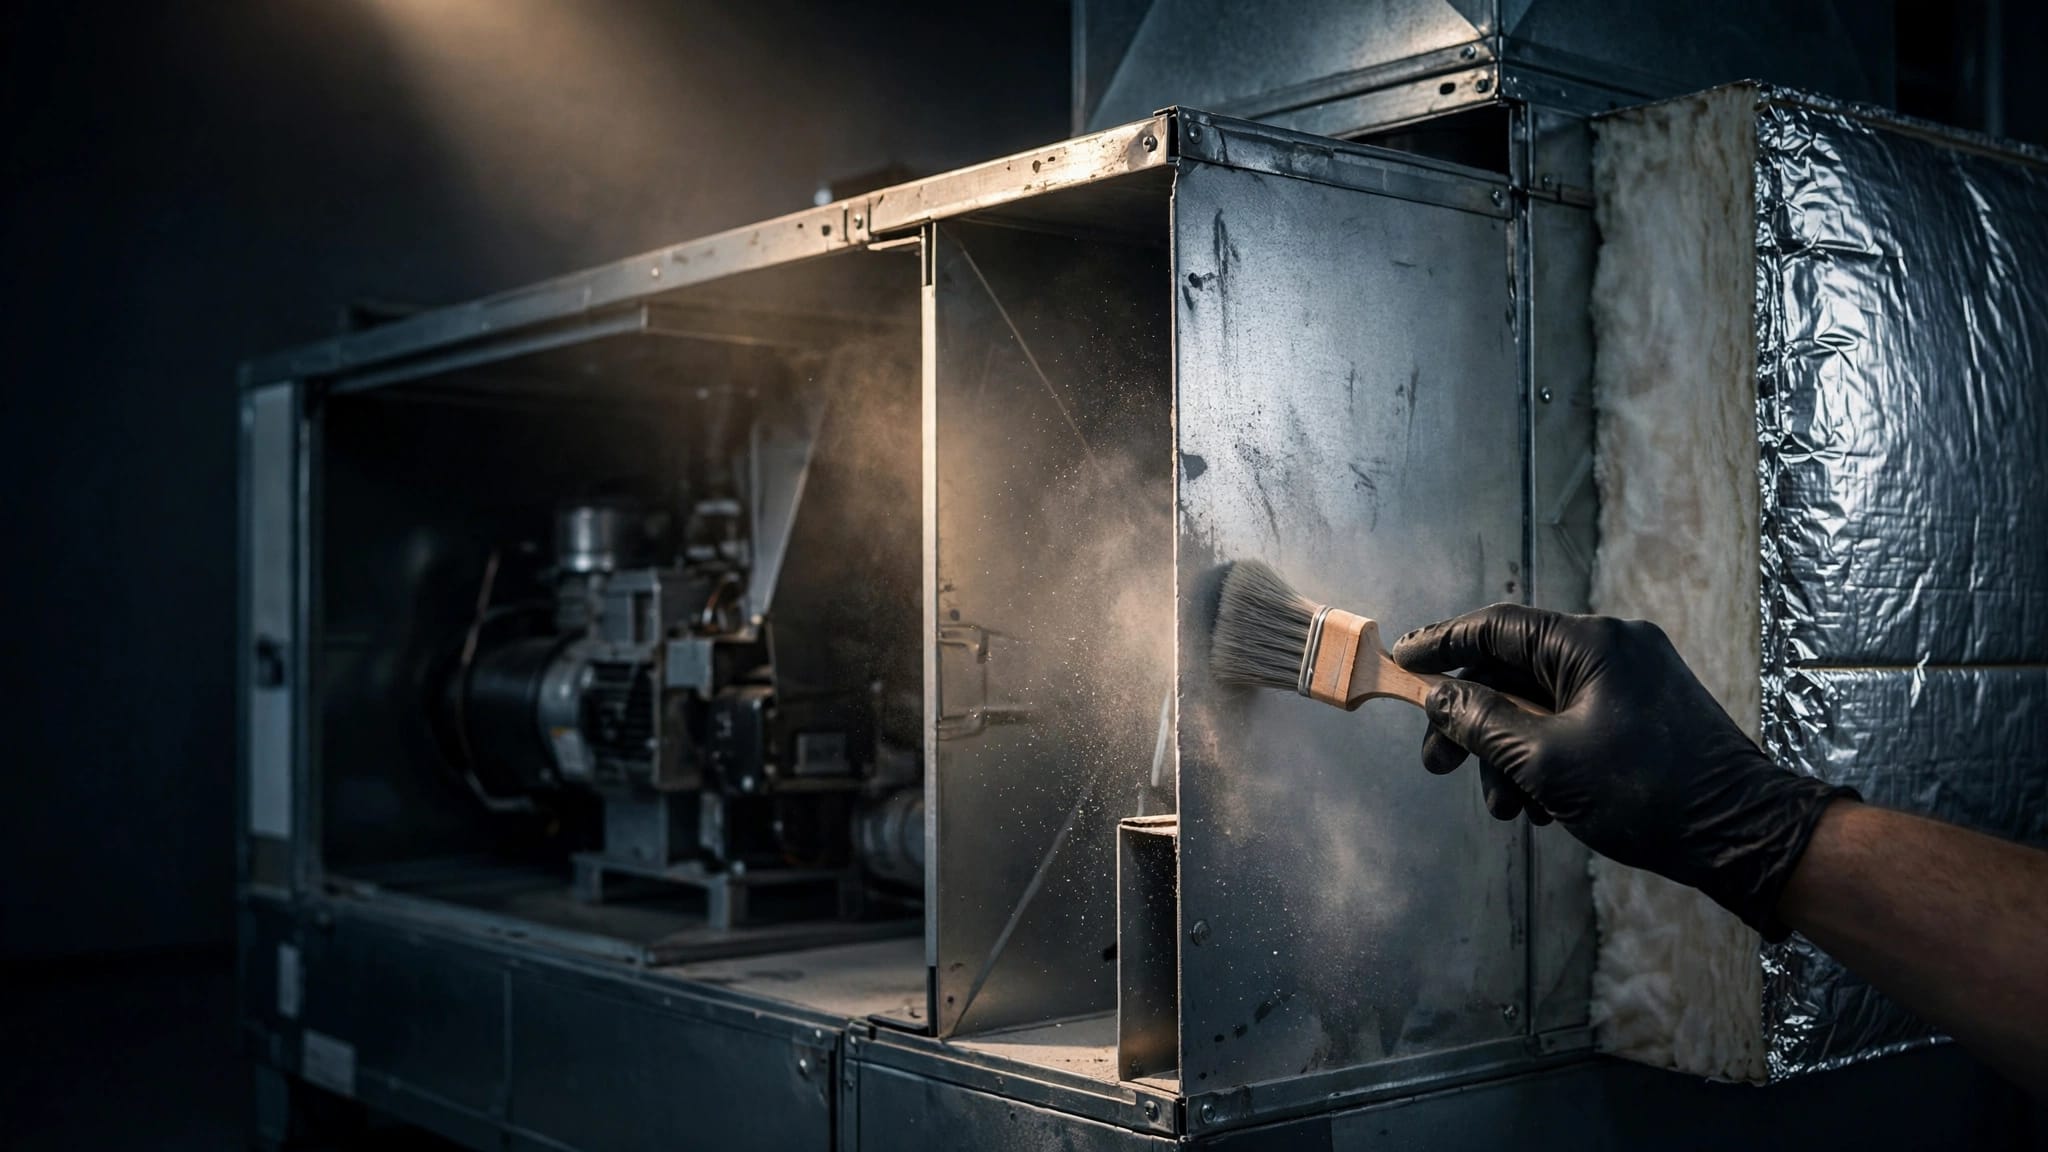
A technician can inspect accessible sections, use suitable vacuum or brush equipment, check the termination, and determine whether the system needs cleaning or a physical correction.
Decide Between Cleaning, Repair, and Replacement
Cleaning fits intact ductwork with buildup
Cleaning is appropriate when the vent route is structurally sound but contains lint or debris. Depending on the system, a professional may work from the dryer side, exterior side, or both.
The cleaning method depends on the duct's length, material, bends, access points, and termination location. Afterward, the technician should reassemble the connections and check that airflow reaches the exterior.
Homeowners can handle basic maintenance by cleaning the lint screen after every load, vacuuming visible lint around the screen housing, and checking the exterior flap when it is safely visible.
Repairs address defects cleaning cannot remove
Repair or replacement may be needed for crushed ductwork, disconnected joints, unsuitable materials, poor routing, an indoor termination, or a blocked exterior hood. Cleaning alone won't make an unsafe route suitable.
Before approving service, ask whether the estimate covers the full accessible vent path, the exterior opening, airflow testing, and any repairs listed separately. A low-cost service that reaches only the short connector may not address the actual restriction.
If you need help deciding what your home requires, Get a Free Estimate for a dryer vent inspection, cleaning, or related repair assessment.
Key Takeaways for Homeowners
- Unplug the dryer before moving it, and shut off the gas supply for a gas dryer when appropriate and safe.
- Check the rear connector for crushing, gaps, tears, sharp bends, and lint escaping from the joints.
- Confirm that the vent terminates outdoors, not in an attic, crawl space, garage, soffit, or wall cavity.
- Use approved metal vent materials that match the dryer's installation requirements.
- Avoid plastic, vinyl, and easily crushed foil-style ducting.
- Check the exterior flap for movement, blockage, lint, and visible damage.
- Stop using the dryer when you notice burning odors, smoke, scorching, overheating, unusual gas odors, or repeated drying cycles.
- Use professional help for hidden routes, roof terminations, complex bends, damaged ducts, and recurring restrictions.
Frequently Asked Questions
Should I inspect the vent before using the replacement dryer?
Yes. Check the rear connection, visible ductwork, exterior termination, and airflow before relying on the new appliance. A replacement dryer can expose an old vent problem when its position or connection differs from the previous model.
Can I clean the vent myself?
A short, straight, accessible vent may be suitable for basic homeowner cleaning with the right equipment. Hidden, long, sharply bent, roof-level, attic, or crawl-space routes deserve professional attention. Don't force tools into a duct you can't see or control.
What if I see plastic or foil ducting?
Stop and arrange an evaluation. Plastic and vinyl aren't suitable for dryer exhaust, while thin foil-style duct can crush easily. A professional should recommend a replacement that fits the dryer and the route.
Does a clean outside flap prove the vent is clear?
No. The exterior hood can look clean while lint remains inside a wall, ceiling, attic, crawl space, bend, or disconnected section. Airflow testing and inspection of the accessible route provide better evidence.
Why is the new dryer still taking too long to dry clothes?
Restricted airflow is one possibility. Other causes include a blocked hood, crushed connector, poor routing, or an appliance problem involving heat, ignition, sensors, the belt, or cycle selection. A vent and appliance evaluation can separate those causes.
Conclusion
A post-replacement dryer vent inspection should follow the exhaust path, not stop at the lint screen or short connector. Confirm safe power and gas conditions, inspect the materials and joints, check the exterior termination, and observe airflow before regular use.
When the dryer runs hot, smells unusual, dries slowly, or shows visible vent damage, stop using it until the system is checked. A clear, properly routed exhaust path protects the appliance and helps keep hidden lint and moisture from becoming a larger home problem.