How to Find HVAC Filter Rack Air Leaks
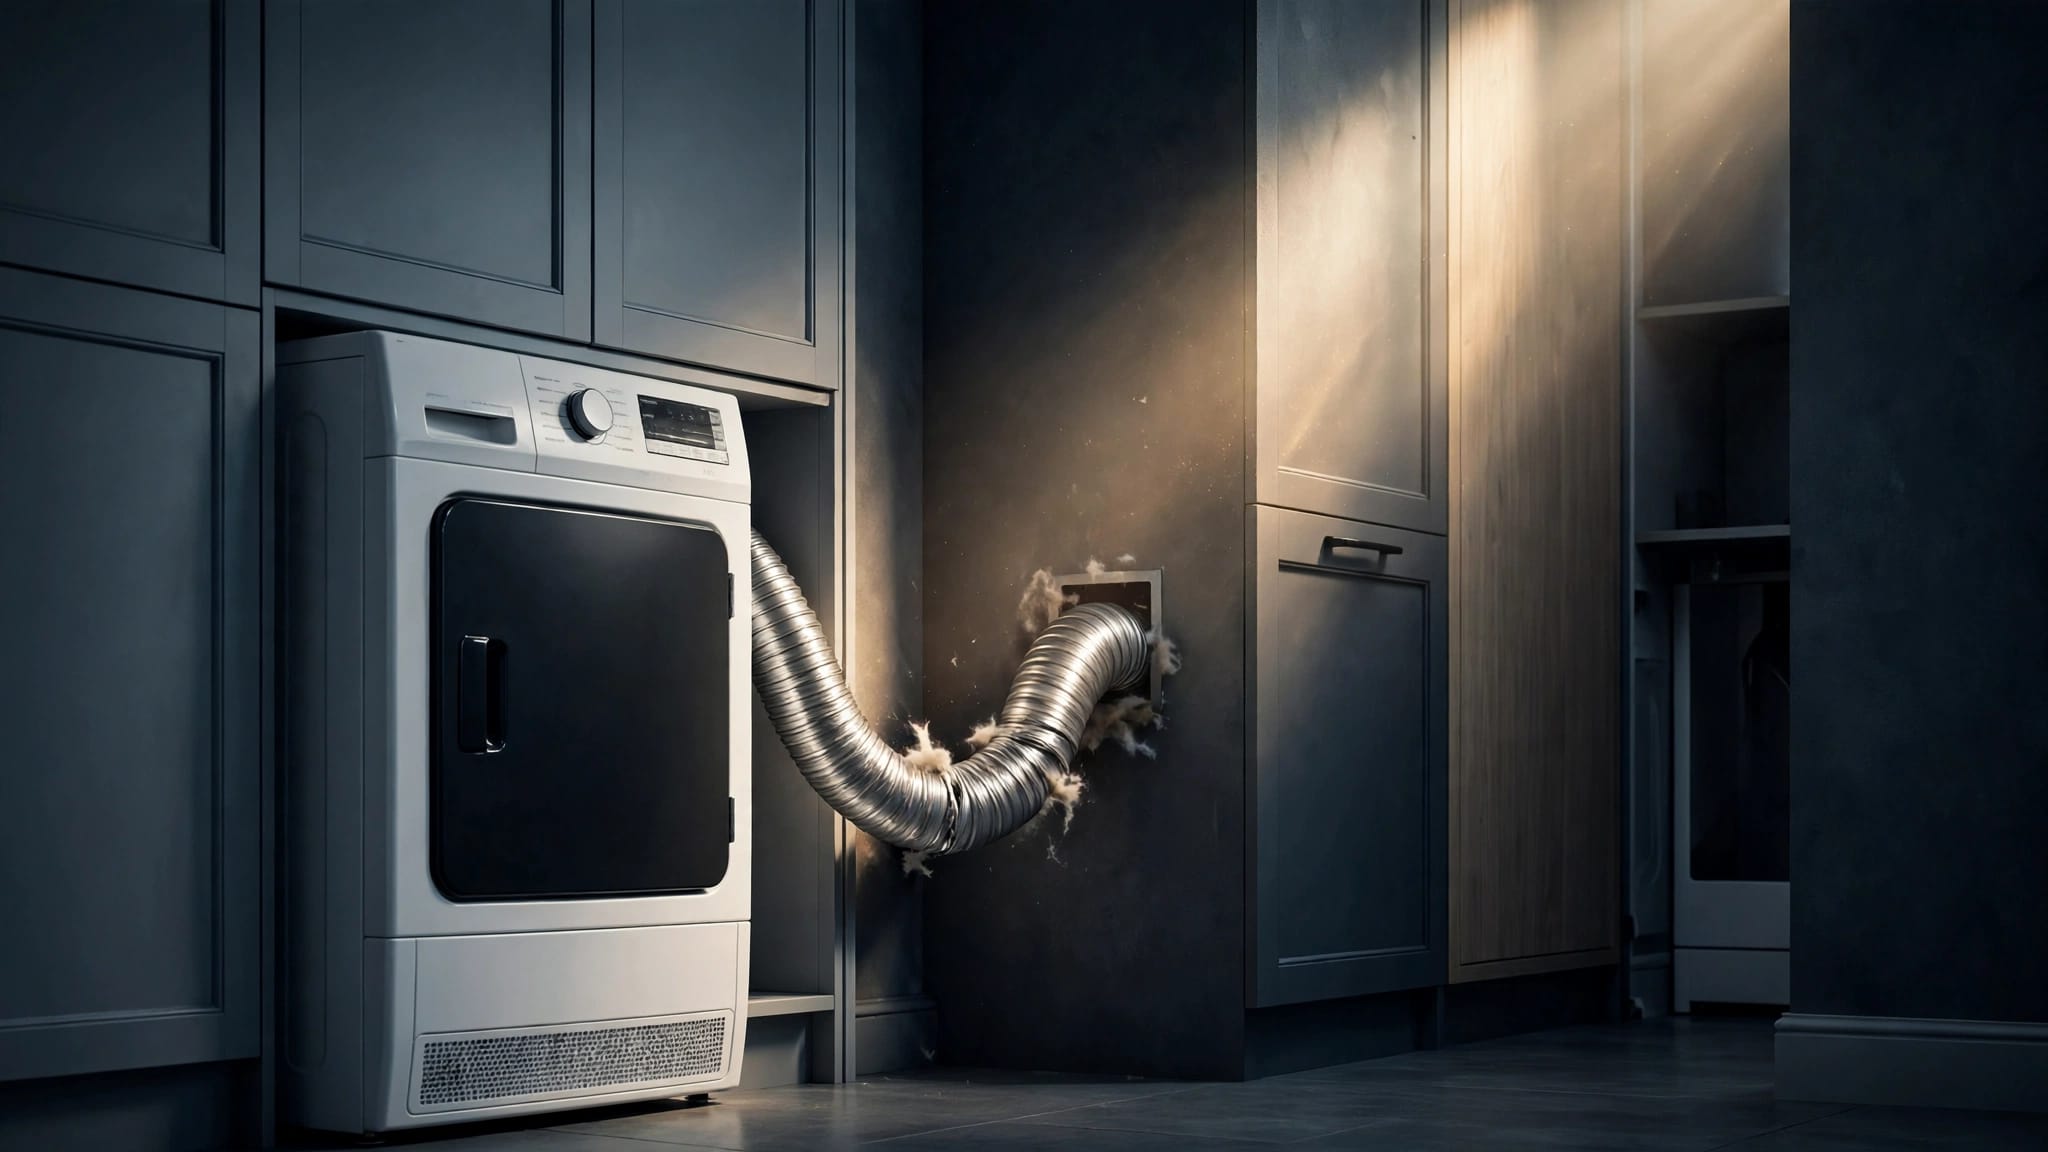
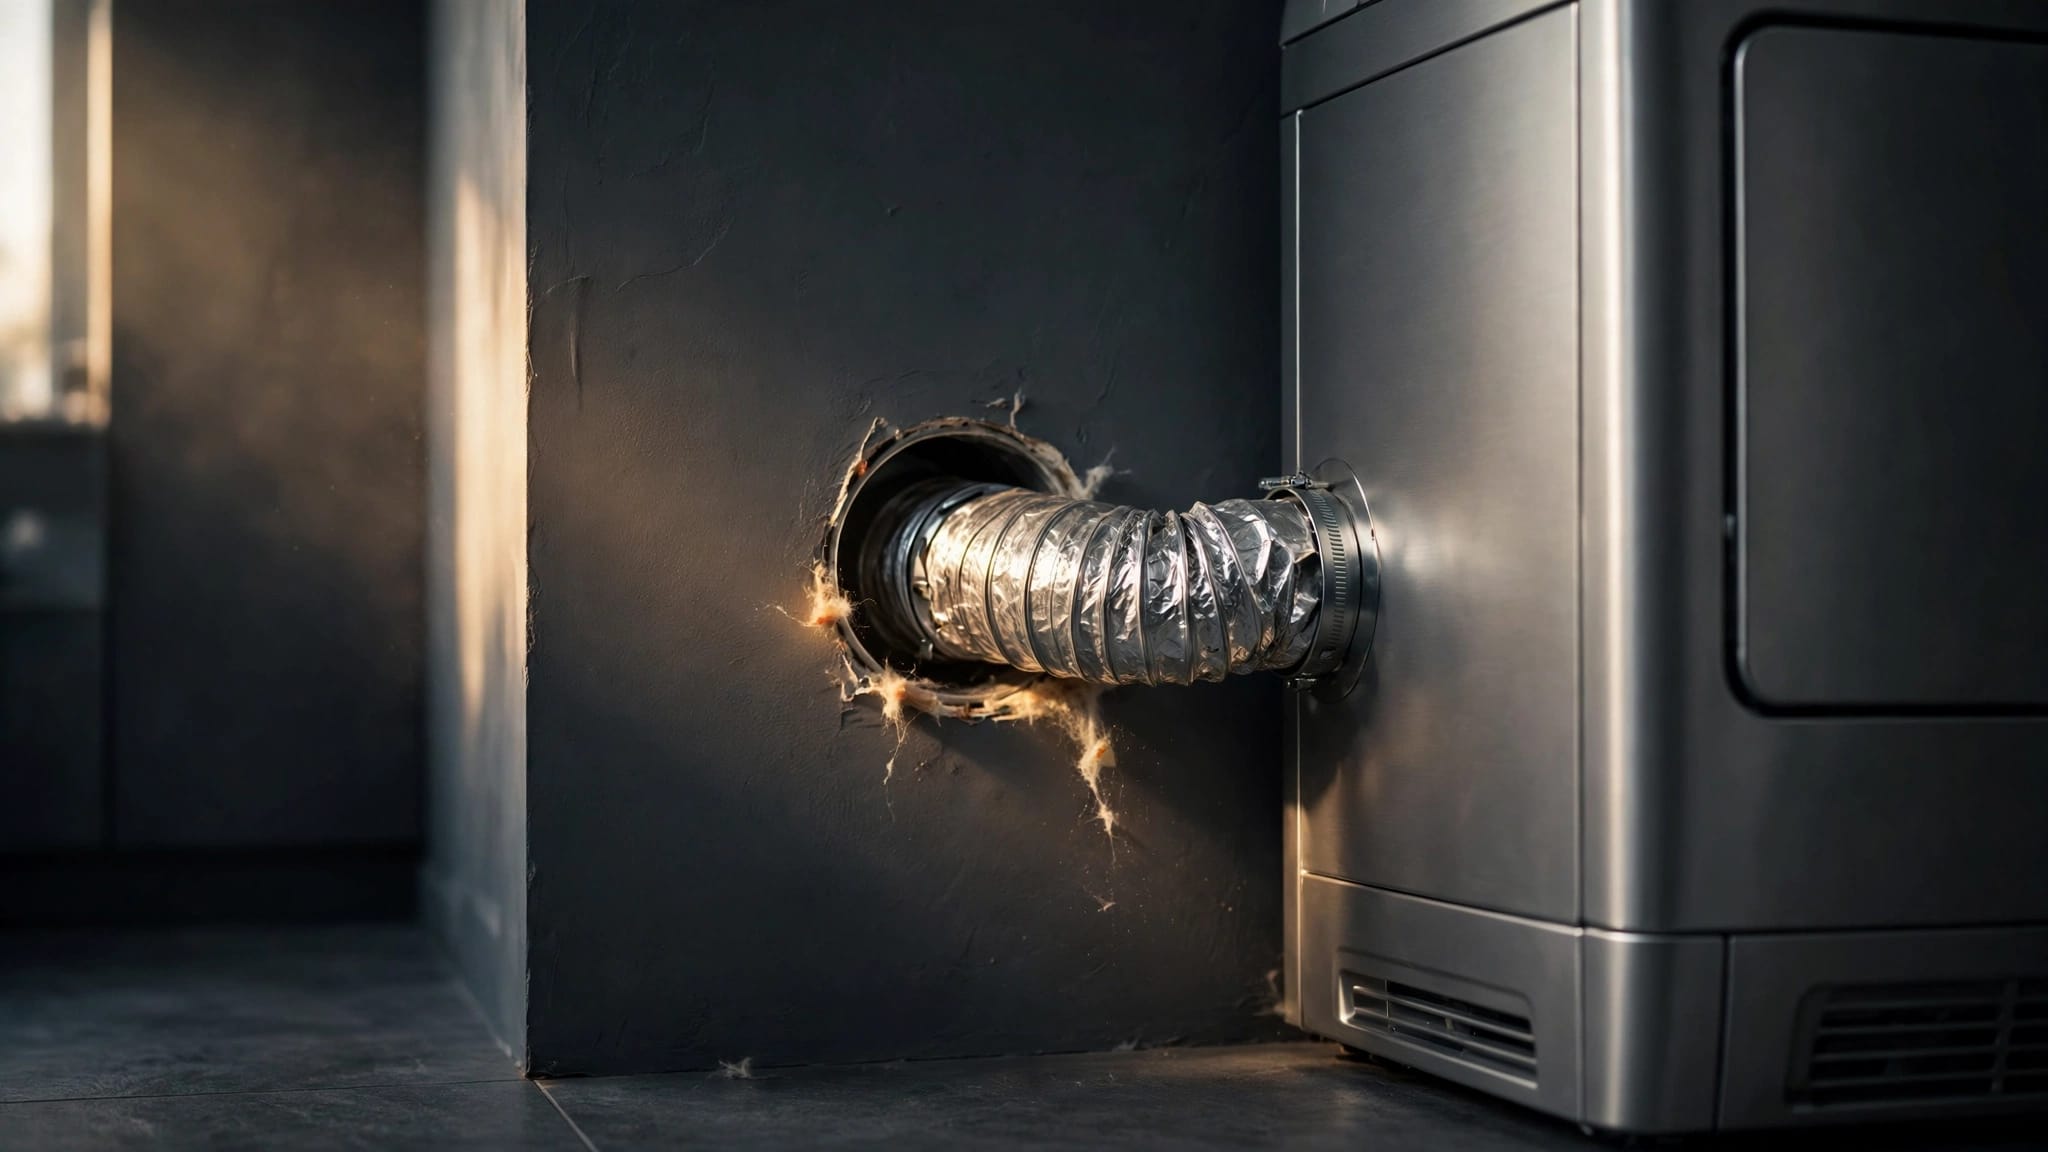
A small gap around an HVAC filter can pull dusty, humid air into the system or let filtered air bypass the filter. HVAC filter rack air leaks often leave clues such as recurring dust, whistling sounds, weak airflow, and filters that become dirty too quickly.
You can inspect visible parts of the rack, gasket, cabinet, access door, and return-air connections without opening electrical compartments or handling refrigerant components. Start safely, identify the likely leak location, and know when sealing or professional testing is more appropriate than duct cleaning.
Key takeaways
- Turn off the HVAC system before removing the filter, opening an access door, or inspecting nearby components.
- Confirm the filter size, thickness, airflow direction, condition, and MERV rating.
- Look for gaps around the filter frame, damaged gaskets, loose cabinet seams, and a door that does not close tightly.
- A properly fitted filter should sit securely without bending, rattling, or leaving visible space around its edges.
- Return-air leaks can pull attic, garage, crawlspace, or other unconditioned air into the system.
- Use approved HVAC materials for permanent repairs. Ordinary cloth duct tape is usually a temporary patch at best.
- Cleaning removes existing dust, but it does not close a leak. Sealing or repair may need to happen first.
Start with the filter
The filter is the simplest place to begin because a poor fit can look like a larger duct problem. Before inspecting it, switch the thermostat to off and turn off the HVAC system. Wait for the blower to stop completely.
If the equipment is in a tight closet, attic, crawlspace, or other difficult location, stay outside the area and arrange professional service. Never remove panels that expose wiring, moving parts, gas components, or refrigerant equipment.
Check the size, condition, and airflow direction
Read the size printed on the existing filter and compare it with the dimensions marked on the filter rack or equipment documentation. A filter that is too small can leave a bypass gap. One that is too large may bend, restrict airflow, or prevent the access door from closing.
Check that the airflow arrow points toward the air handler or blower. Inspect the filter for heavy dust, moisture, collapse, or bowed edges. A loaded filter can reduce airflow and create symptoms that resemble a leak.
The MERV rating also matters. A higher rating is not automatically better if the system lacks enough filter surface area or cannot move air through the added resistance. After changing the filter, listen for new whistling, check whether supply airflow feels weaker, and watch for longer run times or recurring coil icing.
Look for bypass around the filter
With the system off, shine a flashlight around the filter edges. Look for daylight, dust trails, loose metal, or a filter that slides easily inside the slot. A filter should fit snugly while remaining removable for routine replacement.
Do not stack two standard filters in one rack to increase filtration. Multiple filters can work when the equipment has separate return paths or a cabinet designed for staged filtration. Adding another filter to a single rack can increase resistance without improving performance in the same proportion.
For guidance on separating filter problems from contamination concerns, review when to clean ducts versus replace filters.
Inspect the filter rack and gasket
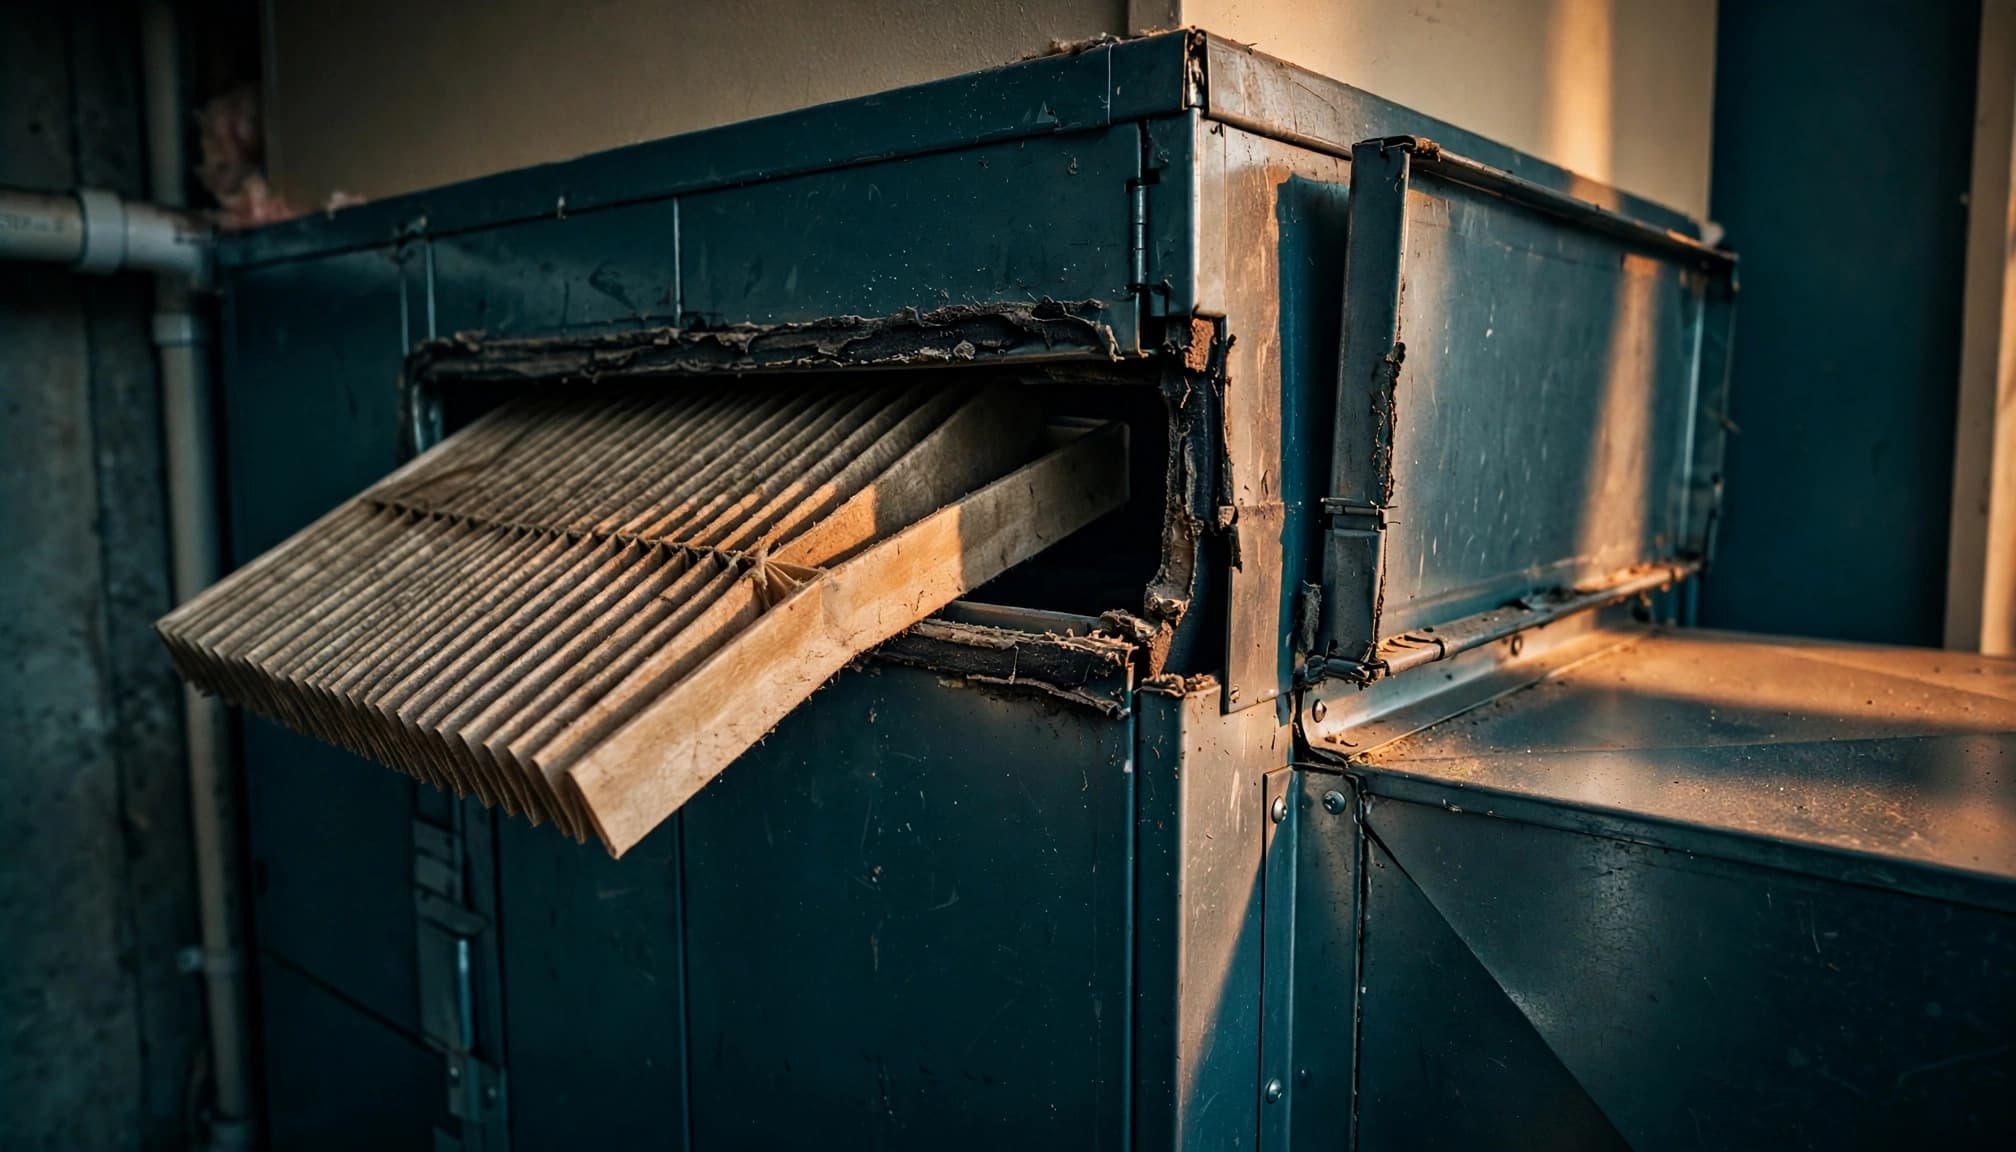
The rack should hold the filter squarely against a continuous sealing surface. Gaps often develop where the rack meets the cabinet, where metal has bent, or where an old gasket has compressed and pulled away.
Examine the frame and sealing surface
Look along all four sides of the filter opening. Watch for:
- Bent rails that keep the filter from sitting flat.
- Missing, cracked, flattened, or loose gasket material.
- Open corners where two pieces of metal meet.
- Dust lines outside the filter perimeter.
- A filter that tilts, bows, or leaves a visible side gap.
A dust line outside the filter usually means air has been moving around the filter instead of through it. That bypass air can carry particles toward the blower and coil. It also reduces the value of a correctly rated filter.
Avoid forcing the filter into place. If it catches on the frame, confirm the size and thickness before changing anything. A damaged rack may need adjustment or replacement rather than another layer of tape.
Check the cabinet seams
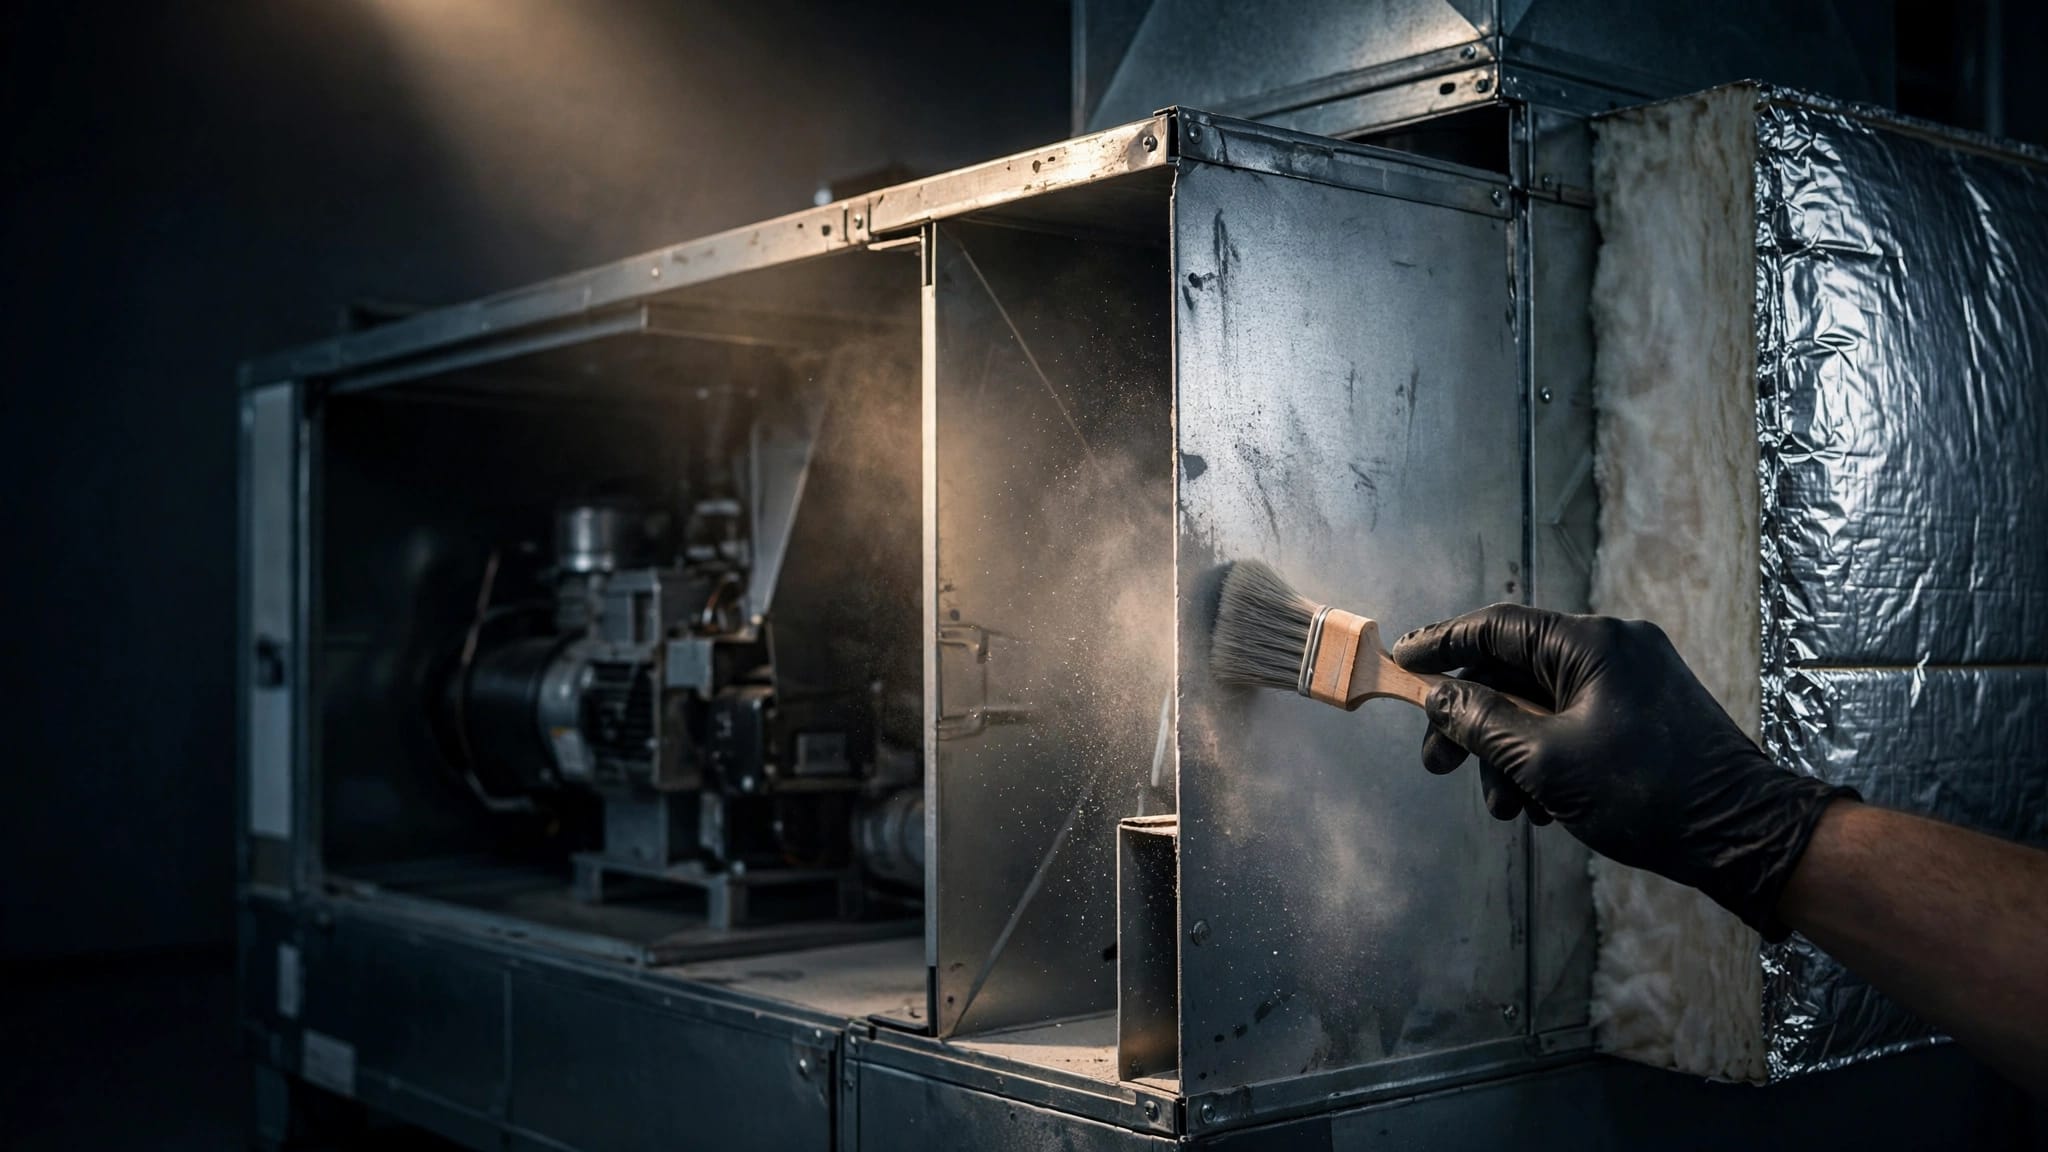
Inspect the visible seams around the return-air cabinet and filter opening. Look for cracked mastic, separated joints, loose screws, bent sheet metal, and insulation that has pulled away. Pay attention to dust collecting on one side of a seam, since that pattern can show where air is moving.
Keep the inspection visual and low risk. Do not reach inside the cabinet, remove blower or coil panels, or touch wiring. The air handler contains components that require qualified service, even when the suspected leak appears close to the filter.
Homes with more than one air handler need the same inspection at every unit. A neglected filter rack or return plenum can continue adding dust to one system while the others appear clean. See these filter and return-air checks for multi-system homes.
Check the access door and cabinet fit
A filter rack can be sealed correctly while the nearby access door still allows air to bypass the filter. A loose door may also create a whistle when the blower operates.
Test the door without running the system
With the HVAC system off, close the access door and inspect its edges. It should sit squarely against the cabinet without rocking, bowing, or leaving an obvious opening. Check the latch, screws, clips, and door gasket if those parts are visible.
Do not operate the equipment with a panel removed. Never use a hand, tissue, smoke, or an open flame near electrical components, gas equipment, or moving parts. These methods can create safety hazards or damage the system.
If the door will not close because the filter is too thick or misaligned, correct the filter issue first. If the panel remains loose or the metal is damaged, stop before making a patch.
Watch for performance clues
After reinstalling the filter and closing the panel, restore the system only if the area is safe and no components were disturbed. Listen for a new hiss or whistle near the rack. Notice whether airflow from the supply registers has changed.
Other warning signs include:
- Dust returning soon after surfaces are cleaned.
- A filter that loads faster than expected.
- Rooms that feel unevenly heated or cooled.
- Longer system run times without improved comfort.
- A musty smell that appears when the blower starts.
These signs do not prove a filter-rack leak by themselves. Household dust, a clogged filter, high humidity, a dirty coil, or a separate duct problem can produce similar symptoms.
Check the return-air connections
The filter rack is only one part of the return path. Air may leak at the return grille, return box, plenum, cabinet connection, or nearby duct joint.
Inspect accessible joints and seams
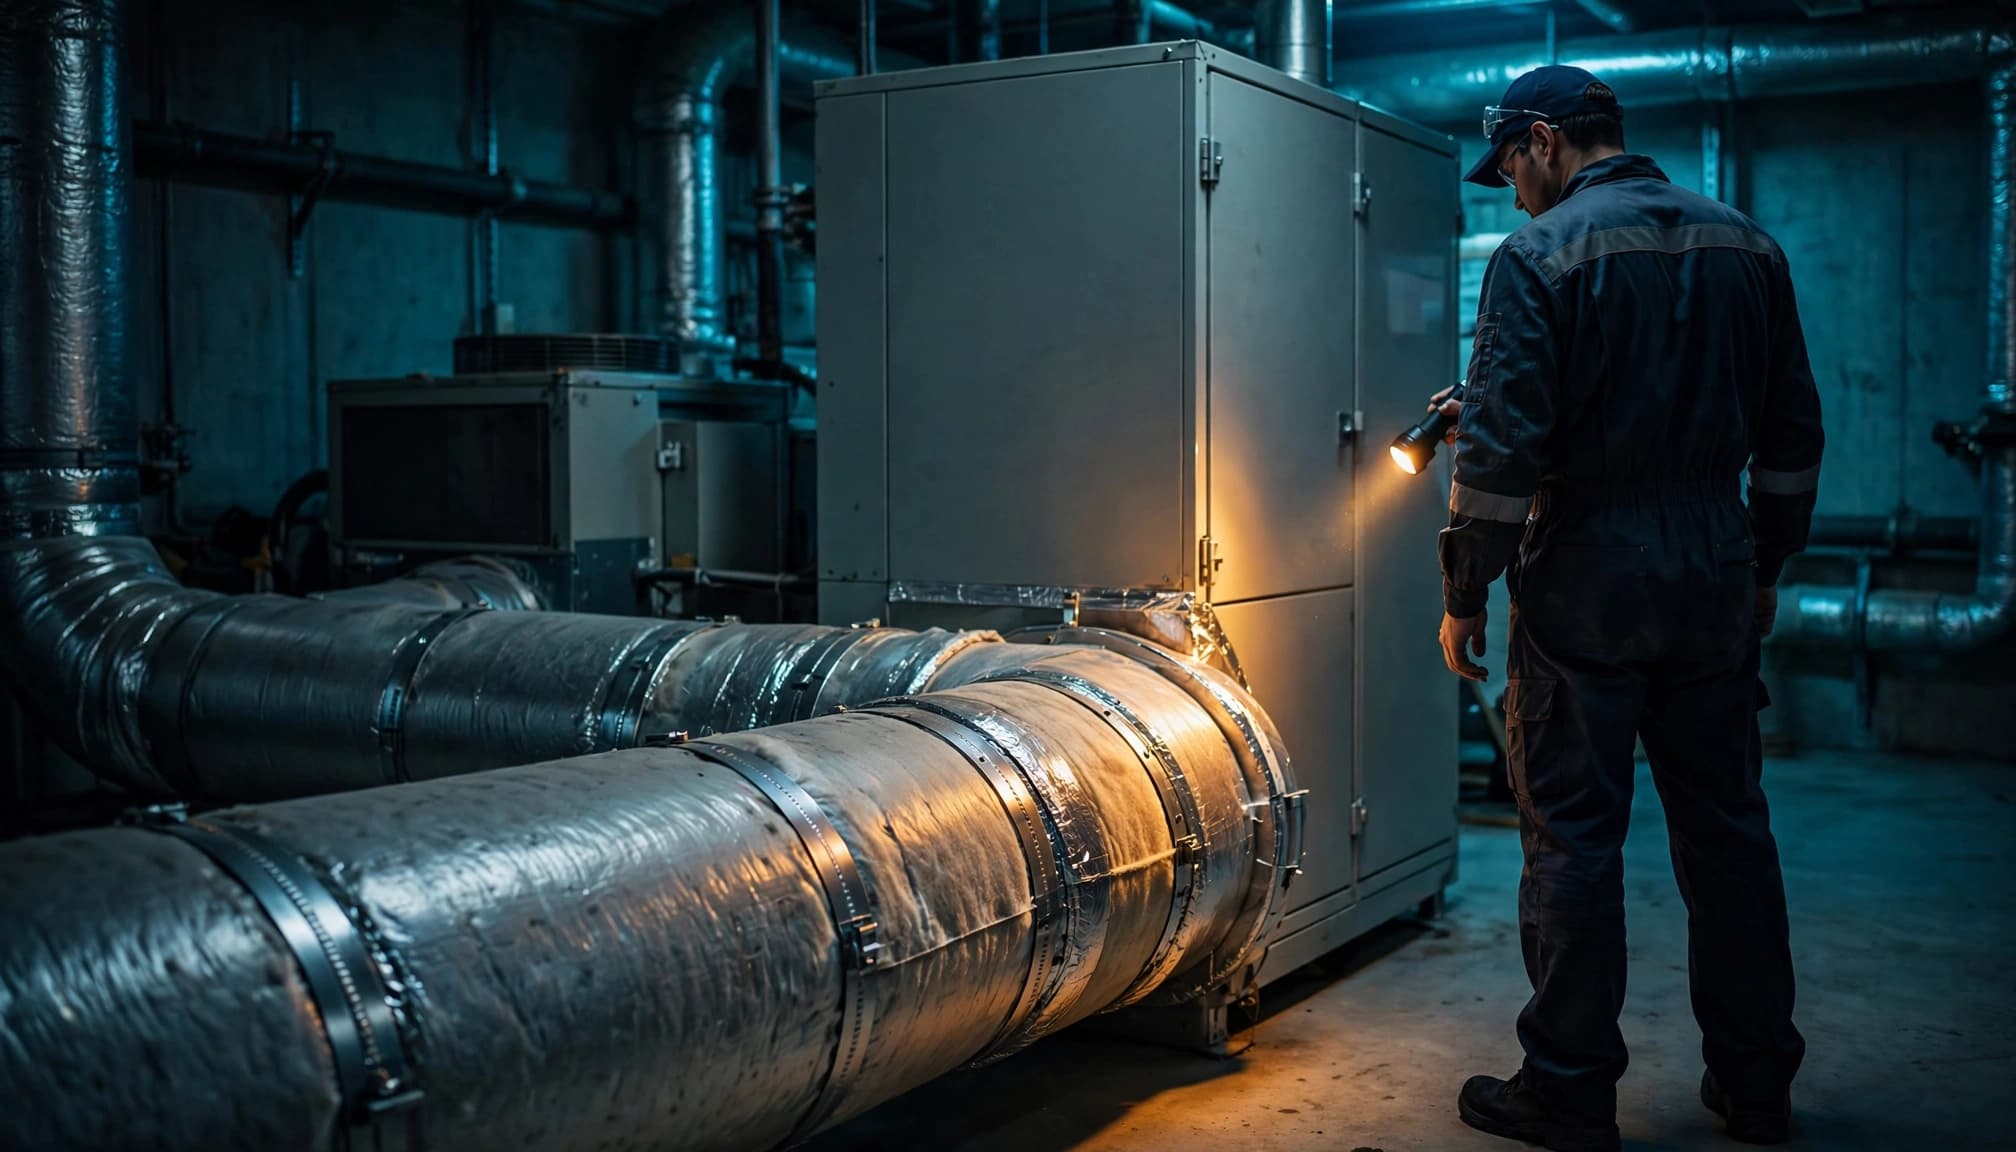
Turn the HVAC system off before looking at visible return ductwork. Use a flashlight to inspect accessible connections in a clean, dry area. Look for loose collars, separated seams, cracked mastic, sagging flex duct, torn insulation jackets, crushed sections, or debris near a joint.
Return connections near an attic, garage, crawlspace, or wall cavity deserve extra attention. A gap in those areas can pull in insulation fibers, dust, odors, or humid air whenever the blower runs.
Never enter an unsafe attic or crawlspace to inspect ductwork. Avoid stepping near ceiling surfaces, moving insulation, wet areas, or inaccessible equipment. A professional can inspect areas that cannot be reached safely.
Separate return leaks from supply leaks
A return leak pulls unwanted air into the system. A supply leak allows conditioned air to escape before it reaches a room. Both can reduce comfort, but their clues may differ.
| Symptom | Possible source | Likely next step |
|---|---|---|
| Dust returns quickly after cleaning | Return leak or heavy contamination | Inspect return connections and filter bypass |
| Weak airflow at one register | Loose joint, crushed flex duct, or blockage | Inspect accessible ductwork |
| Warm or cool spots between rooms | Supply leakage or airflow restriction | Professional airflow inspection |
| Musty odor when the system starts | Return leak, moisture, or contaminated component | Find the source before cleaning |
A return leak can make a home dusty even after surfaces and registers have been cleaned. How leaky return ducts bring attic dust indoors explains why the source of the air matters as much as the dust that becomes visible.
Choose sealing, testing, or cleaning
Finding dust near a filter does not automatically mean the whole duct system needs cleaning. The correct response depends on what the inspection shows.
Use proper materials for permanent sealing
Small, accessible joints may require approved mastic or foil-backed tape rated for HVAC use. Damaged insulation may also need replacement. The surface must be clean and suitable for the material, and the repair should preserve the duct's shape.
Ordinary cloth duct tape often fails under attic heat, vibration, and humidity. A temporary patch can hide the gap while the system continues pulling in unwanted air.
Do not seal over wet insulation, damaged duct material, exposed electrical parts, or a connection you cannot safely reach. A cabinet seam near the blower, coil, wiring, or main supply connection should be handled by a qualified HVAC professional. Read about when duct sealing is better than cleaning.
Know when testing is useful
A visual inspection can find obvious gaps, but it cannot show every leak or measure how much air escapes. Duct leakage testing may help when rooms remain uncomfortable, filters clog repeatedly, or the suspected leak is hidden behind insulation, walls, or other construction.
Professionals may also use controlled airflow checks or other inspection methods to distinguish a loose joint from a larger return-air problem. Finding HVAC air leaks and attic airflow can help you decide when a test is more useful than another filter change.
Cleaning makes sense when an inspection finds substantial dust, construction debris, pest material, mold concerns, or a real blockage. Cleaning can remove material already inside the system, but it cannot close an open return or supply leak.
Know when to call an HVAC professional
Call a qualified professional when the leak appears near the air handler, blower compartment, coil, main plenum, electrical components, gas equipment, or refrigerant lines. Also get help when the filter rack is damaged, the access door will not seal, or return ductwork is hidden or unsafe to reach.
Professional service is appropriate for recurring coil icing, tripped breakers, strong odors, major airflow changes, wet insulation, visible microbial growth, pest debris, or a filter that becomes dirty soon after replacement. Do not open electrical panels or attempt refrigerant, gas, or inaccessible duct repairs.
Before booking service, record the filter size, take photos of visible gaps, and note when the symptoms occur. Ask whether the inspection will include the filter rack, cabinet seams, return plenum, accessible duct joints, and air handler area. If duct cleaning is recommended, ask what contamination was found and whether sealing or repair should happen first.
For a local inspection or service recommendation, Get a Free Estimate.
FAQ about HVAC filter rack air leaks
Can a filter rack leak make my house dusty?
Yes. If air slips around the filter, unfiltered particles can reach the blower and other equipment. A return leak outside the rack can also pull dust and insulation fibers from an attic, garage, or crawlspace.
Should I use a higher-MERV filter to catch more dust?
Not without confirming that the HVAC system can handle it. A higher-MERV filter may create more resistance, especially when the filter surface area is limited. If the system develops whistling, weaker airflow, longer run times, or recurring icing after a filter change, have it checked.
Can I seal the filter rack myself?
You can document visible gaps and replace a correctly sized filter, but sealing near the air handler requires caution. Do not remove equipment panels or apply materials around wiring, gas components, coils, or moving parts. A professional should handle damaged metal, inaccessible gaps, and connections that affect the whole air path.
Does duct cleaning fix an air leak?
No. Cleaning removes dust and debris that are already present. It does not close a gap in the rack, cabinet, plenum, or ductwork. A leak may require sealing, repair, insulation replacement, or testing before cleaning provides lasting results.
Conclusion
HVAC filter rack air leaks often start with a simple mismatch, worn gasket, loose access door, or damaged cabinet seam. Begin with the correct filter and a safe visual inspection, then follow the airflow path toward the return plenum and accessible duct connections.
A clean filter cannot compensate for air bypass, and duct cleaning cannot seal an open connection. When dust returns quickly, airflow changes, or the suspected leak sits near equipment or hidden ductwork, professional inspection is the safer path.